I haven’t properly built anything with my hands in a while, so it’s time.
I mocked up a few lamp ideas, and this one seemed fun. Really, really rough mock-ups.
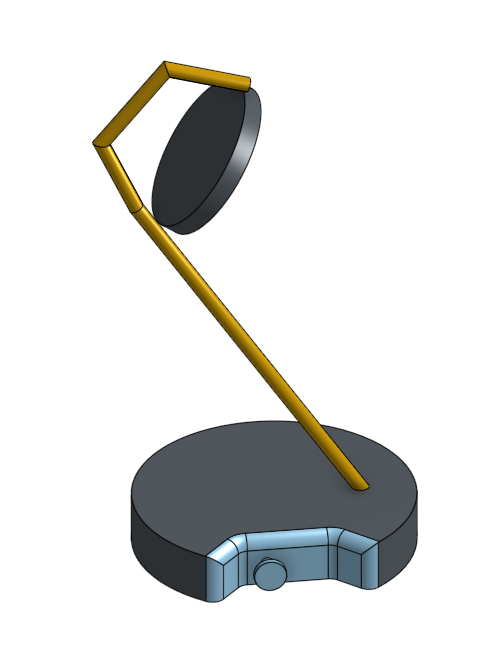

That was neat looking, so I fleshed out the hinge section, which I expected would be the hardest part to figure out and build.
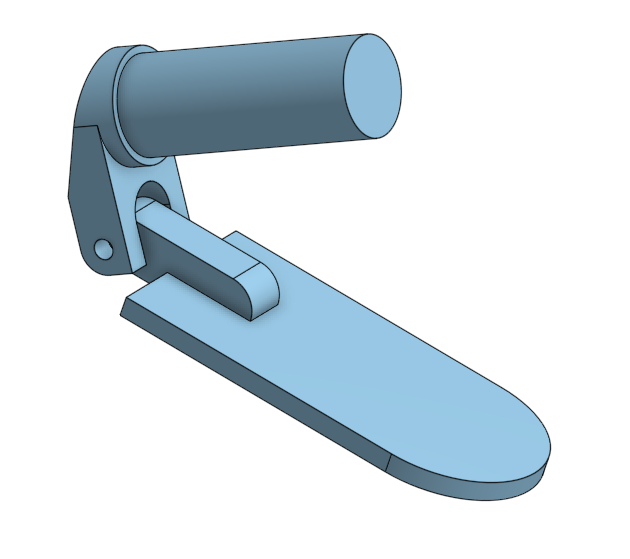
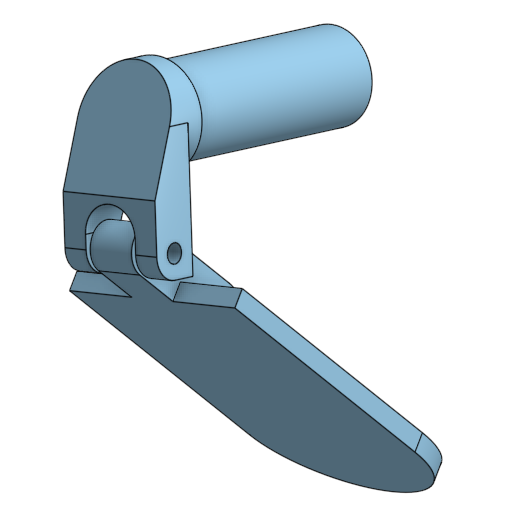
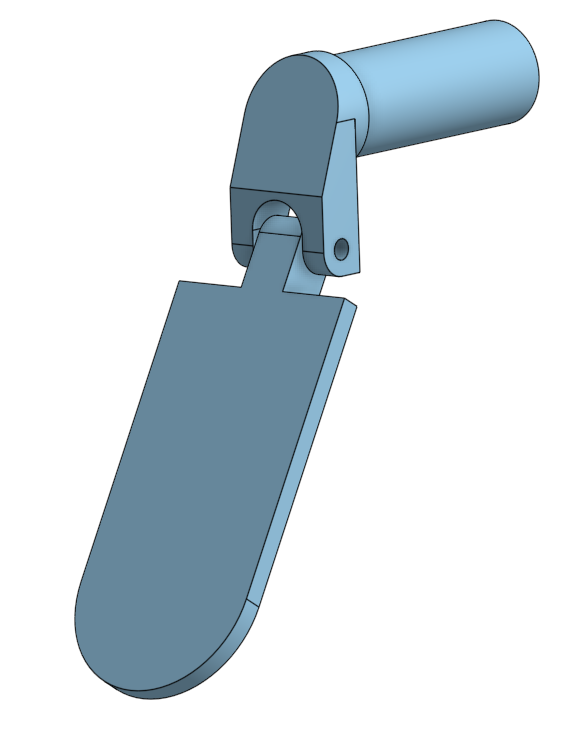
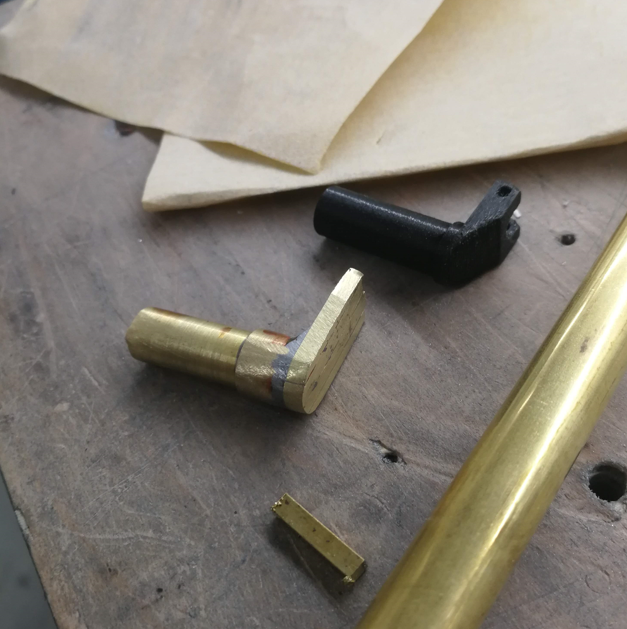
First, I 3D printed the hinge, just to get a feel for if my sizes felt right – I am bad at judging size in CAD, things often turn out way larger or way smaller than I expect, and therefore really difficult to build.
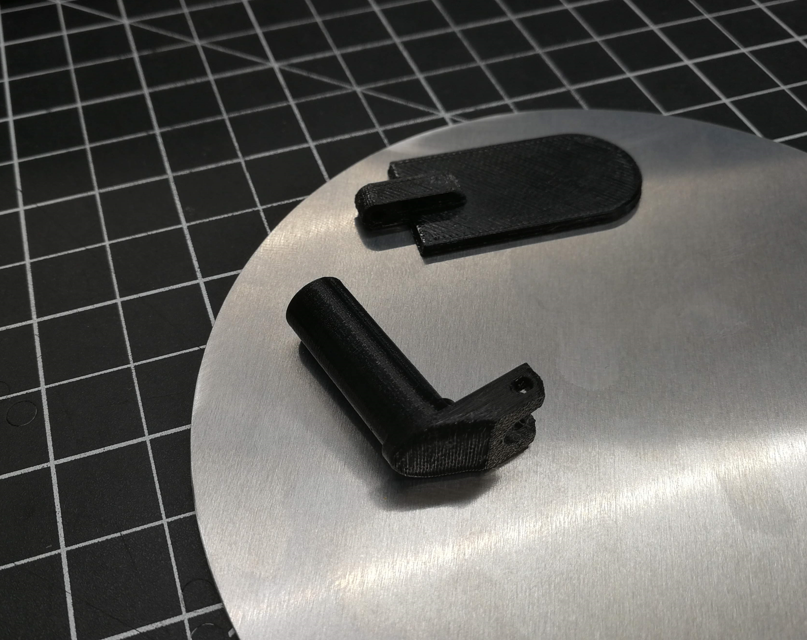
These looked fine, though.
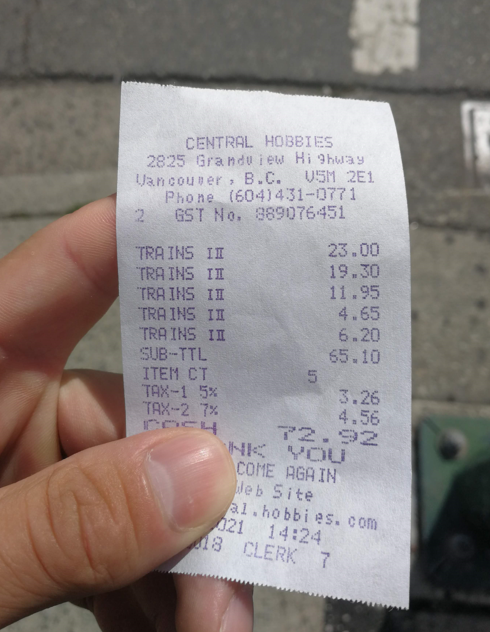
I picked up a ton of brass from a hobby shop. Can you guess what the main focus of the hobby shop is?
For the hinge pieces, I didn’t have the right shapes or size of brass stock available, so I needed to cut a bunch of smaller pieces and then braze them together with silver solder. And then took them to the belt grinder.
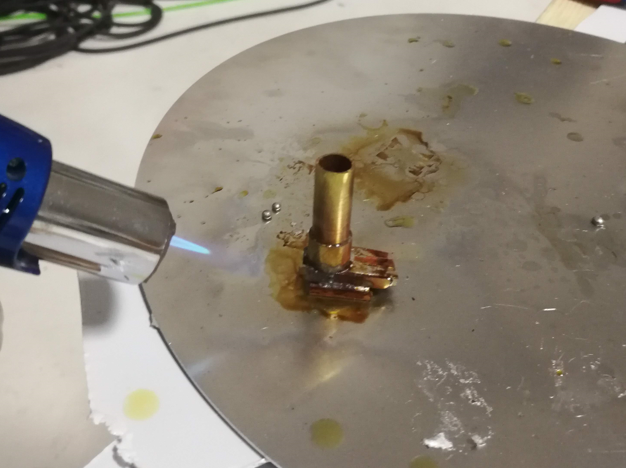
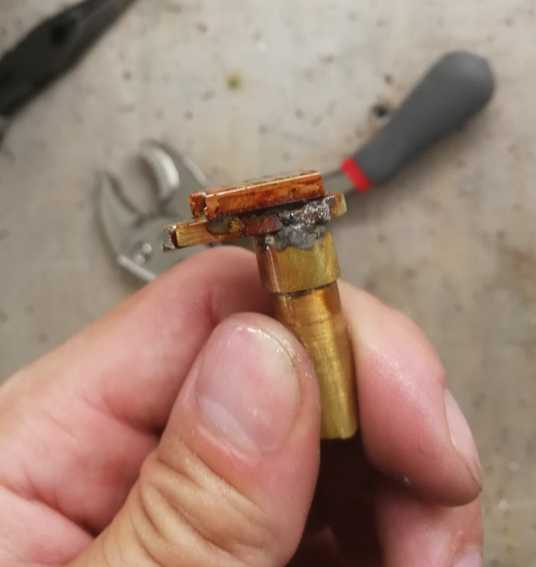
Pretty close!
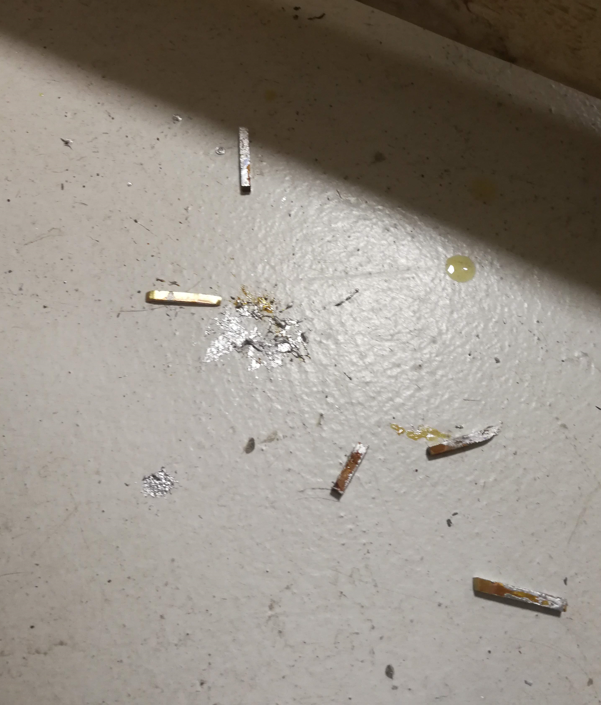
And then tried to add one more piece, dropped it while the solder was molten, and had them splatter apart on the ground.
Okay one more time.
It’s always better the second time, anyway. I used an M1.5 brass screw as the hinge pin.
For the stand, I 3D printed some saw guides so that I could get the tube angles perfect. The stand wouldn’t end up with the right geometry unless the cut angles were just right.
Then, after brazing:
It matches up with my CAD perfectly, I’m stoked.
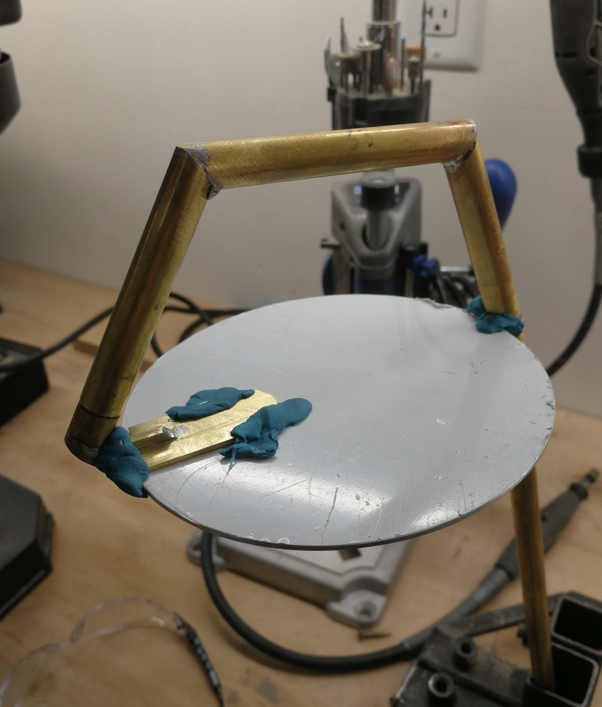
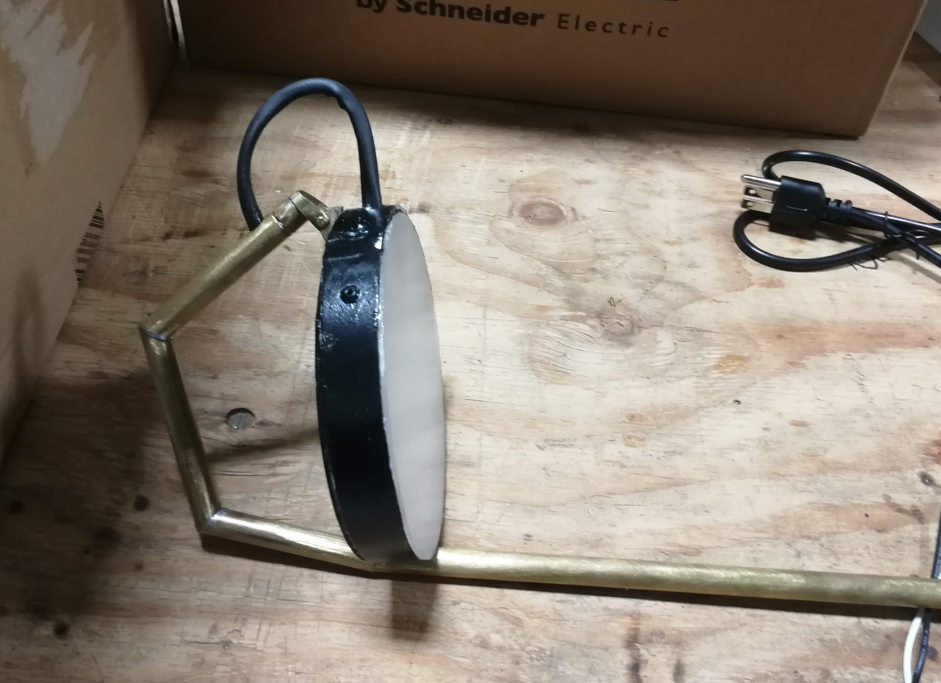
Some blu-tak was used to hold the hinge pieces and light backing together to get a sense of how it was all going to go together.
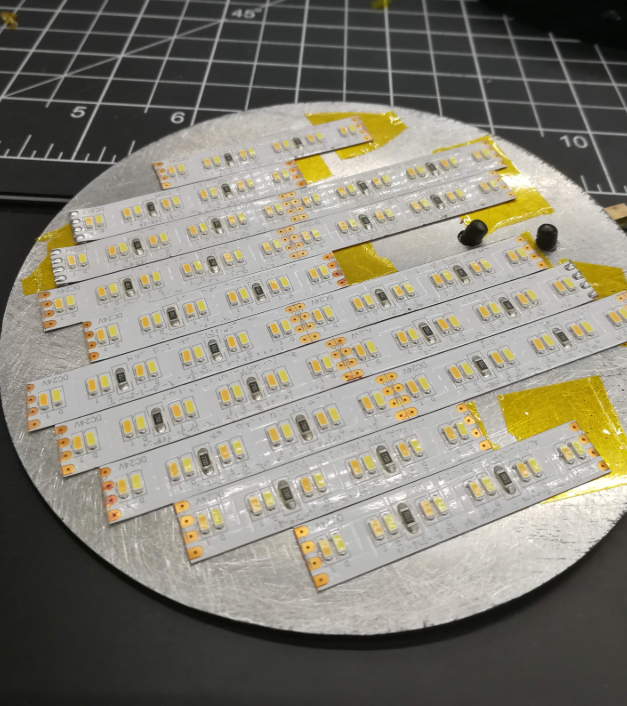
The light panel itself was a circle of aluminum that I spraypainted black. Then I riveted the hinge on and laid out my LED tape.

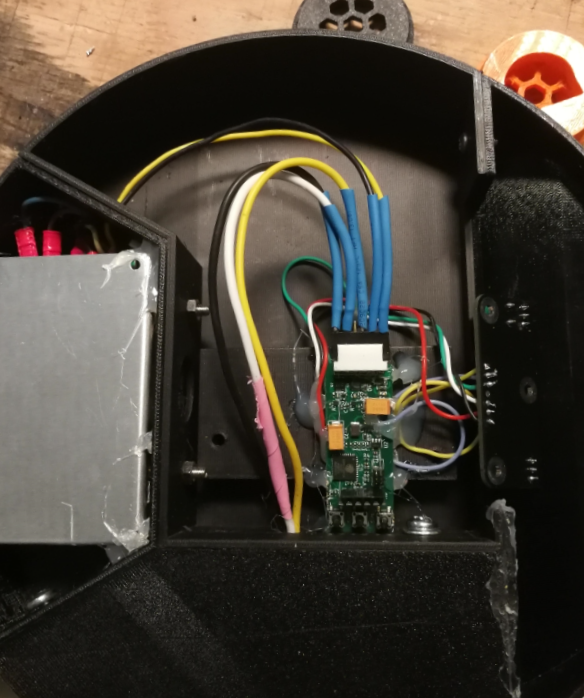
Wiring.

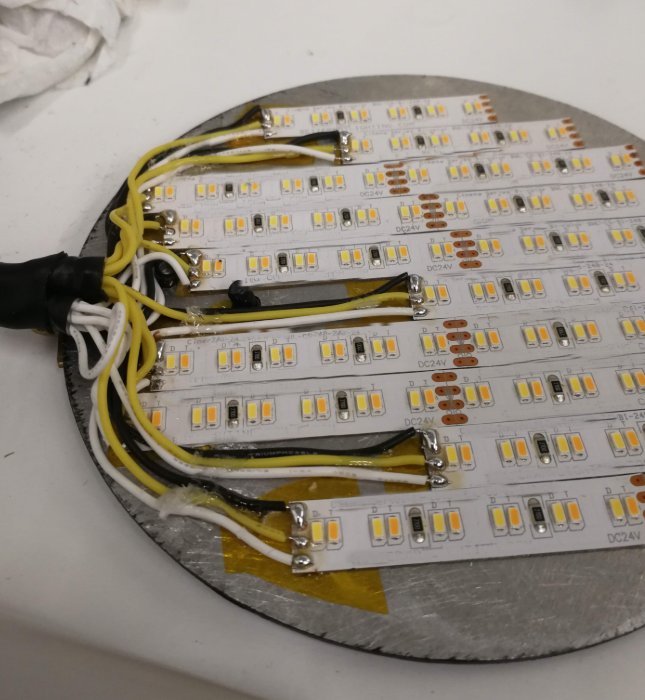
This could have been done much neater. Next time.
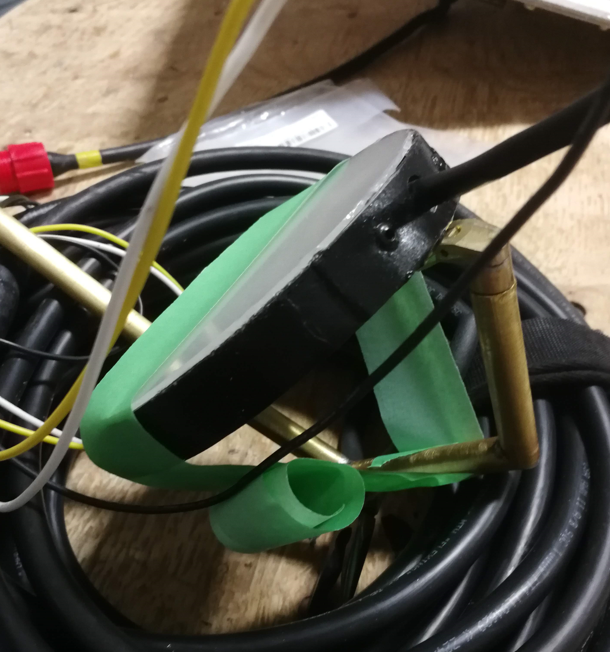
Encircling the LED panel, I bent some flat bar aluminum, riveted it, glued it, and painted it. Then glued on a plastic diffusion circle. This was all done quickly, so I didn’t take many pictures.
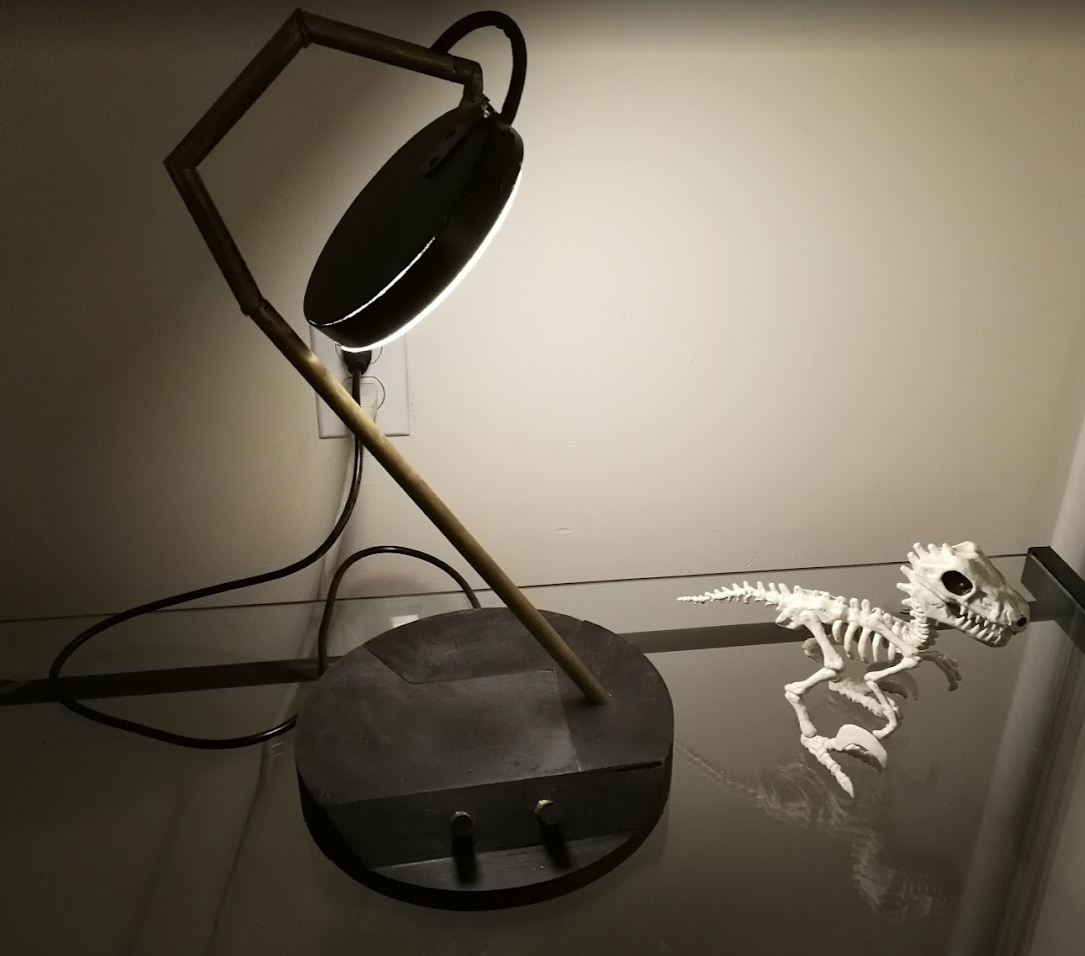
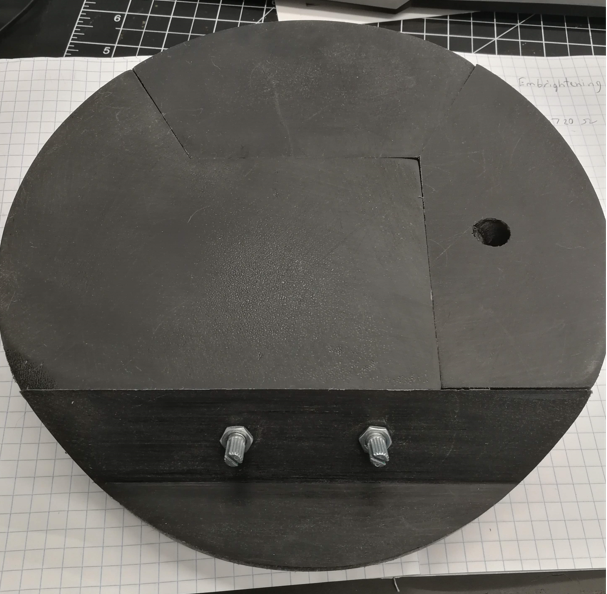
For the base, some nice dark wood would be ideal, but that would have required a fair amount of material acquisition and hunting down tools I wasn’t up for, for this project. So I took my base, and split it up into easily printable chunks.


I was going to attach them together, sand, patch, sand, and paint them to turn them back into one object, but I kinda liked the jigsaw effect, so I left it. PETG sands really well, and I treated it with a light oil coating to keep it from taking on fingerprints.
The pieces are just bolted together, and mostly hollow to allow mounting of the electronics.
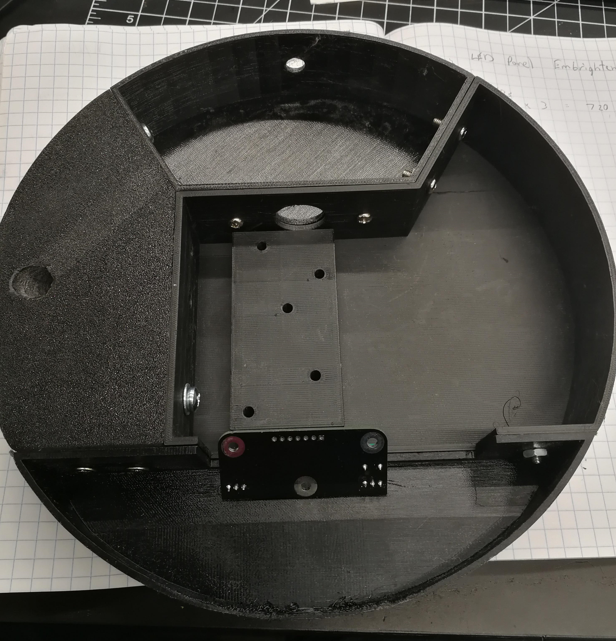
For the controller, I have a surplus prototype lighting controller of dubious origin, and wrote some firmware to handle fading and mixing the two LED channels. The 24V power supply comes from AliExpress.
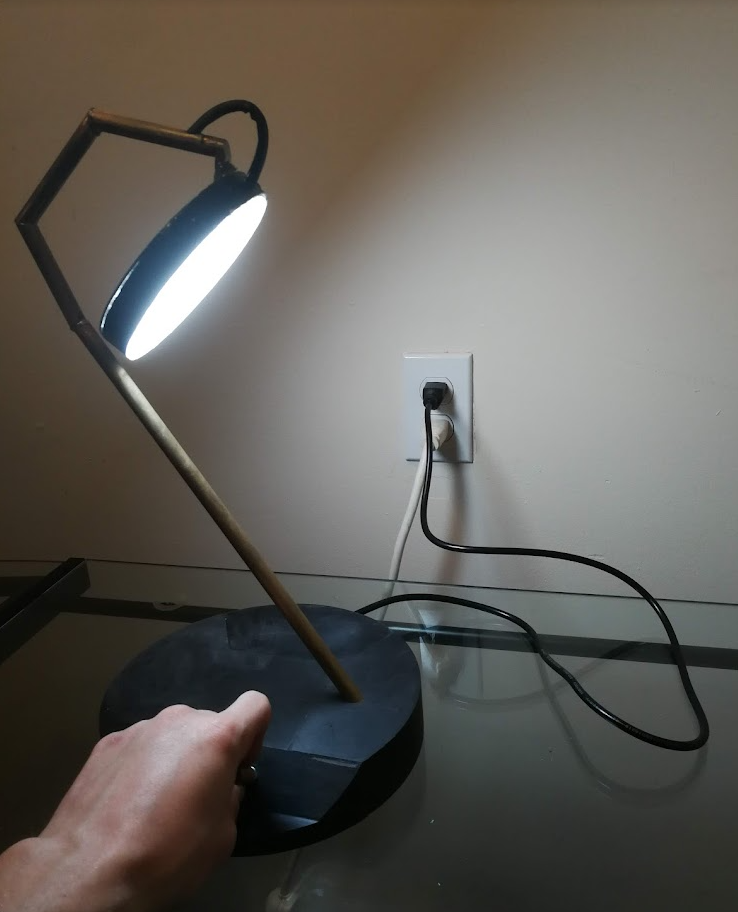
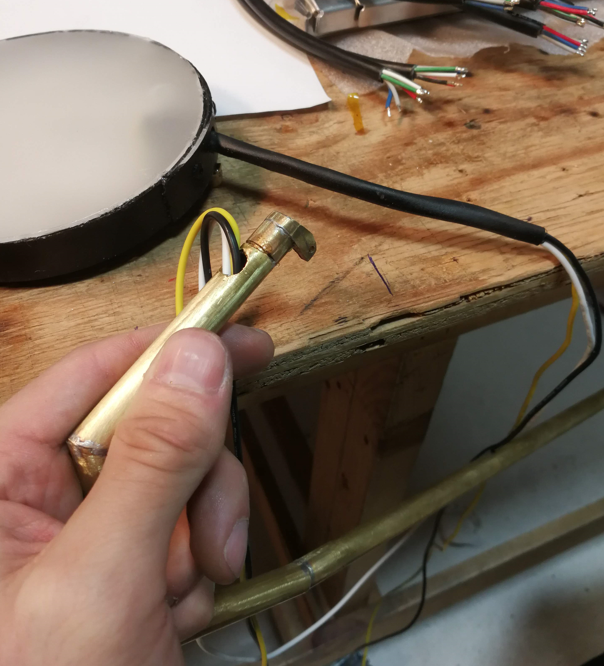
Similarly, for the knobs, I went for an easy and quick solution using 3D printing for the ends to retain a little bit of the brass tube onto the potentiometers. The left knob controls the light intensity, and the right knob controls the light’s colour temperature. This lamp can fade in between a really cool white and a really warm light.

Running the wires through the brass tube was a fun adventure. What I ended up doing was fill the tube up with oil, run a single wire up through the bottom, then solder it onto the other three wires. After that, I could use the first wire to pull the whole mess back through the tube. Then I flushed the tube with alcohol to clean it all out.
And, final wiring, and it works! It looks great. I can see all the small defects, but that’s okay. I’ll do better on the next one.