Voltage glitching, also called fault injection, is the process of dumping the energy on a microcontroller’s power rail very briefly – Just enough to cause a glitch, where it skips an instruction, rather than causing a brown-out-induced reset.
I first learned about the technique in connection with the Chip Whisperer, which is an FPGA-based board with all the bells and whistles. It’s quite expensive, and like any other situation where you add an FPGA, very complicated. Naturally, that has elevated it to a level above what mere mortals can perform in the limited free time we have.
After knowing about this, and having it in the back of my mind for several years, I finally have a good use-case that can justify spending some time on this. I have a pile of generic STM8-based devices, and while I have written some of my own alternative firmware, I’d love to be able to dump the original flash to revert them back to factory code.
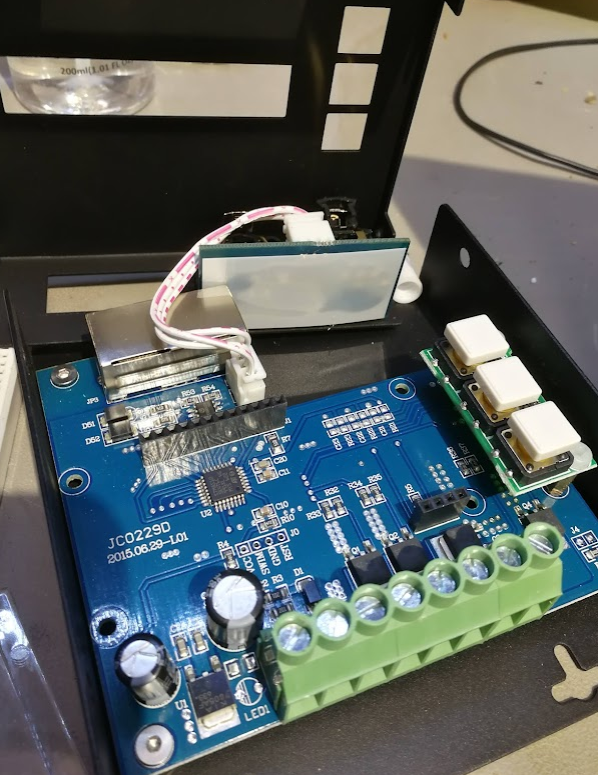
The function of the device doesn’t matter, that’s not the point of this exercise.
Some quick searching for options leads to this recent write-up, which is sparse on details, but serves as excellent inspiration that this task is very doable.
A few architecture notes:
The STM8 has a Read Out Protection bit in the configuration area of its flash memory. When the programmer attempts to read out the flash memory, the bootloader first checks this bit, and if it’s cleared, it starts reading out the flash to the programmer. If it’s set, it just reads out zeroes. Write capability is never blocked – That is, you can still write a zero to that ROP, and then the microcontroller will be “unlocked”, but it does clear the program memory, too.
One of the pins on STM8s is called VCAP, and it’s attached to the internal voltage regulator. The CPU runs on this voltage rail, not the actual voltage that is provided to the IC’s power pins. The pin is intended to be connected to a decoupling capacitor, and that provides an perfect spot to inject my glitches. Most microcontrollers also have something called Brown-Out Resets: When the input voltage rails sags too low, the peripheral triggers, and resets the microcontroller. Obviously, this is something we want to avoid, and using the VCAP pin should help with that.
In terms of glitching, there are two important considerations:
The glitch must start at the same time or during the cycle in which the CPU is trying to read the ROP bit, and the glitch must not last long enough to trigger the BOR or to make any other important instructions fail. It’s not easy to know these exact timings, so any reasonable values must be tried, essentially brute forcing the process.
Now, the logical way to do this would be to use an external microcontroller to wait for the programmer to reset the system, wait a set period of time, and then trigger the output transistor to glitch the voltage rail. That’s boring! You know what else can do that? That’s right, a pair of 555s.
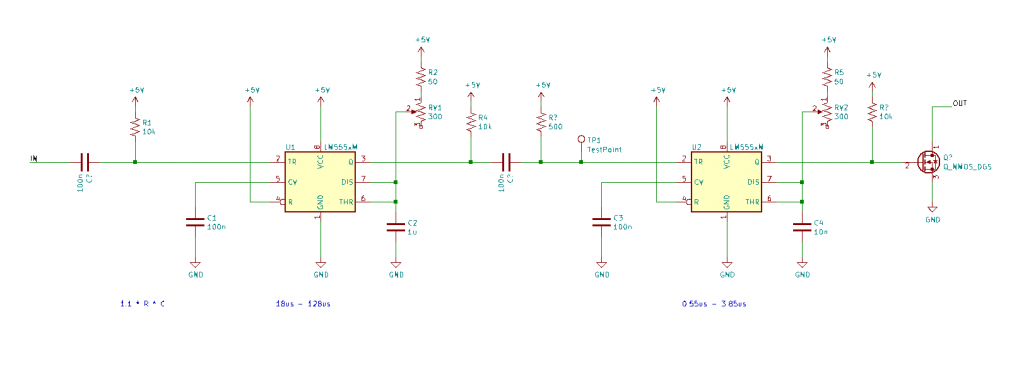
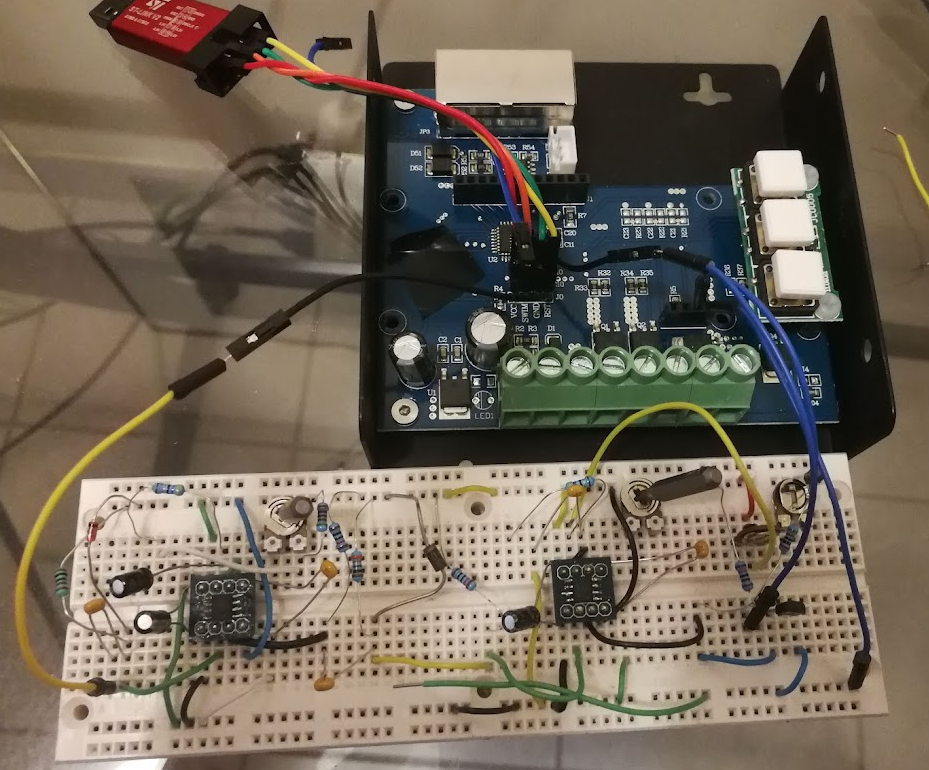
Here are two 555s set up as monostable pulse generators. The input is the RST line on the STM8 programmer. The first 555 then sets the delay. The second 555 sets the length of the output pulse. Both of these timings are controller by a different potentiometer. These then go to a MOSFET that dumps the energy stored in the internal voltage regulator cap.
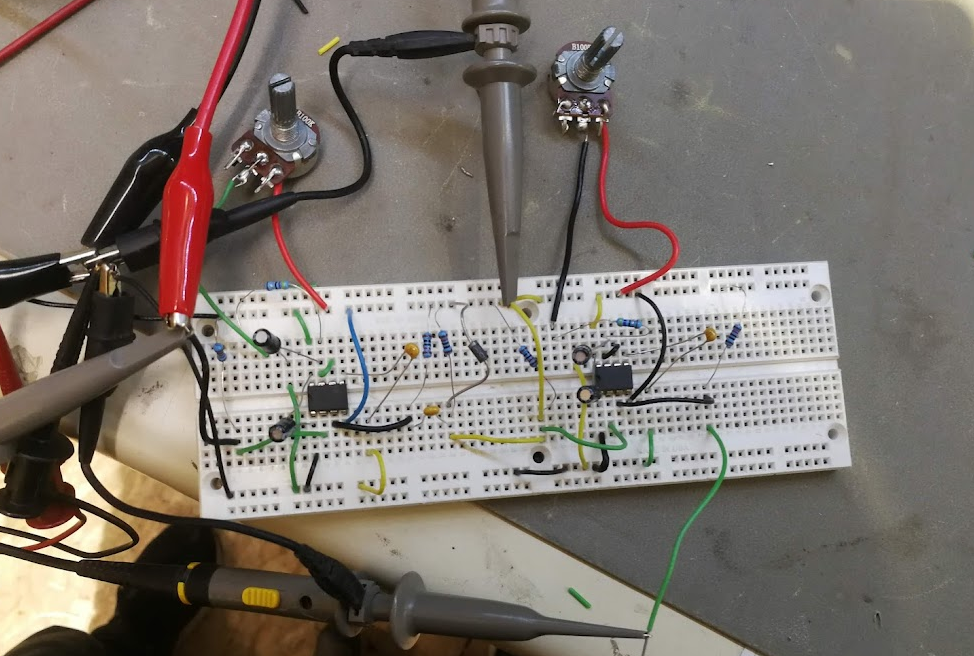
After building it with larger-than-designed time values and testing it to prove that the waveform looks as expected, we solve the next hurdle:
To figure out decent ranges for the potentiometers, my STM8 board runs at 8MHz, which means that each clock cycle takes 125ns. The STM8 requires at least 2 clock cycles for each instructions (one for retrieval and one for execution), and more for instructions with multiple bytes or arguments. So, ballparking, we need a pulse that’s anywhere from 0.2us to 1.2us or so.
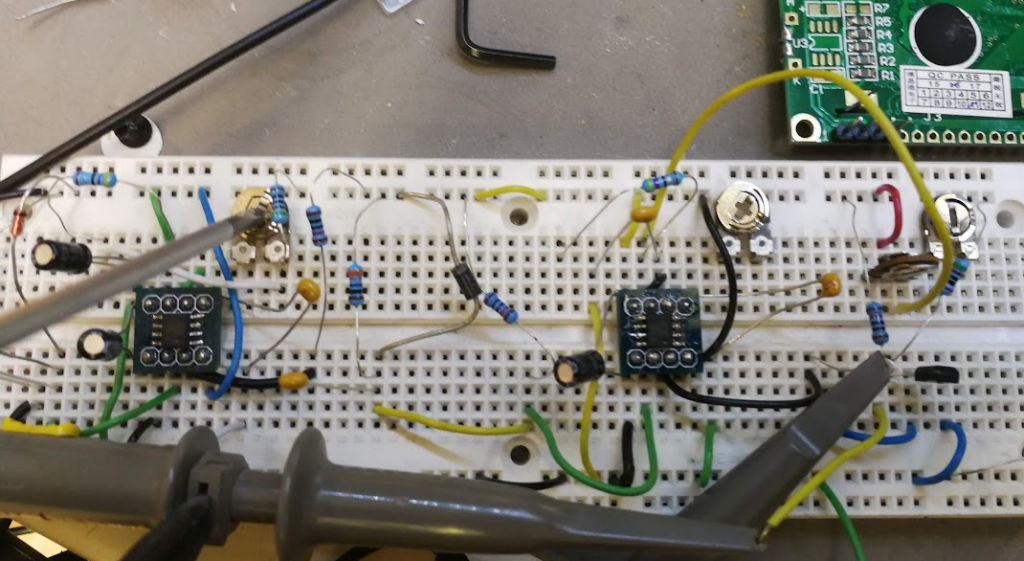
One problem with a typical 555 is that it can only generate pulses as small as 10us. Fortunately, I have a pair of high speed versions up my sleeve, the LMC555. It has a 10ns minimum pulse instead, which is very zippy. They’re SMD only, so they get popped onto a breakout board to fit the breadboard, and replaced. Some other components got tweaked too, as I played around more.
Now on to the programmer. I’m using a standard STLink V2, which speaks the SWIM protocol that allows programming and reading of the STM8’s flash.
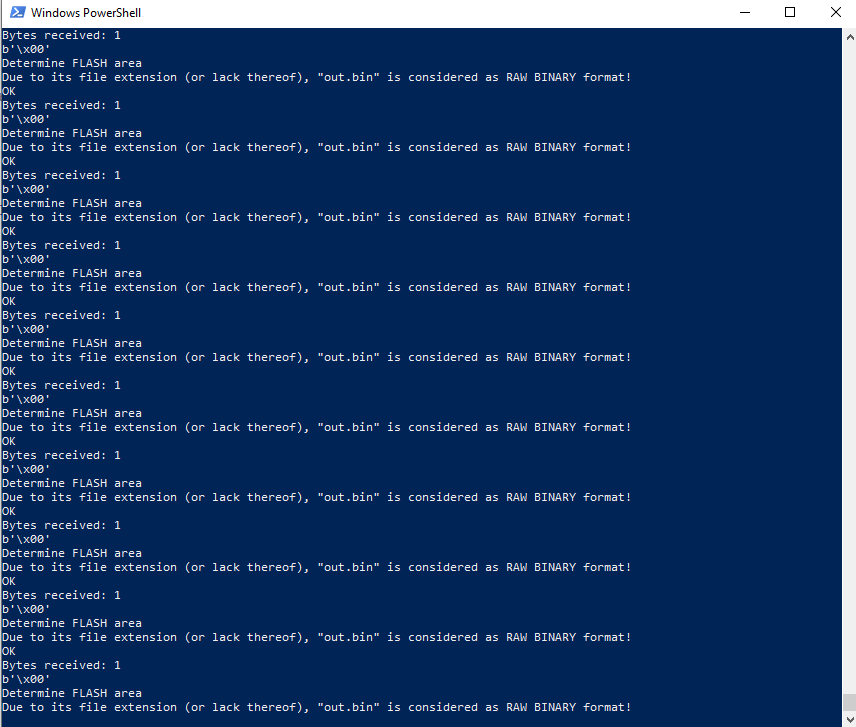
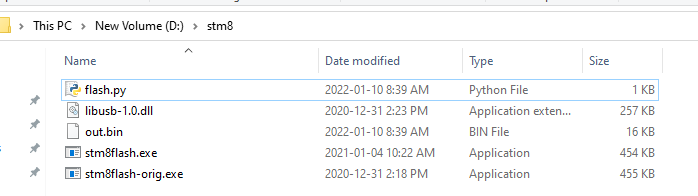
With a little bit of bit of Python and stm8flash, we get this:
import subprocess
# .\stm8flash.exe -c stlinkv2 -p stm8s105?4 -r out.bin -b 1
out = b'\x00'
while out == b'\x00':
subprocess.run(['stm8flash.exe', '-c', 'stlinkv2', '-p', 'stm8s105?4', '-r', 'out.bin', '-b', '1'])
f=open("out.bin","rb")
out = f.read(1)
print(out)
subprocess.run(['stm8flash.exe', '-c', 'stlinkv2', '-p', 'stm8s105?4', '-r', 'out.bin'])
In PC applications, writing text to console is a surprisingly slow process, so a low-effort tweak I made to make the loop run faster is to remove the flash utility’s console logging, just by removing some lines here.
So, all set up, potentiometer on the left controls the delay, pot on the right controls pulse length.
And, bam.
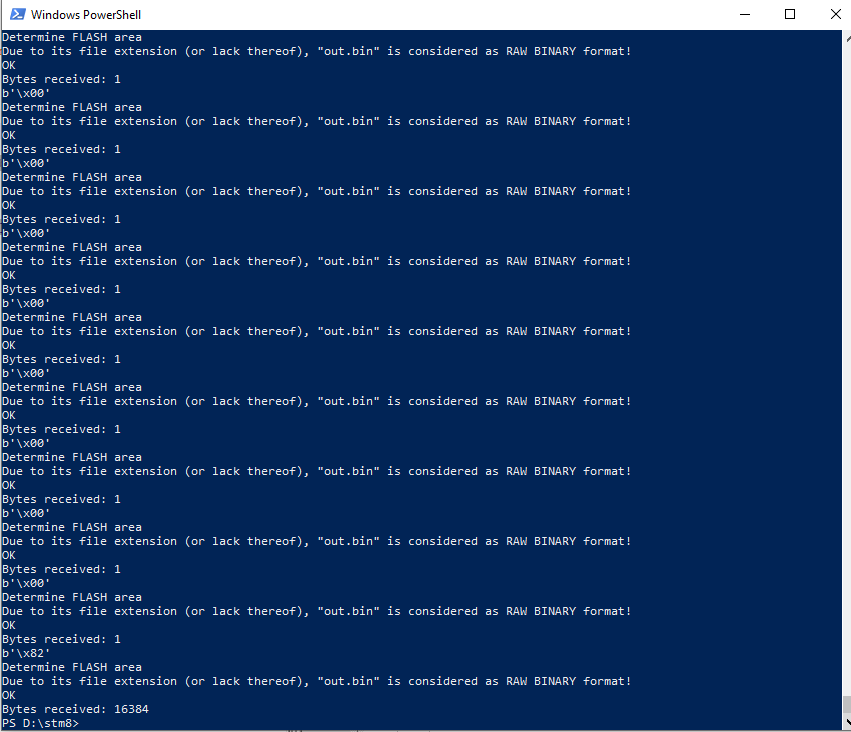
Firmware dumping with a 555.
Well, not that fast. It took about 45 minutes of fiddling with the knobs until all its secrets were unlocked. I’d sweep the right knob the whole way, then tweak the left knob very slightly, then sweep the right knob again. It only really worked because the knobs only had to be within the right range for a very brief period of time. It only had to work once.
Would this have been easier with a microcontroller? Oh yes, of course. But that’s not nearly as interesting.