
I’m on a home improvement kick. When I walking my home, there’s a long, featureless hallway with kitchen at the end of it. I was using a tray on my kitchen counter to toss keys onto when I walked in the door. This takes up valuable kitchen counterspace, and being at the end of the hallway, was not ideal.
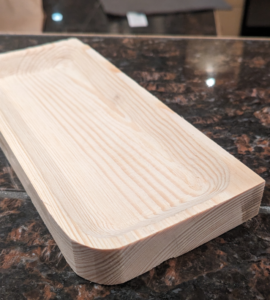
I designed up a wall-mounted tray that looked kinda nice. Then I CNCed it out of a scrap chunk of pine. I did a bad job estimating the size, so it turned out way too small and not really usable.
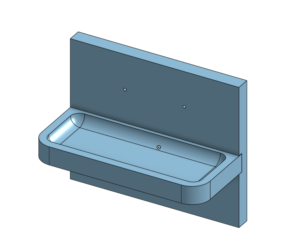
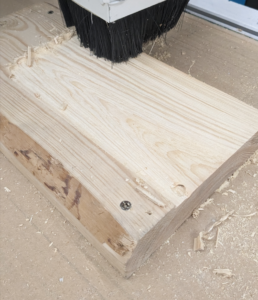
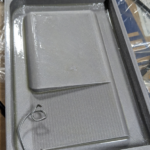
Instead of just recreating it, but larger, I an additional feature to hold cards would be useful. Additionally, the CNCed wood required some hand sanding that I didn’t really want to deal with again, not to mention the CNC setup time.
None of that was particularly time consuming or difficult, but honestly, it was faster and less tedious to 3D print it and cast it in cement than to break out the CNC again.
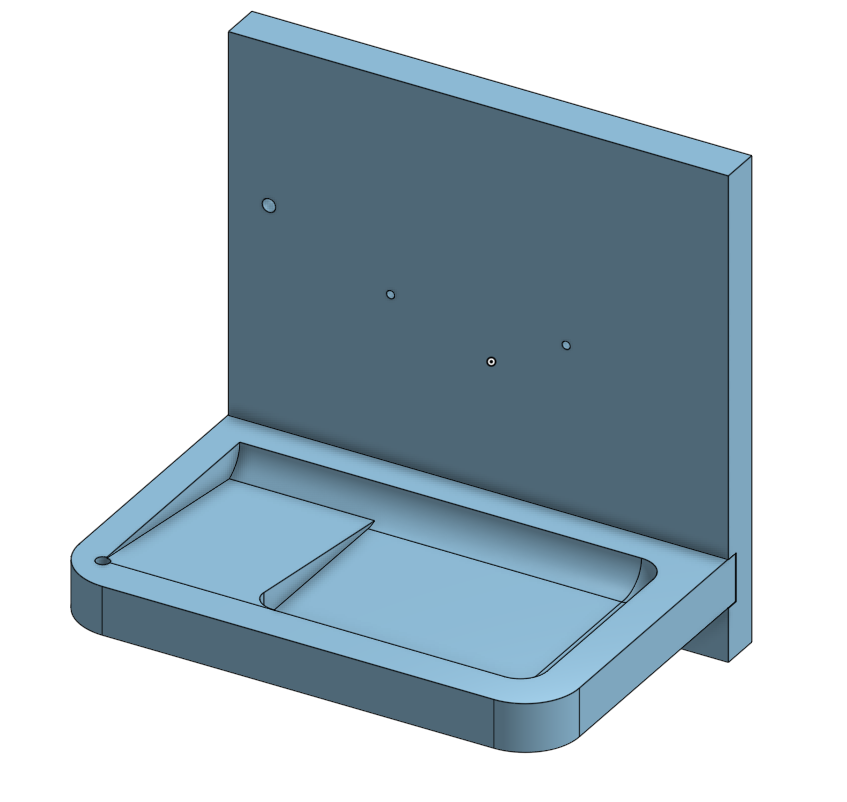
With the larger size, I wasn’t so sure about just slotting it into a piece of plywood without supports, so I added a steel cable. It’s a nice design accent regardless.
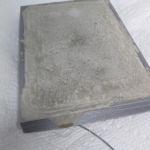
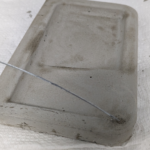
Note the knotted up steel cable in the mould. I also used XTC-3D, a resin coating designed to smooth out 3D prints. It was expired and a little chunky, but still seemed to work well. I’d use it again. The resulting cement form was smooth and required no post-
processing.
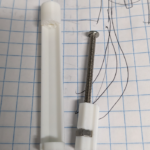
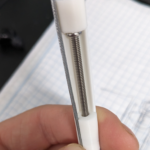
I also designed a tensioning mechanism for the cable. There’s a captive screw that drags a nut up and down. The nut assembly holds the cable end. The whole assembly slides into a 3/8″ drill hole. At the top of the assembly, there is a hole that is sized just right for a screwdriver to come in and engage the screw, dragging the nut assembly closer, tightening the cable tension.
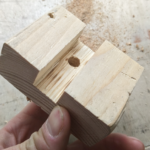
For the backing, I made a drill jig to be able to drill straight down the 3/4″ plywood without breaking through either side. The steel cable goes in, and then I attached it to the tensioning mechanism with a combination of melting the plastic to it, and some CA glue for good measure. The whole assembly then also got glued into the drill hole.
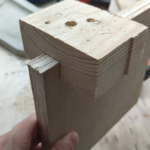
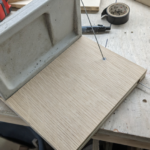

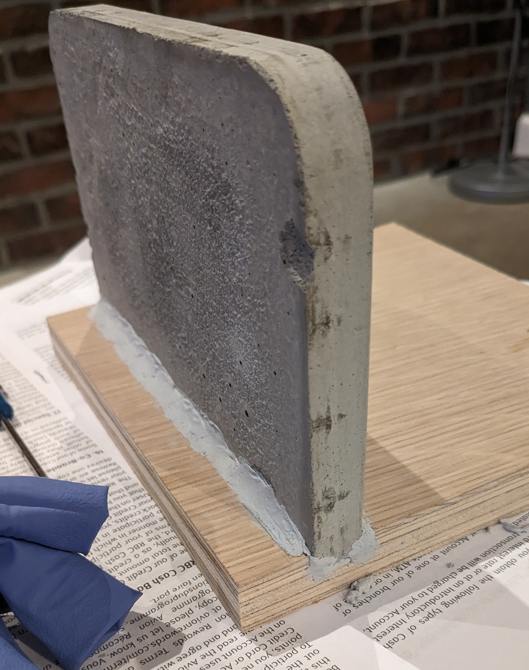
After all of that was set up, I used plumber’s putty epoxy to fill in all of the gaps between the tray and the plywood, and bolted it to the wall!

This project went just about as smoothly as possible, probably about 6 hours all told.