TLDR: I wrote an Inkscape extension to make my life a little bit easier when designing assemblies with laser cutters.
For the most part, I avoid using 3D printers while rapidly prototyping. Until very recently, they have been little better than toys; unreliable, inaccurate, and high maintenance. The laser cutter, however, is a tool. By cutting and joining multiple sheets, three-dimensional objects are still faster and often better than 3D printed parts.
Additionally, when I’m trying to build something really fast, I find it much quicker to sketch out profiles in Inkscape than CAD them up. Inkscape is totally rad open-source vector drawing software, if you’re not familiar. Being able to see assemblies in 3D is nice, but I can do that in my head for quick and dirty projects.
One of the bottlenecks in this process that really messes up my flow is hand-drawing box joints. It’s tedious and error-prone to copy mating profiles that are dimensionally accurate.
But wouldn’t it be great if it only took two seconds?
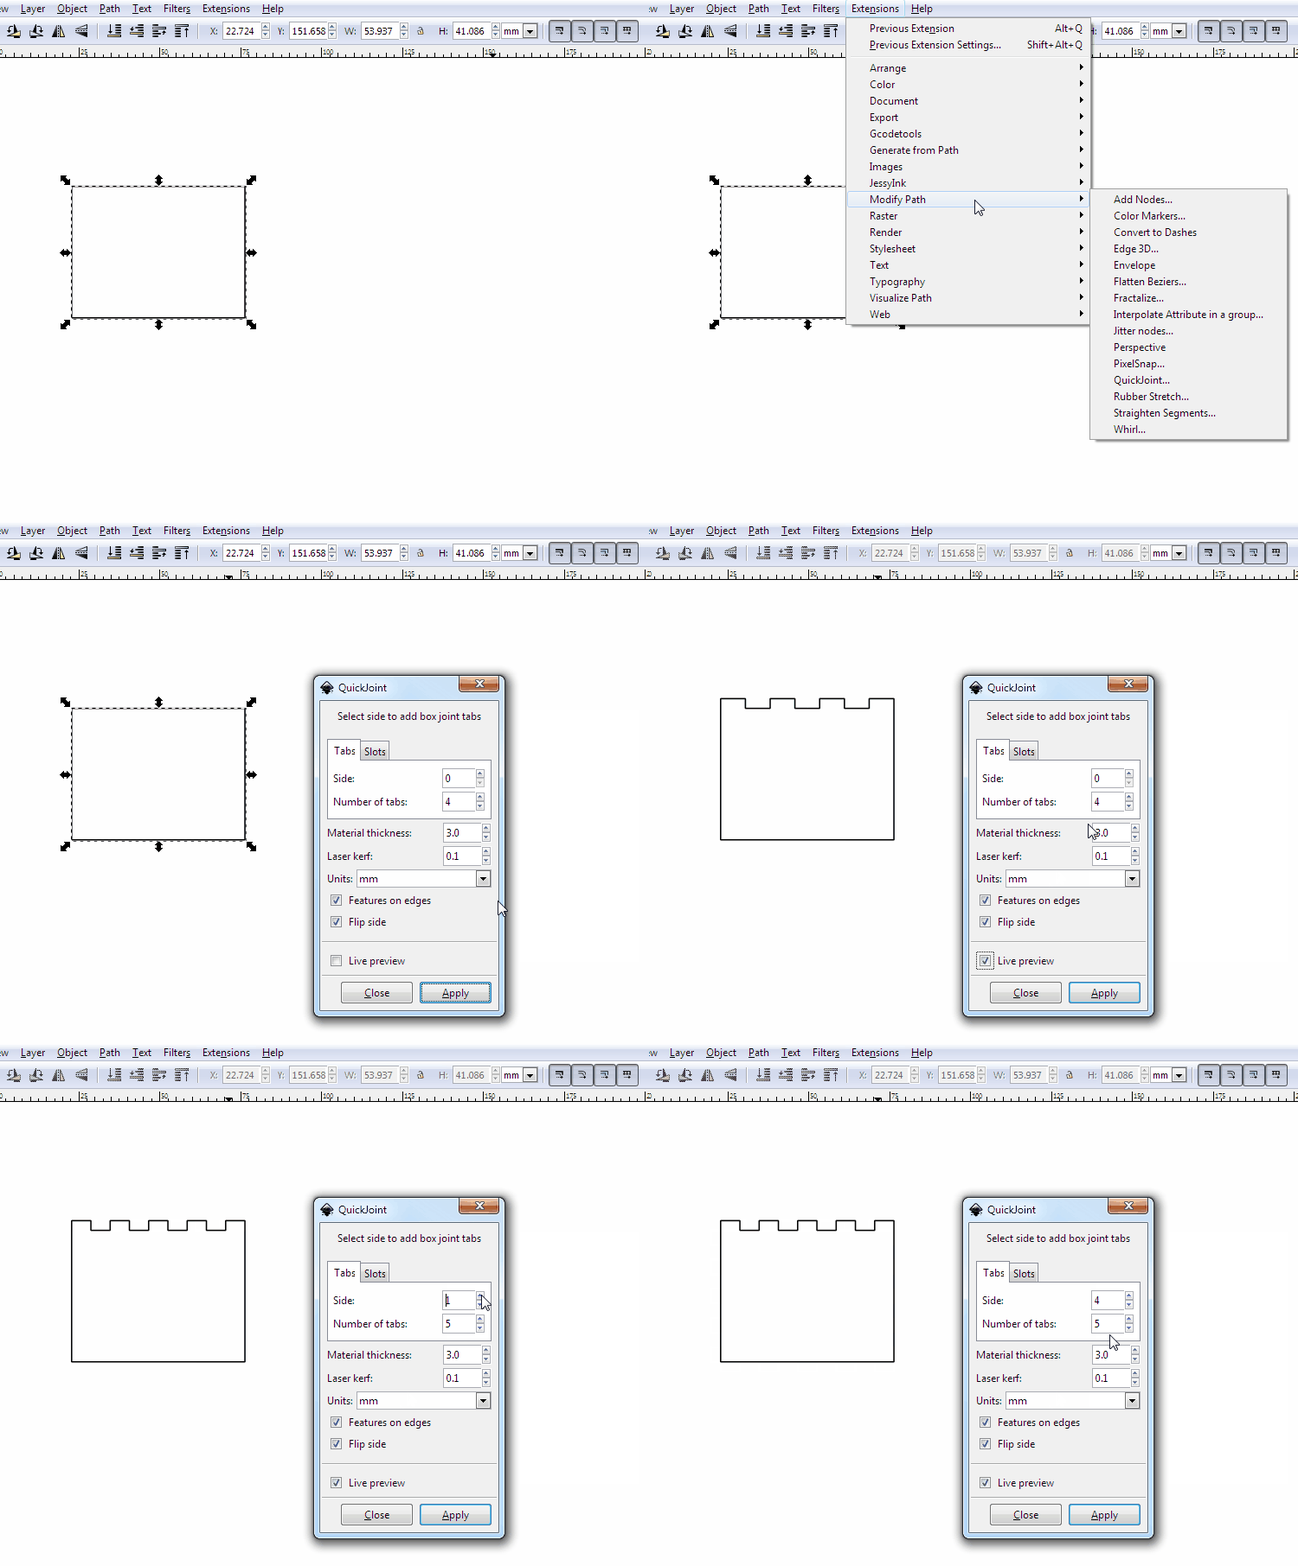
So this is QuickJoint. It’s a simple Inkscape extension that will add box joints to selected objects.

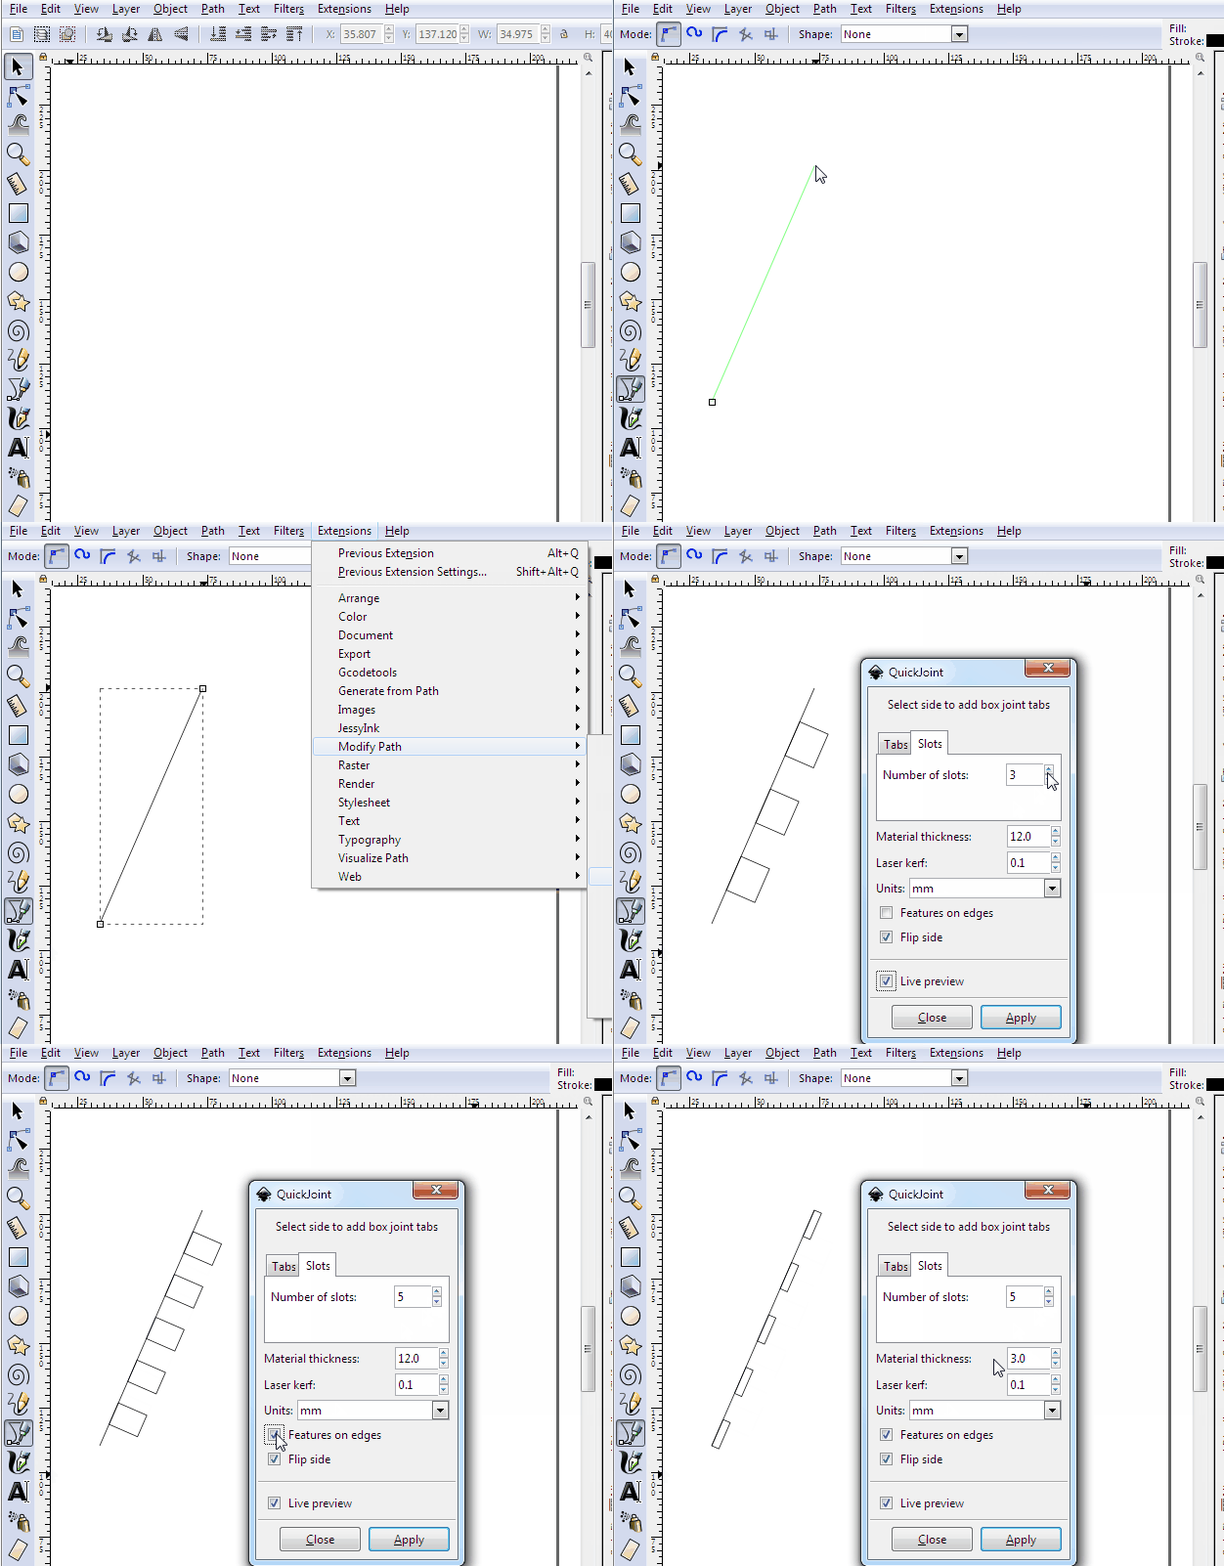
This first version can do male tabs or female slots. The tabs by selecting a path, and then in the menu choose which side (and direction) to tabify.
The slots will use a single line as a guide, accounting for the laser’s kerf.

This is a work in progress. Fine tuning with how kerf computation works will be tweaked. Slots/tabs may be changed to autodetect so that everything can be done at once. There are a few more changes, for sure.
It’s been tested on Inkscape 0.91 and 0.92, but there was a breaking change in how units are translated in earlier versions, so if you get an error that references self.unittouu, then upgrade your copy of Inkscape! Feel free to submit other issues, with example SVGs.
For a two-minute primer on writing extensions for Inkscape, read on!
Everything is based out of the Inkscape/share/extensions folder.
The recommended method to get started is to find a similar extension to the final project, and use it as a starting point.
Two files are required: A .py and a .inx
The .inx is an Inkscape extension dialog file. There’s a reference here, but for simple stuff, that’s not needed. There are plenty of decent examples in the extensions folder. You’ll start by modifying the dialog options, and then setting the self.OptionParser.add_option of the Python script to match.
For the Python portion, there is a little bit of magic.
Most of the files in the extensions folders are just that: extensions. A few of the files in that folder are special helper files, though. They’re listed here. Inkex has the main Inkscape helper functions, and I used simplepath for SVG writing.
One of the key concepts is that Inkscape mostly gets out of your way while running the Python script. You’re parsing and handling the SVG files directly, with the assistance of those helper scripts. It’s not so bad, SVG is a really simple format – In this case, I only needed commands relating to straight lines, listed full SVG spec.
When Inkscape calls your function, it runs YourExtensionClass.affect(), inherited from the Inkex module, which then calls YourExtensionClass.effect(). Yeah, not a typo. It’s a little bit silly.
From there, the “Live Preview” checkbox in the extension dialog is your friend. The .inx only gets loaded when Inkscape starts, so changes to the dialogs don’t get updated, but the .py gets re-run every time the extension renders.
