
I’ve been wanting to play around with concrete for a while, as a project material. I’m not sure what the end goal will be, but once I’m familiar with the material, I’ll be able to shoehorn it into other projects in unexpected ways.
Concrete (actually cement, as I don’t intend to add aggregate) is different from other casting materials like silicone or resin in the cost/quantity proposition. Silicones are quite expensive, often purchased in 1L volumes or so, while cement has the opposite problem. It’s cheap, but I’m stuck buying 40 pound bags of the stuff.
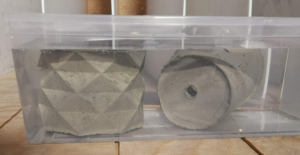
Initially, I found some geometric molds off the internet and started with that, along with a convenience store drink cup.
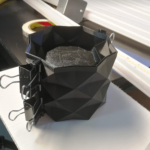

It was easy and worked quite well.
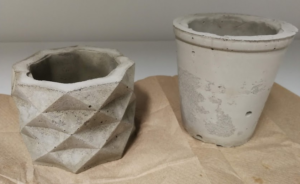
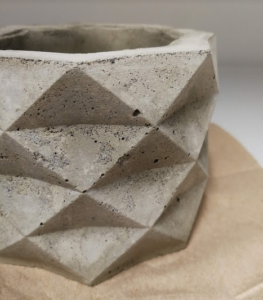
I used RapidSet cement. The box is blue. There are many different kinds, and apparently this is one of the lightest in colour, while being a little smoother than most.
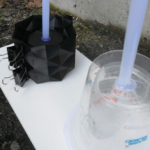
To make these into decent planters, there are also two additional steps: soak it to get all the lye out, and then seal it so it doesn’t shed cement dust all over.
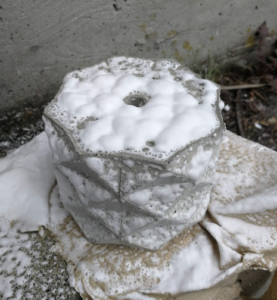
The sealant foams up all strangely. It’s a granite countertop sealer.
This was all just practice, so that I would have a feel for how it works before I put a ton of time into something cooler.
I wanted to cast a mountain range (or two!). I really like mountains.
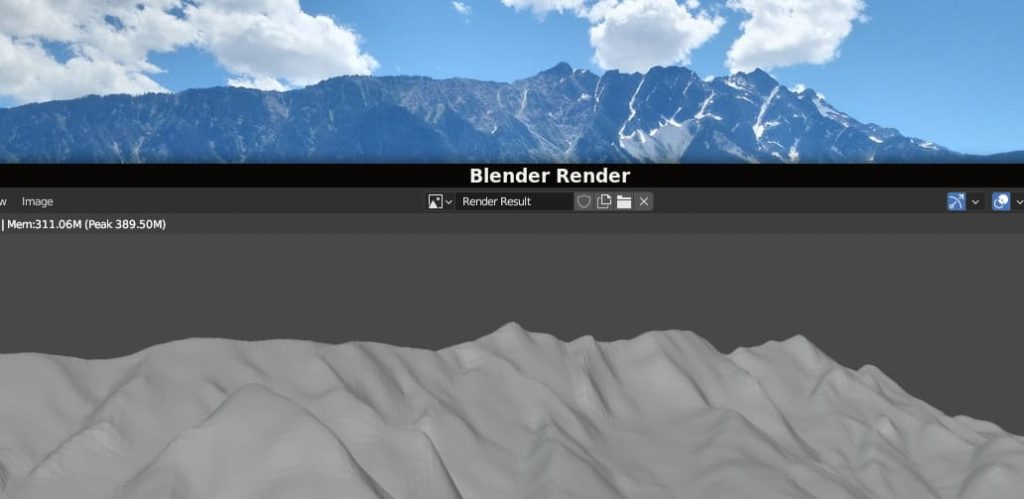
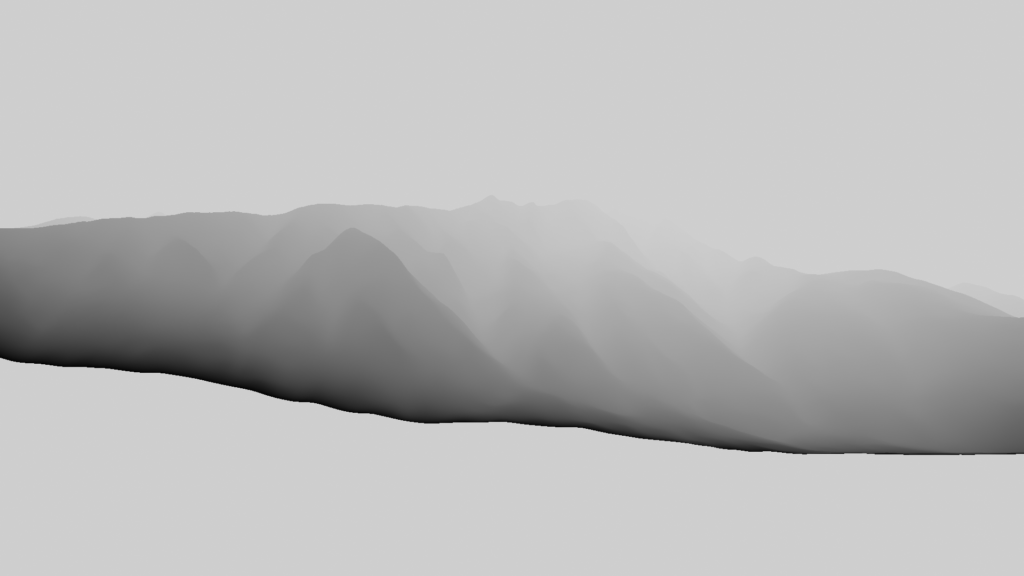
I started with Mount Currie – A distinctive skyline feature near a town called Pemberton. Also as a learning exercise with Blender; I’d never used it before.
Here’s the view from a place I stay at sometimes:

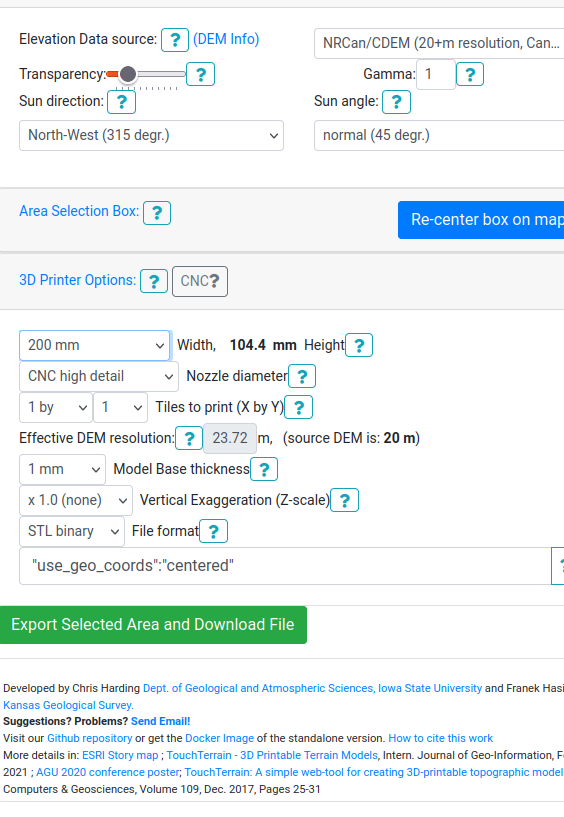
I grabbed the geodata with TouchTerrain. Here are my settings:
Then in Blender, I set up the camera in the same-ish position and focal length of my camera.
Yeah, I’m very satisfied with that.
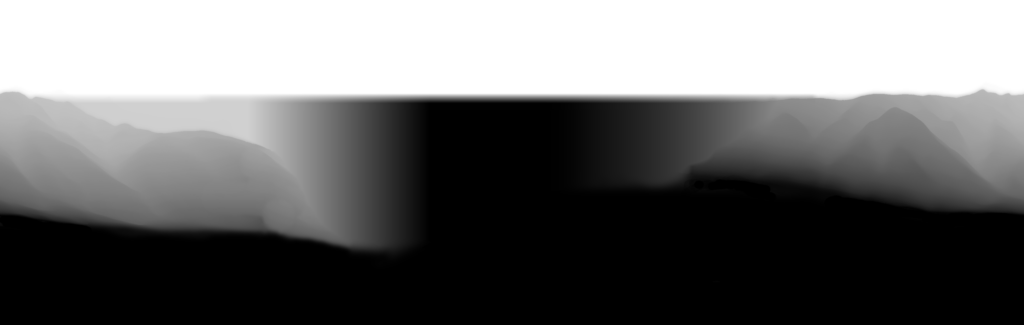
Next step, make the renderer export a depth map instead.
Then map it around a cylinder as another displacement map. The nice thing about this is that the Blender portion of the work, which I’m not very comfortable with, is done. So I’ve got it set up just right, and I don’t have to touch it – The rest of the fiddling on this model is with 2D depth maps in Krita, an open source Photoshop facsimile.
I faked the sides of the mountain range a bit, because they don’t just drop off to nothing.
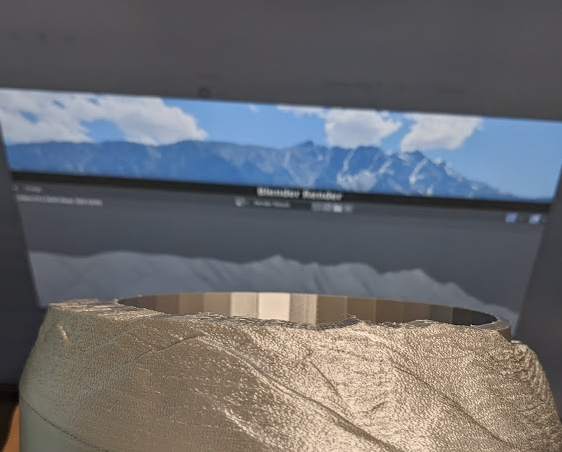
When I got it how I liked, I 3D printed it to get a feel for how it looks in the real world. A few back-and-forths with that, and I built a mould around the positive model in Blender.
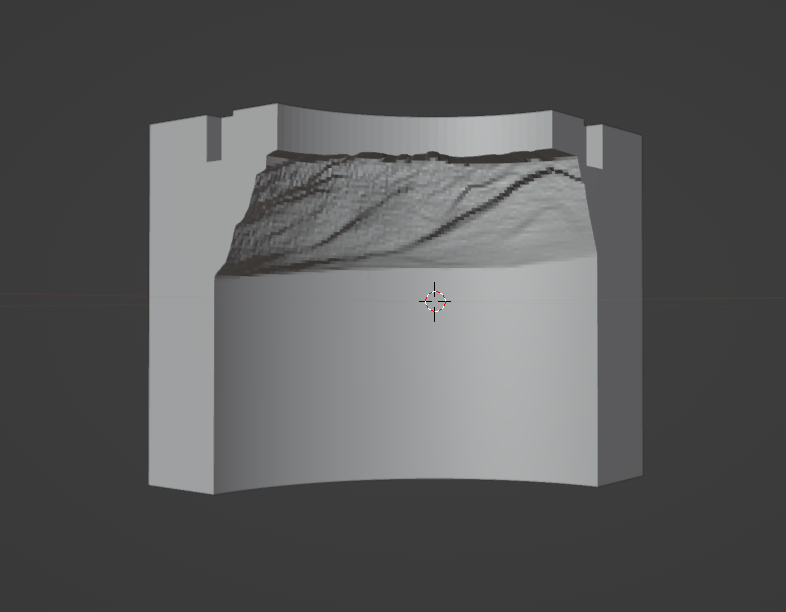
Each piece took about 24 hours to print. This is surplus PLA that will never otherwise get used so the volume of plastic used is totally okay, and the size (and therefore weight) of the cement involved is a concern for a mould that would be more plastic efficient and less beefy.
And then I poured.
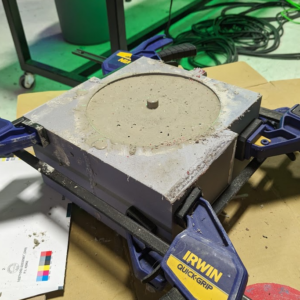
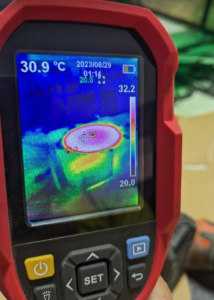
The thermal camera shows how hot it gets as the cement starts to kick. It got past 60 by the time I left it for the night.
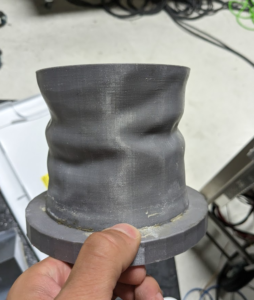
I actually did it twice. The first one I didn’t mix up enough, so ended up scrambling to mix more, which didn’t fill in the mould completely. Honestly, I kinda like it.
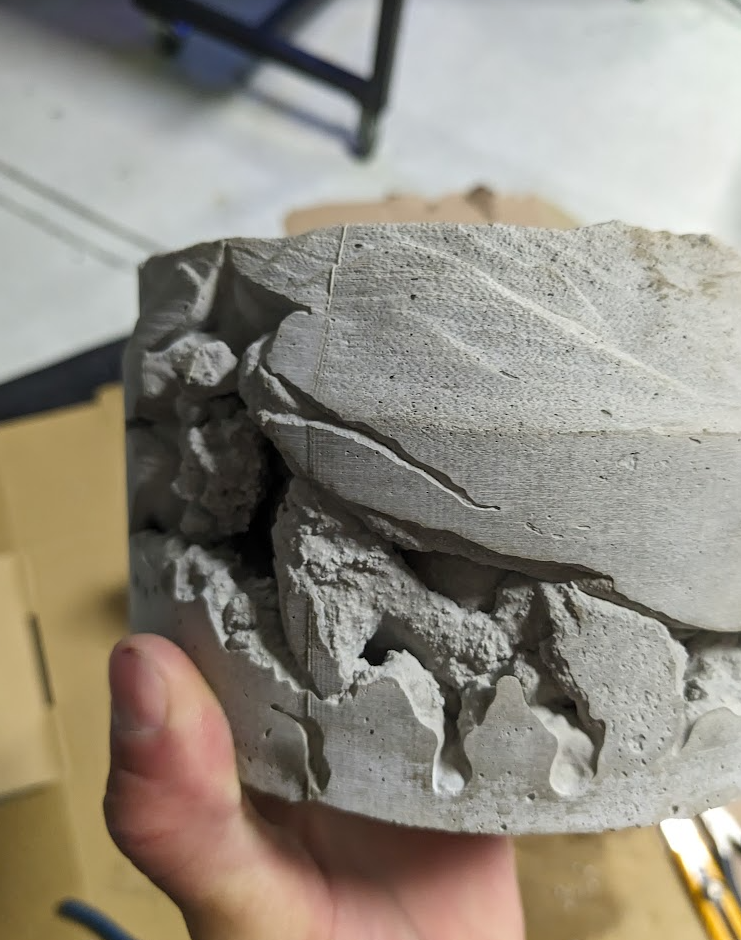
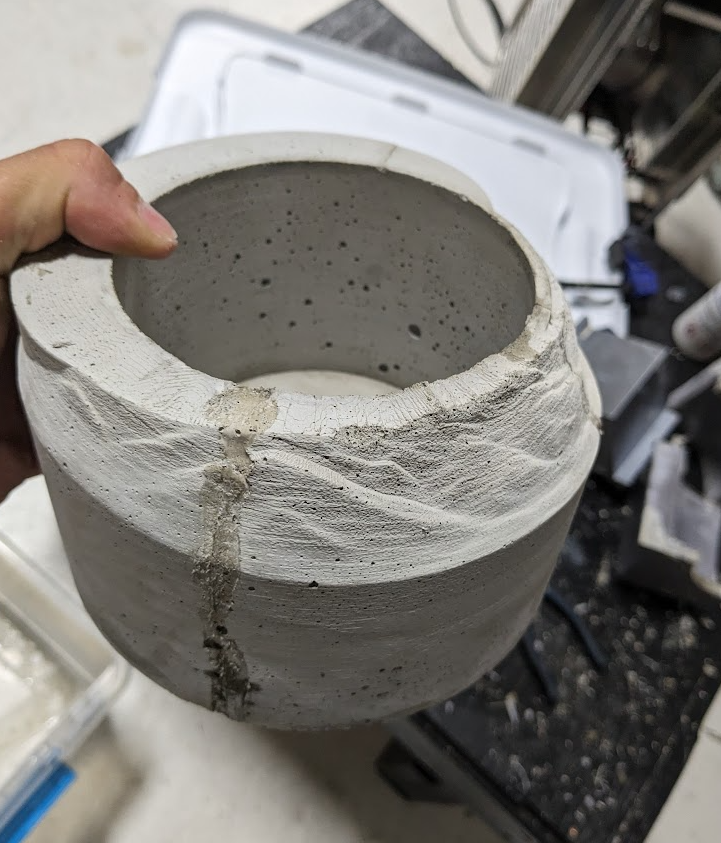
For the second attempt, the mould had warped enough that the seam lines were very visible. After the second pour, the mould had warped enough that it wasn’t viable to pour a third time. This is a really interesting datapoint. It’s possible that PETG or some other higher temperature material would fare better. And this issue doesn’t crop up in the smaller castings I did. The cement only gets hot enough to deform the plastic when there’s a large volume curing at once.
But regardless. The result!
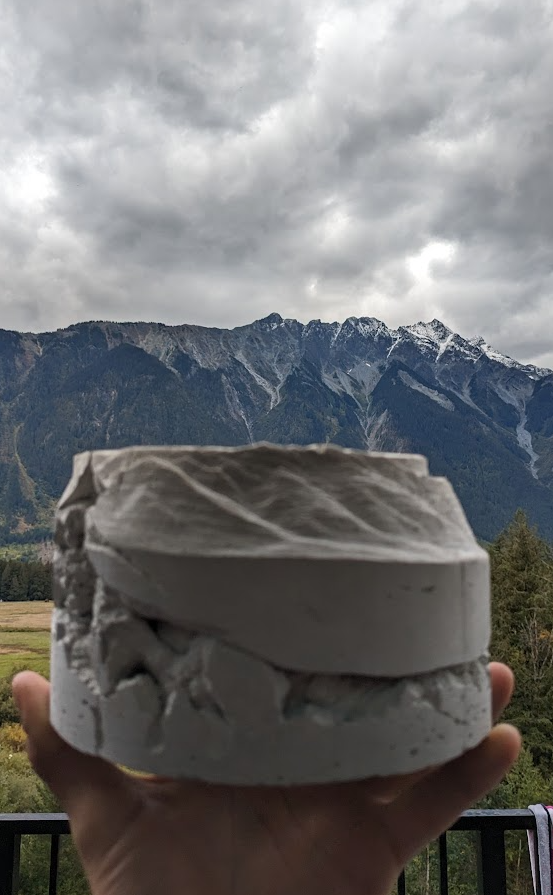
It’s decent. I’m about 80% happy with it. It’s recognisable as the target mountain range, but it’s not instantly identifiable. This is done as the actual aspect ratio of the mountains, with the focal length of the (cellphone) camera I took of the mountains, and it looks a little too shallow. Perhaps the aspect ratio would be a good knob to turn for future experiments, to get the mountains in the casting to look a little taller.