Before YouTube existed, I saw a video online. There was no spoken dialog, just subtitles in Japanese, with upbeat music in the background. It shows pictures of point-to-point soldering of a document scanner’s sensor and some sort of microcontroller. Then the single line sensor is put into a box (with a lense) and taken for an adventure.
I’d love to find this video again, but the main takeaways were that by reducing your camera to one dimension, you can fake the second dimension to create infinitely long images.
The creator of that original video set it up beside some train tracks, and got a long image of an entire train as it drove past the camera. Similarly, you could put it beside a road and get images of cars, or in the playa at Burning Man and capture the eccentric costumes as Burners ride past on bikes.
I wanted to build a quick test. Lurking in my parts bins, I have a single-line camera module, and a massive pile of old LCDs. For this, I selected an Arduino shield labelled MCUFRIEND 3.6″.
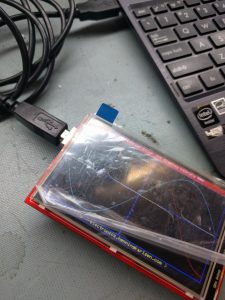
Searching around reveals that this model doesn’t actually seem to exist, but okay! The standard method of most Arduino LCD shield driving is to find example libraries that look like they have a reasonable chance of working, and then try them all until something does. I had to borrow an Arduino, because I’m not a huge fan, so I don’t even own one. How embarrassing.
In this case, the official-looking repository by prenticedavid is here, and GLUE_Demo_400x240 seemed to do a good job of driving this one. The code initialises it as 0x9327, which is the ILI9327 LCD driver. The datasheet for the ILI9327 is very good, so I may keep the LCD and write my own drivers for whatever non-Arduino architecture I eventually go with.
I did attempt to follow the maze of #defines in the Arduino library code, but I don’t recommend anyone do that if they value their sanity. I also put a logic analyser on it to grab just the output; this resulted similarly convoluted and unhelpful results.
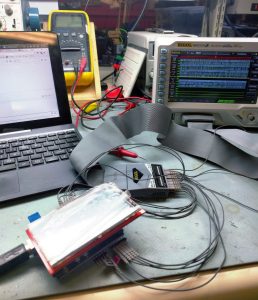
While I’ll eventually be using a sensor designed for document scanners (lots more on that, stay tuned), the TSL1401 is a bespoke solution good for this test.
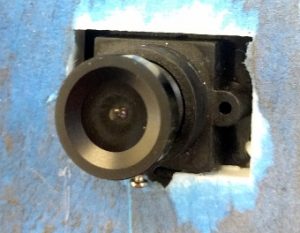
All-in-one sensor, lens, and brains that take logic level timing, and spits out analog values. 127 pixels tall, greyscale, and tiny, it’s objectively kind of bad, but fits the bill for now. I got it up and running in an hour or two.
Cool! That means I have a reference implementation. I’m not running this on an Arduino in the final version, but it got the job done in a quick-and-dirty way.
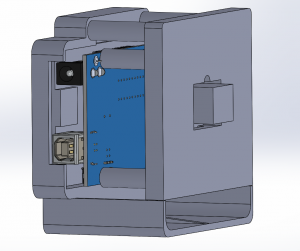
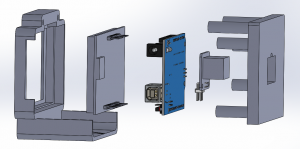
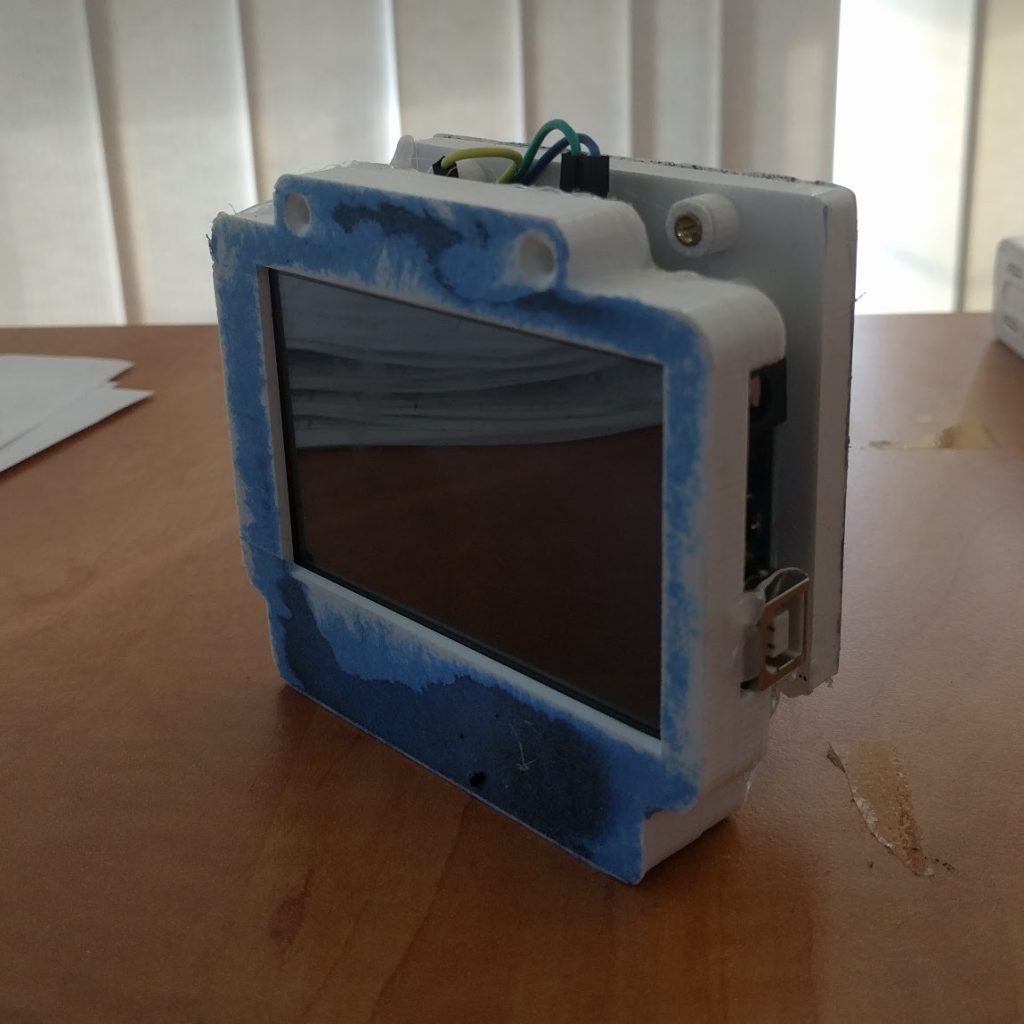
The whole thing was modeled up in SolidWorks, along with dimensionally accurate stand-ins for the electronics.
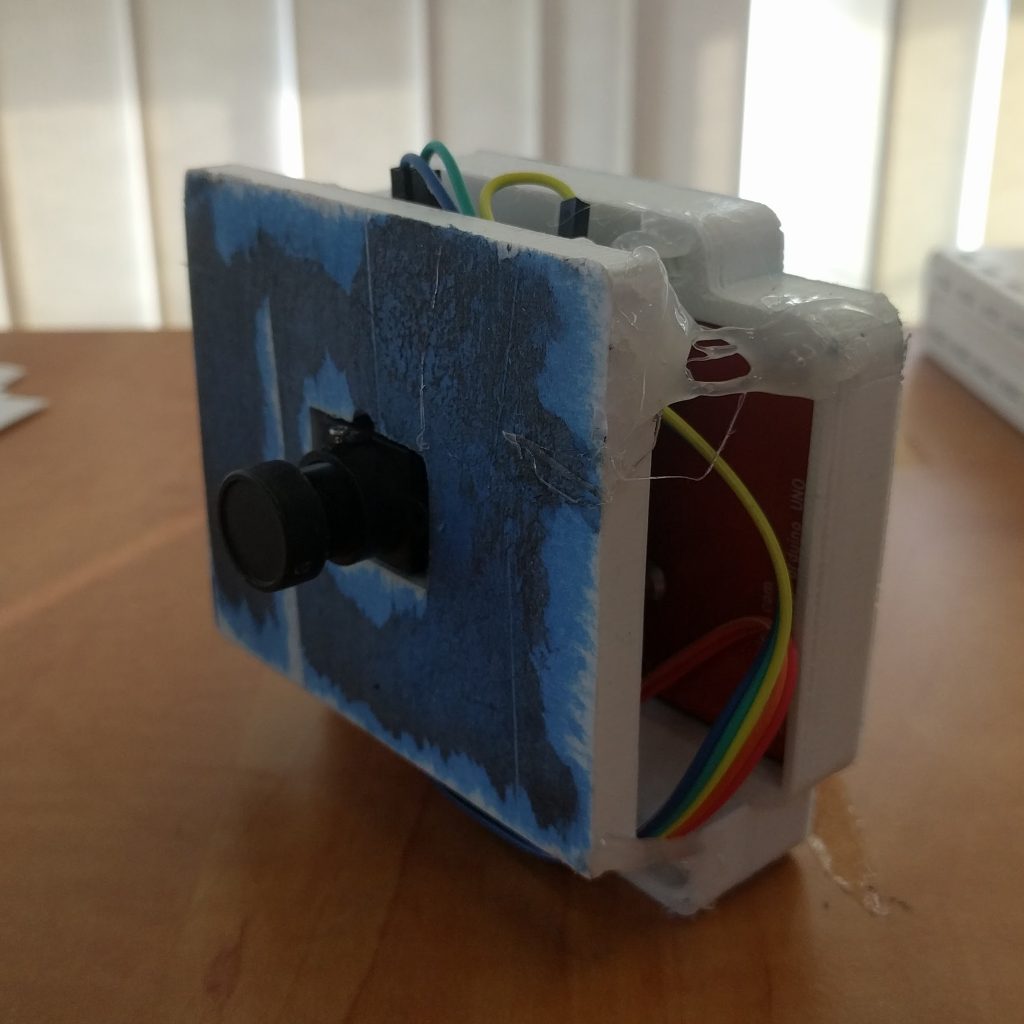
There are two 3D printer parts, adapted from the models of earlier jigs I’ve done, in keeping with the ethos of this test: quick and dirty.
I typically design around M3 screws, and used brass heat-set inserts to turn 3D printed cavities into threaded holes. As much as I dislike 3D printing, it has its uses.
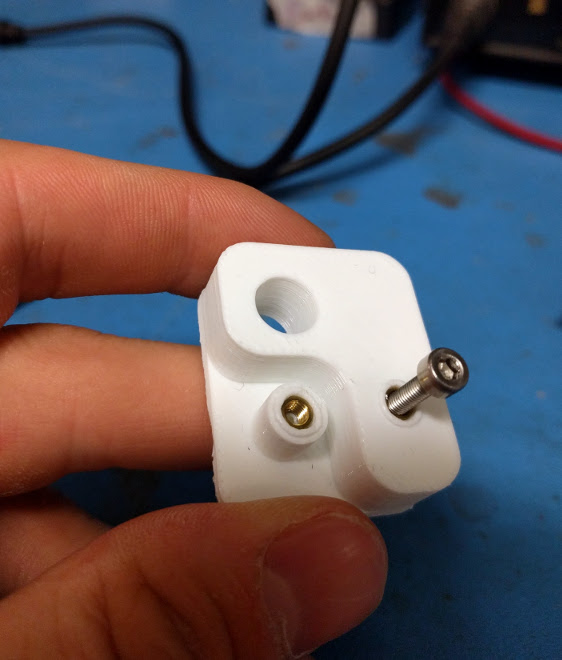
Both halves of the 3D printed enclosure failed while doing some of the top few layers, but the baseplates are there so nothing that can’t be fixed with some standoffs and hot glue.
The results from this test project, predictably, are pretty bad.
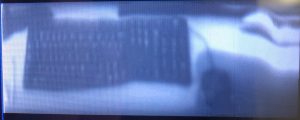
This is a handheld scan across my keyboard.
As a stepping off point, it’s served its purpose. Here is an incomplete list of changes that future prototypes will feature:
- A better microcontroller. Probably an STM32F1 or STM32 F4 series. I like the flexible memory controller, which can be used to map virtual memory regions to LCD driver chips.
- A better sensor. The current one is only 128 pixels tall, greyscale, poor quality, and relatively expensive for what you get.
- UX – rotary encoders, buttons, LCD widgets:
- Start/stop capture
- Speed up/slow down scan/capture rate
- Integration time adjustment
- Post capture stretch/compress
- Histogram
- Saving to SD card
- Battery power
Changing the sensor might not actually make it to the next rev, it’s a big project on its own. Sourcing a sensor through Taobao probably, figuring out how it works, driving it, building a board to work with it, and all the mechanical work of lens selection, mounting, and measuring.
Either way, I’m happy to leave this for now, and return to it when I have cleared out some of my project backlog.

[…] is a follow up from Infin1D, Rev 0.5, where I threw together a proof of concept in a few hours. This is the one where I spent some […]