In the deep, dark, depths of my project “to-do” list, I’ve always had a persistence-of-vision bicycle wheel light penciled in. I felt capable of doing it many years ago, and indeed, documenting the wiring was one of the driving forces for starting this website, but never got around to building one.
Eventually, products like the MonkeyLight came out, which did everything I wanted and more. Because “having the finished product” is rarely the goal of my projects, the very existence of a commercially available solution is sometimes enough to stop me from bothering.
For reference, the good version of MonkeyLight is $1000. Highway robbery! It is a great looking system, though.
But in August of 2017, I found a 32-LED bicycle spoke light on AliExpress. The cost at the time was $4.30.

Even now, it’s less than five dollars! That’s ridiculous! I can’t get individual components for that.
The only problem is that it displays preset patterns, and nothing more.
So I’m going to be upcycling! Get it?
And so I bought two.
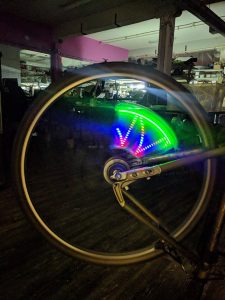
Here are a few terrible pictures of what they look like in action:
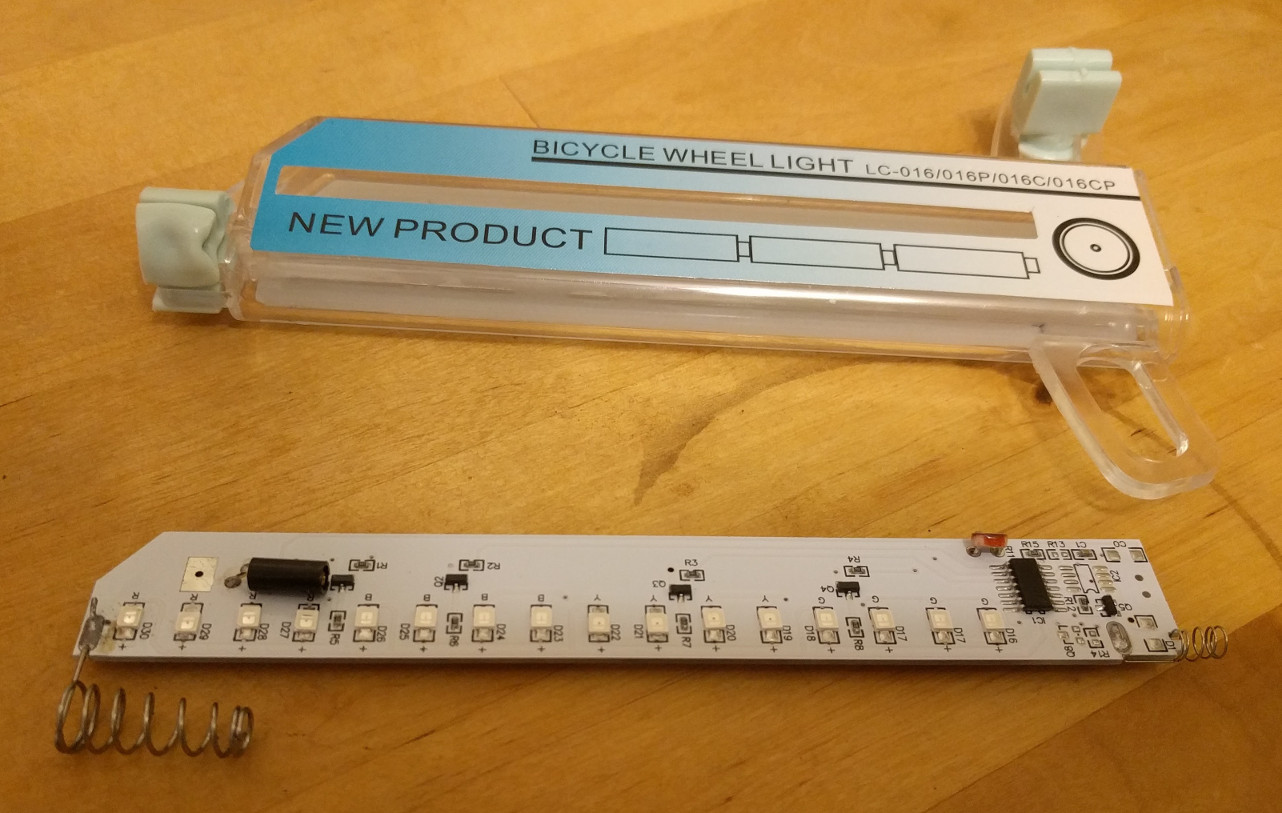
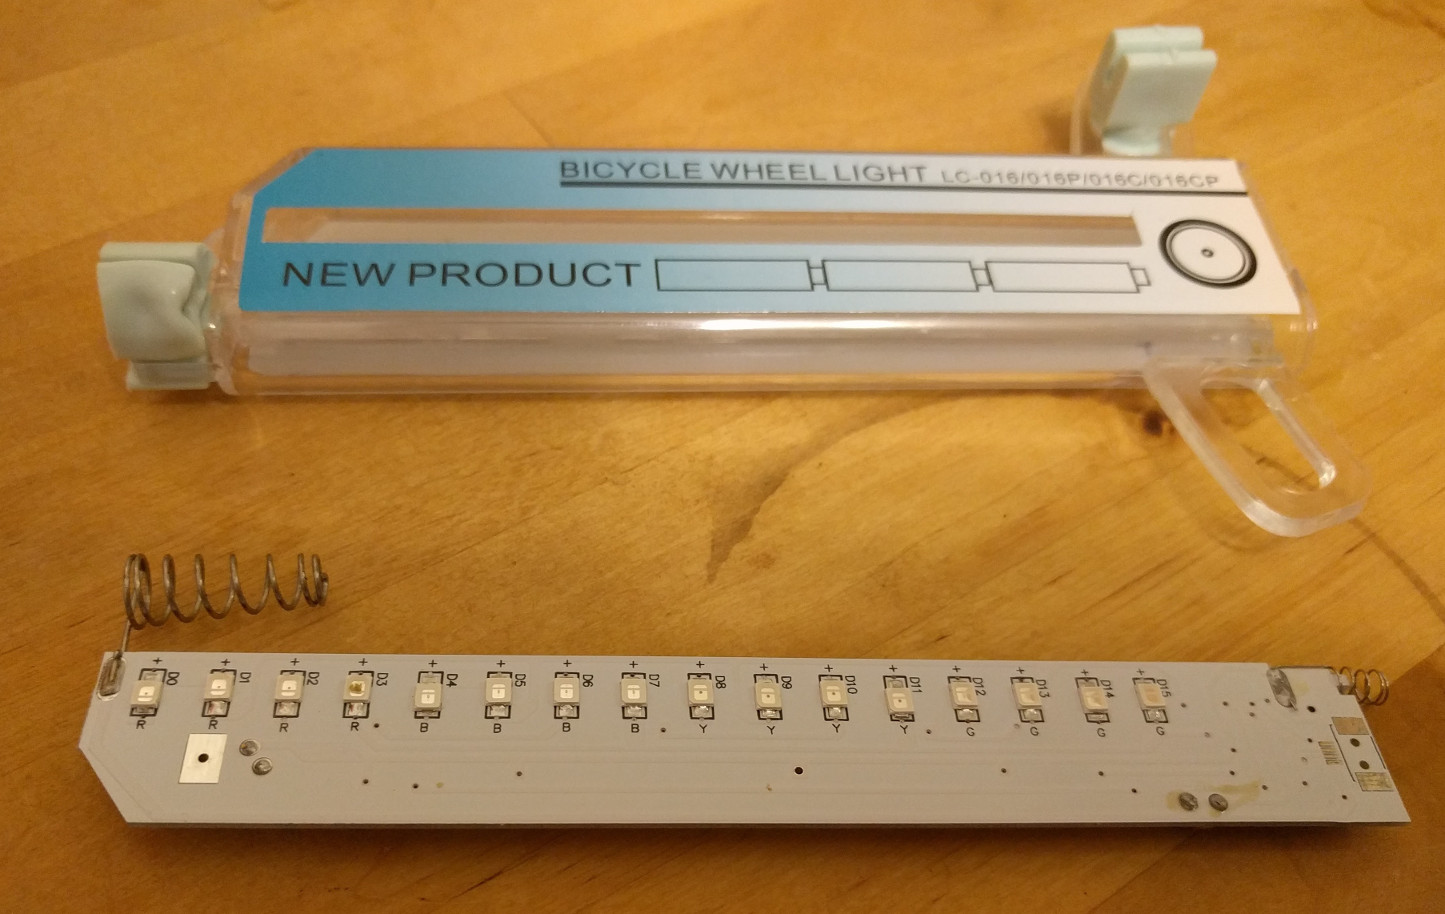
There’s the top and bottom. Fairly straightforward. Light-dependent resistor and vibration sensor feeding into a microcontroller.
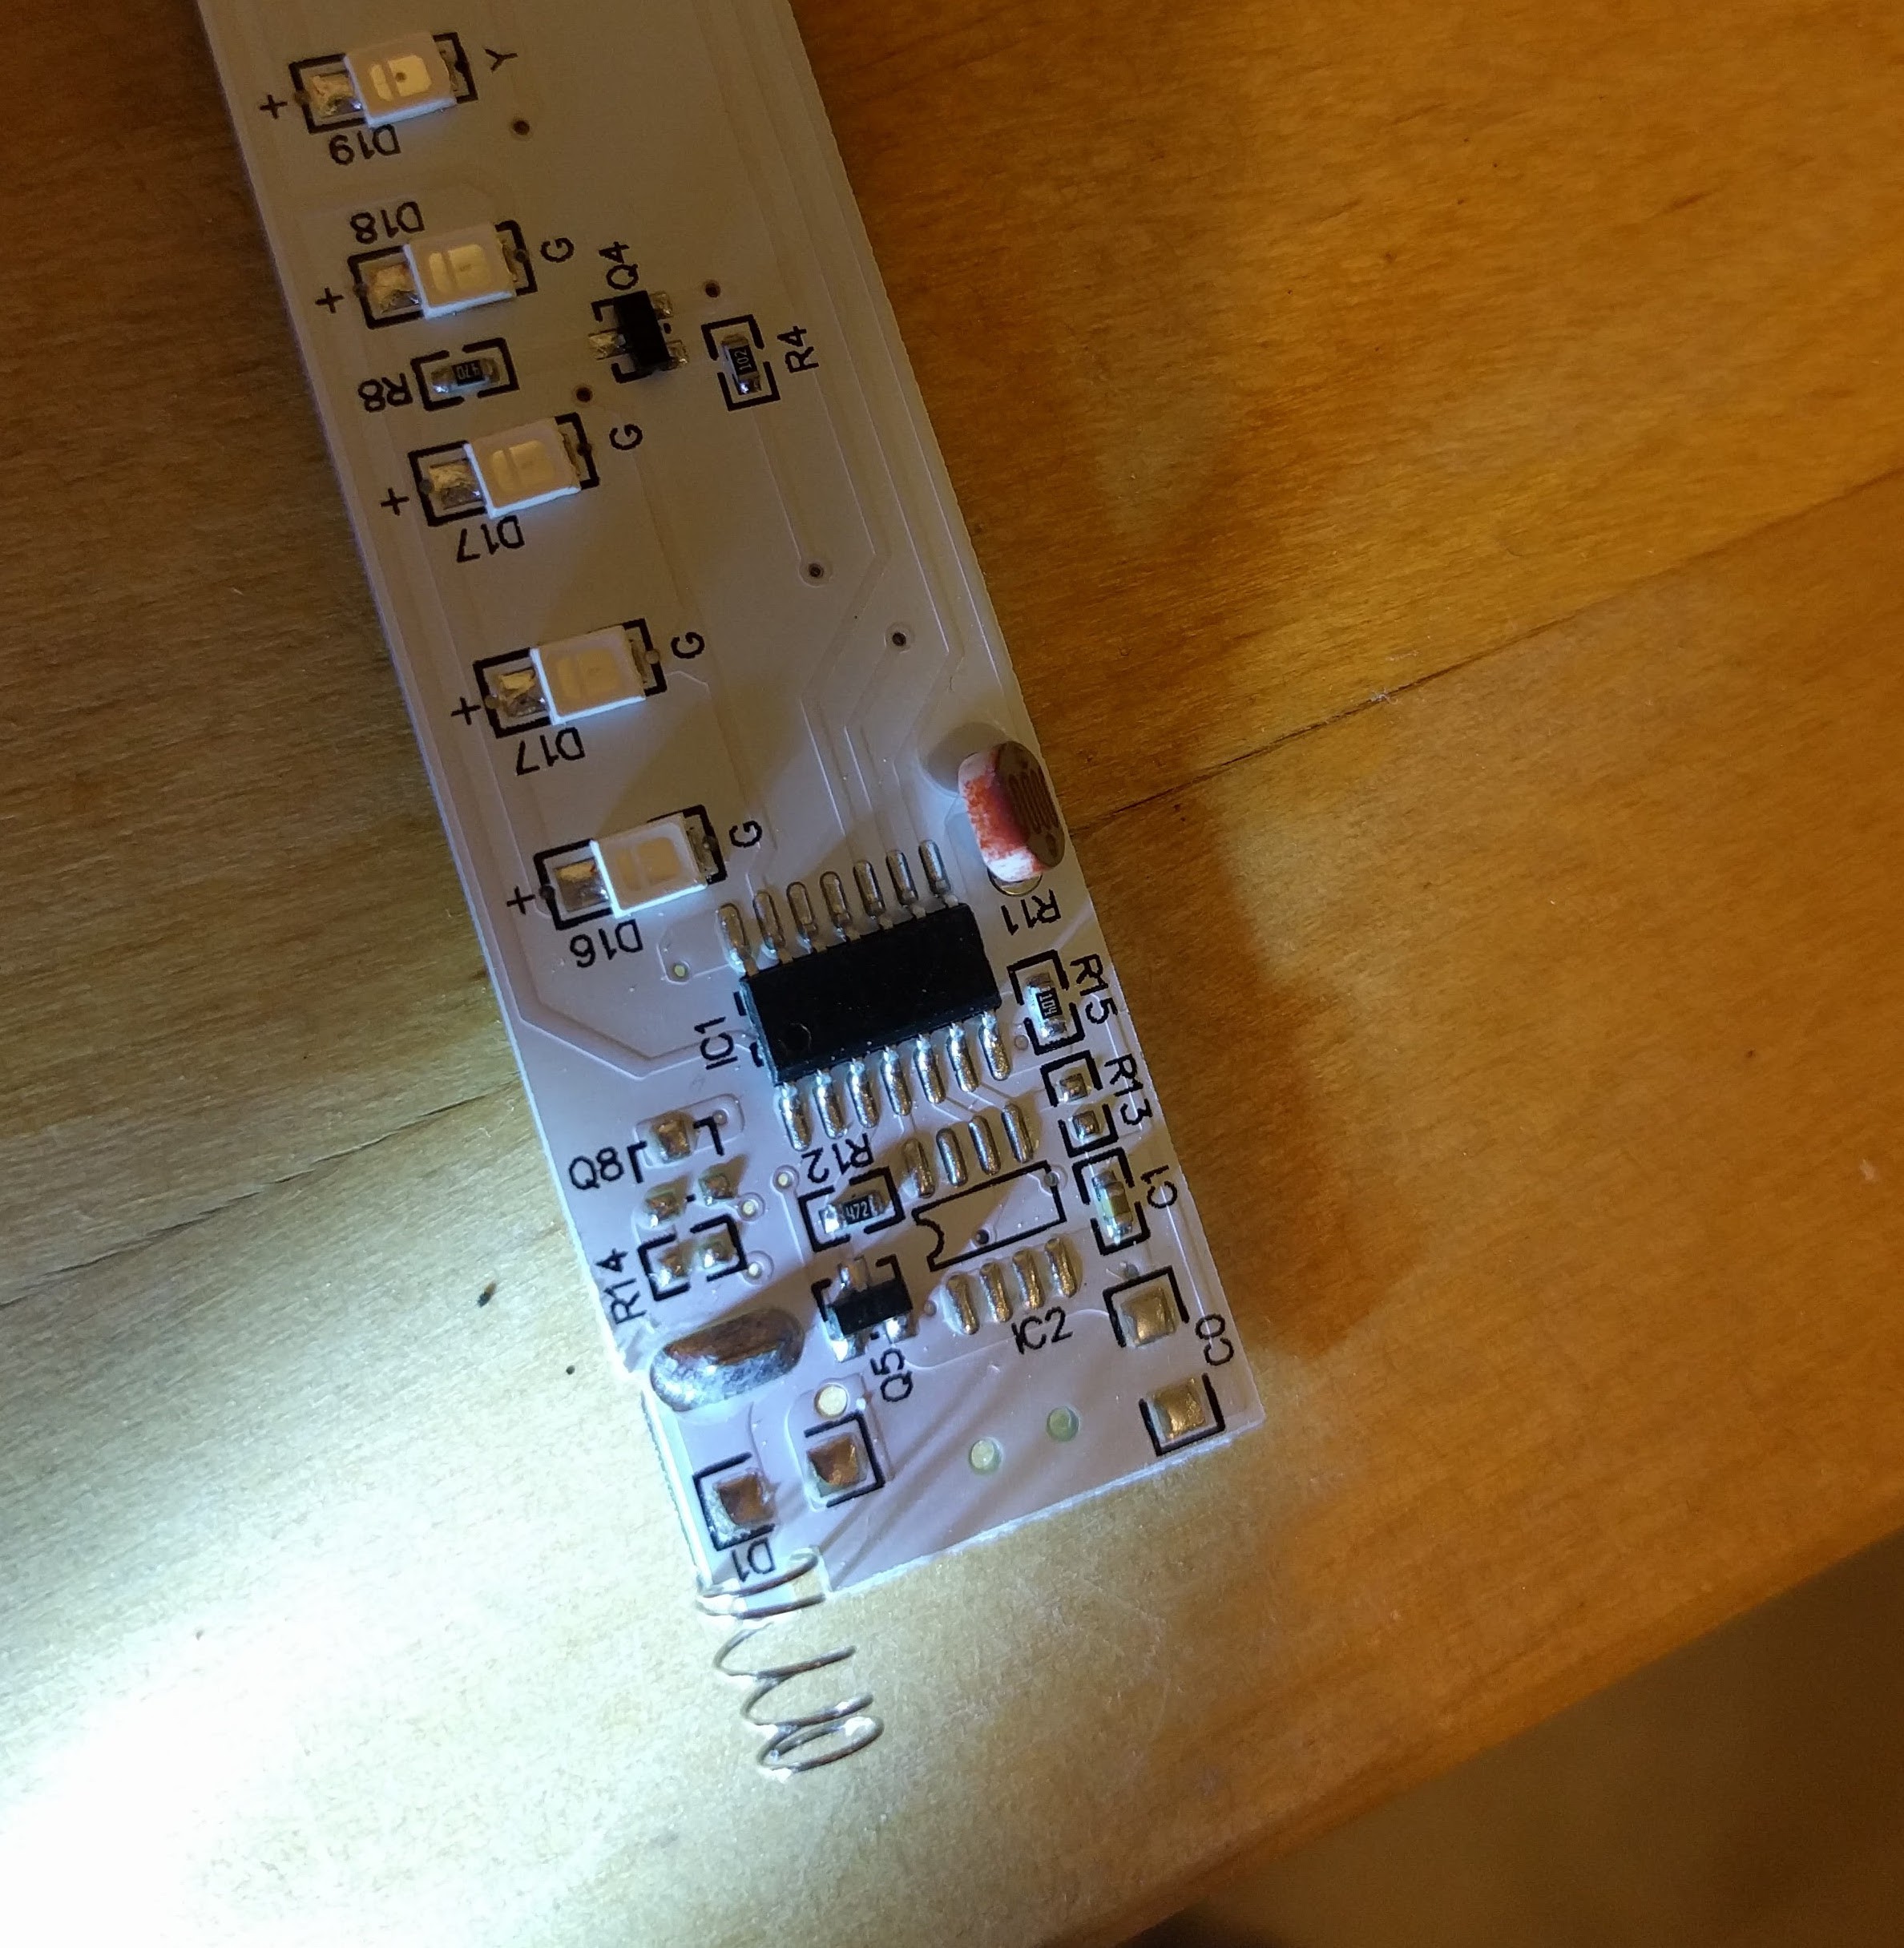
It’s super hard to photograph white soldermask in a way that displays the traces. A combination of that and buzzing pins out results in a schematic, like so:
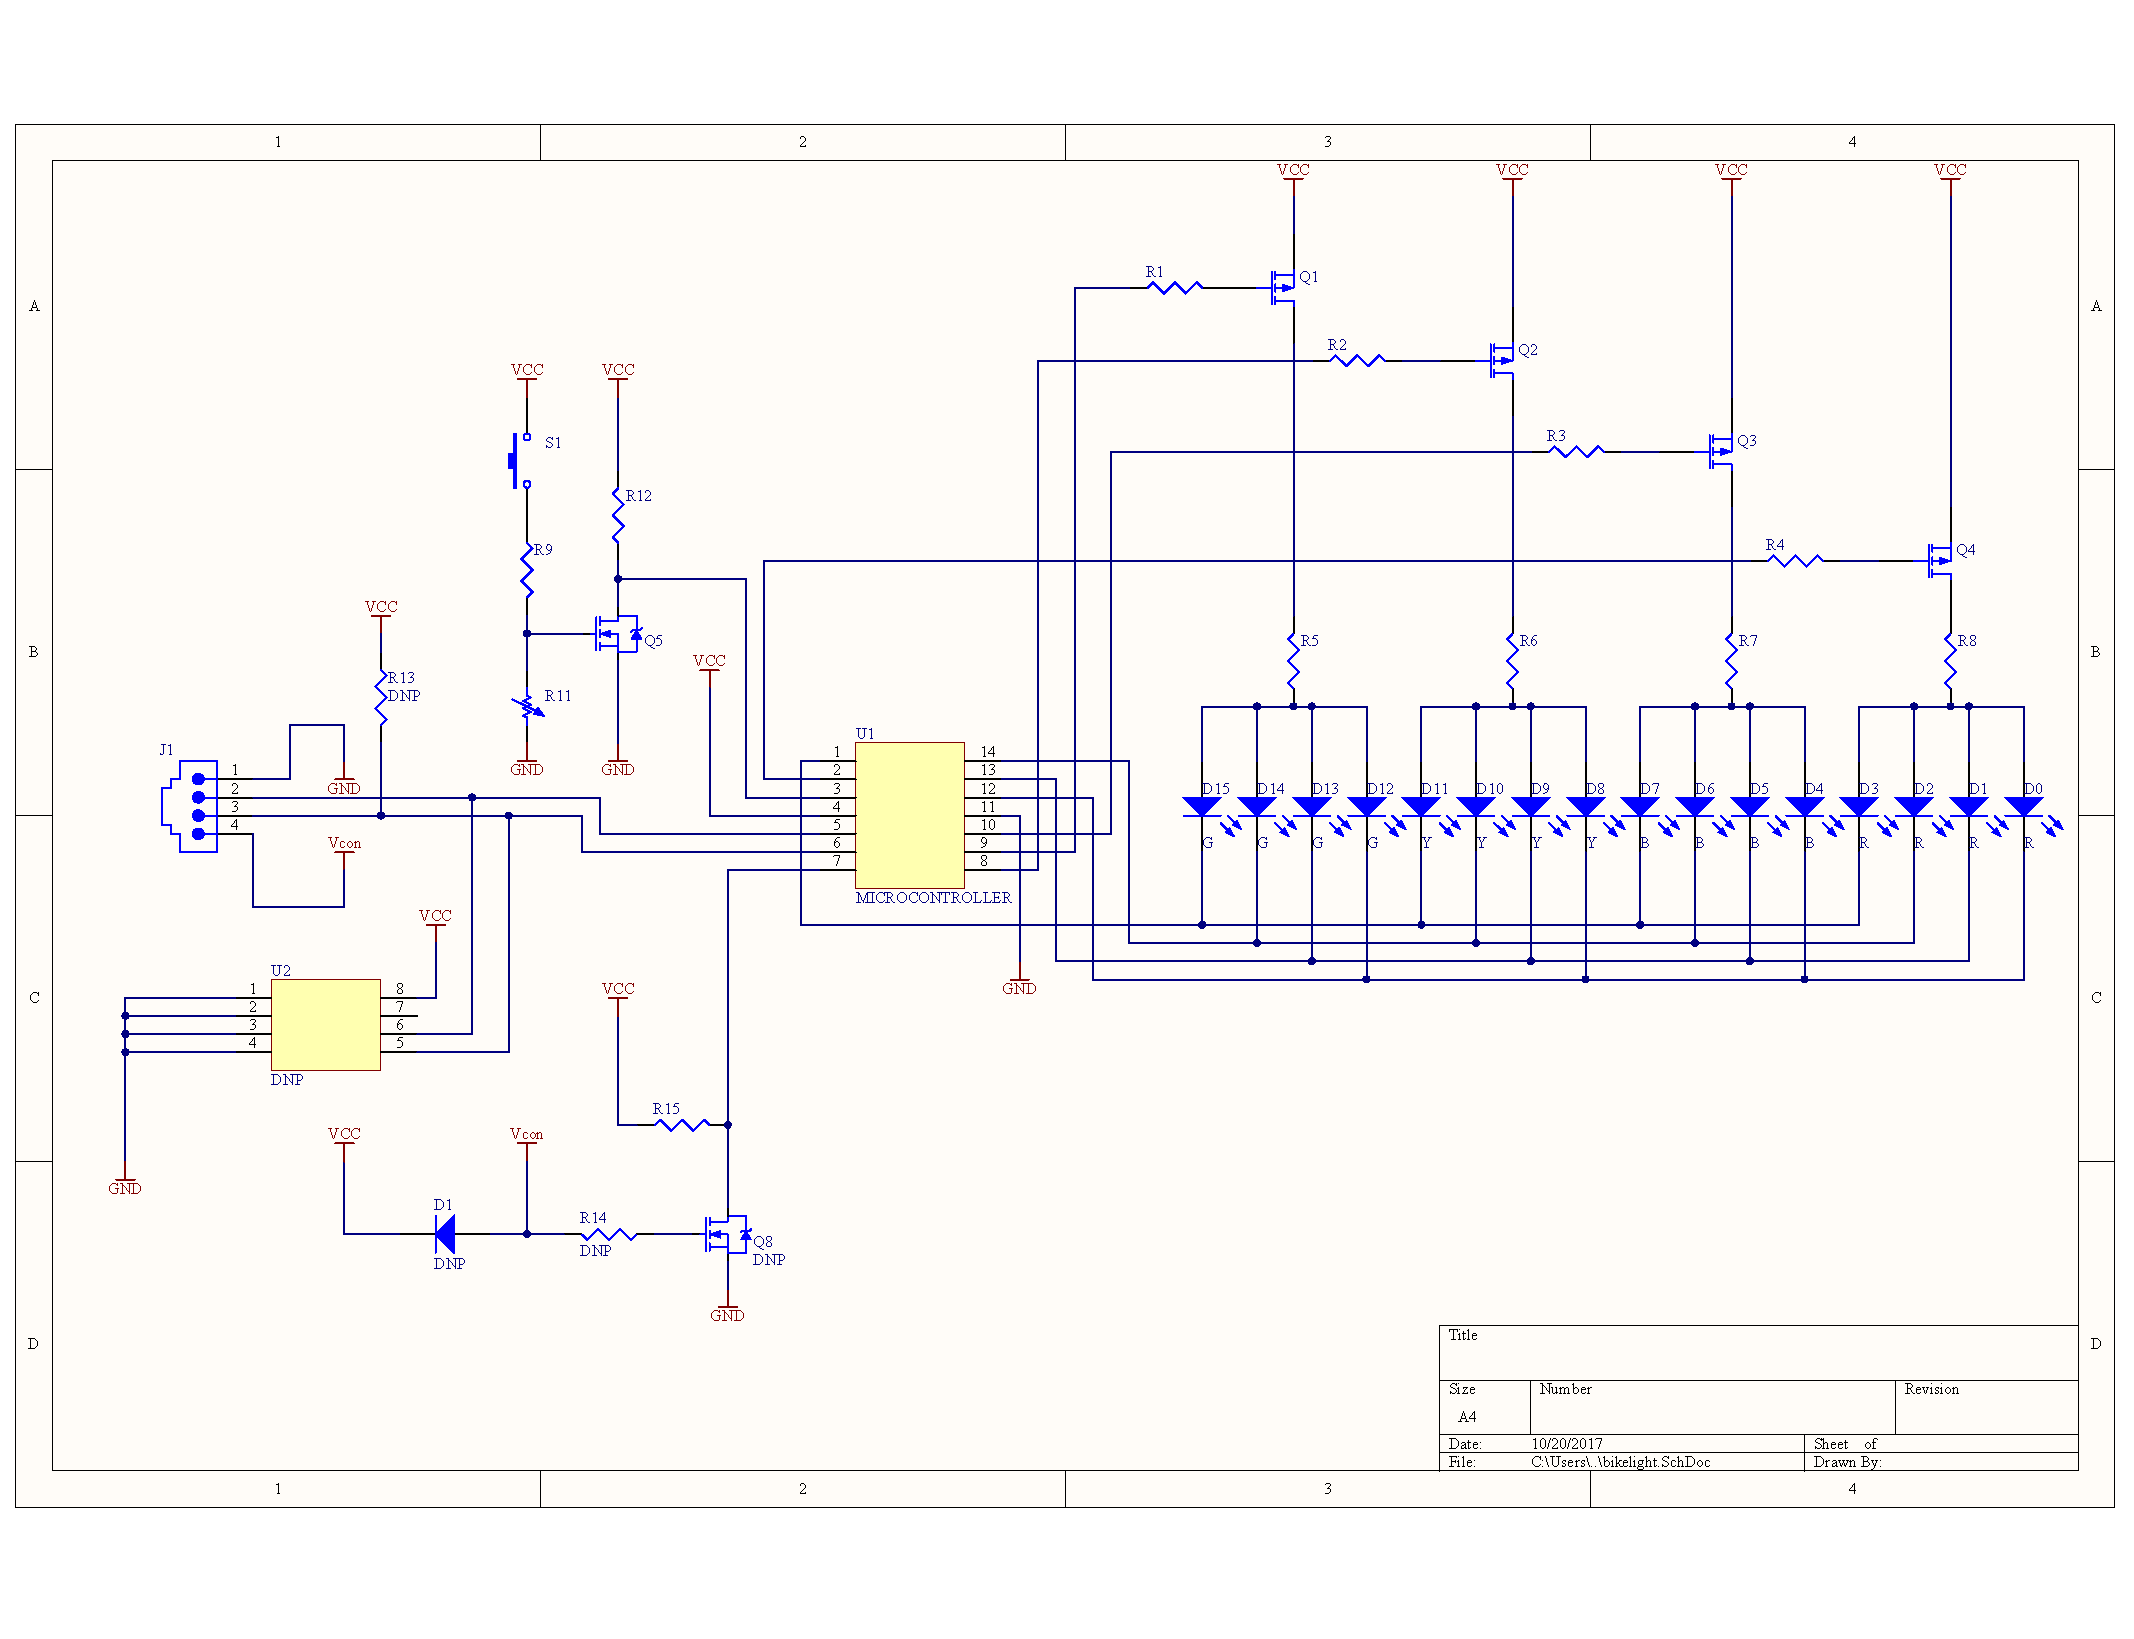
U2 is probably (similar to) an AT24C02, an EEPROM chip, which isn’t populated in this PCB. Cost reduction on display! There’s an associated pull-up resistor and connector, also missing. Presumably there’s some model out there where you can plug in an I2C device and talk to the microcontroller, or add data to the flash chip.
The other one is probably an EM78P153B, based on its pinout. Or very similar. Depending on the exact model, it’s either one-time-programmable memory, or masked ROM from the factory. Either way, there’s nothing I can do to its code. So, removal it is!
It’s interesting to see microcontrollers that rarely come out of China like this.
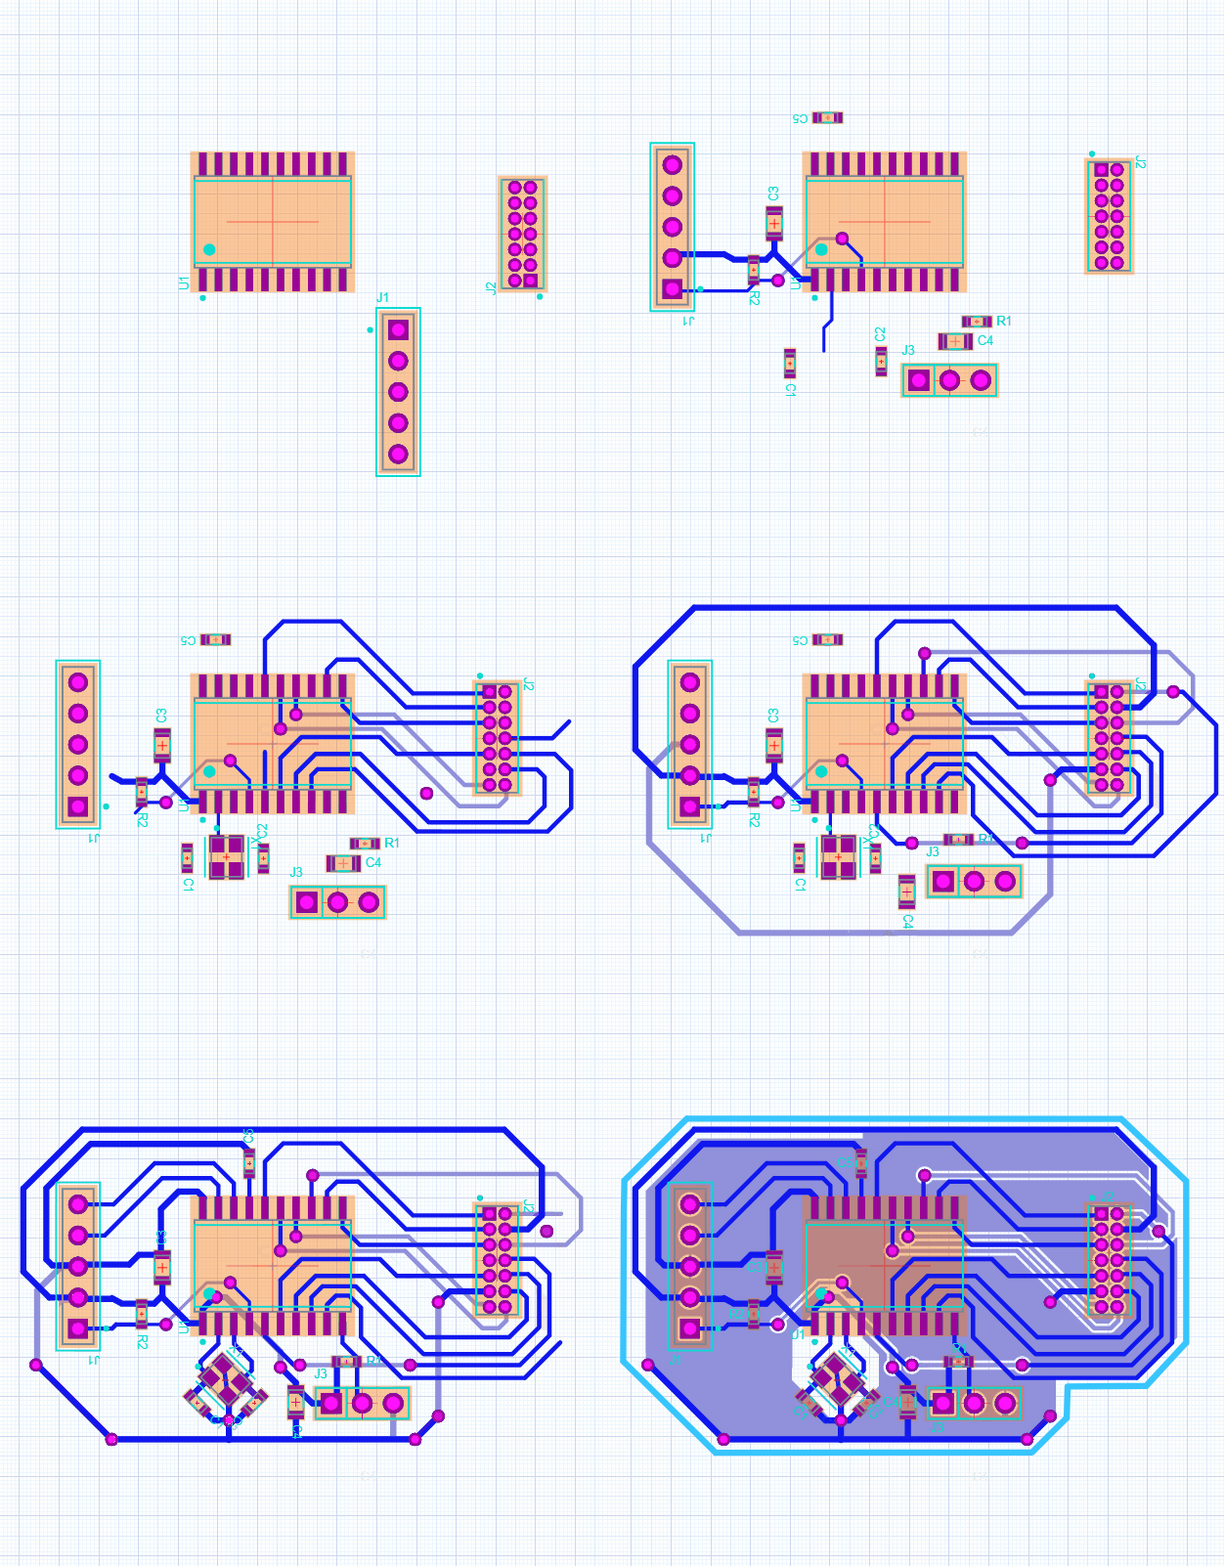
I have a pile of PIC18F14K50, so I threw the footprint onto a small board and headers that matched the 1.27mm pitch of the original microcontroller. I was using Upverter for this PCB, and it provides a pretty neat histogram:
After that, gotta see if it fits, using the convenient laser cutter on hand.
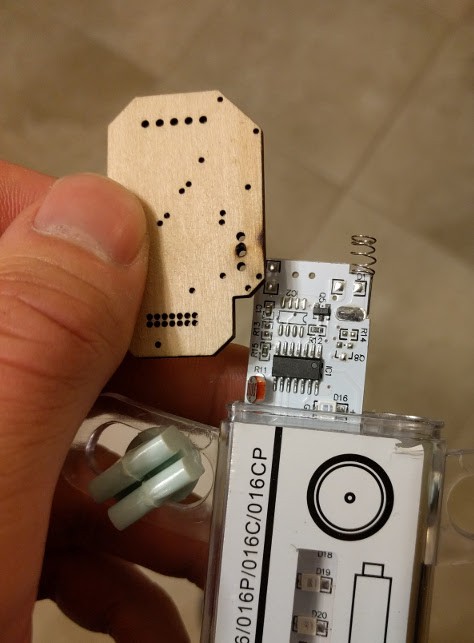
It most certainly does not! So the microcontroller was swapped with a smaller one, the PIC16F1619.
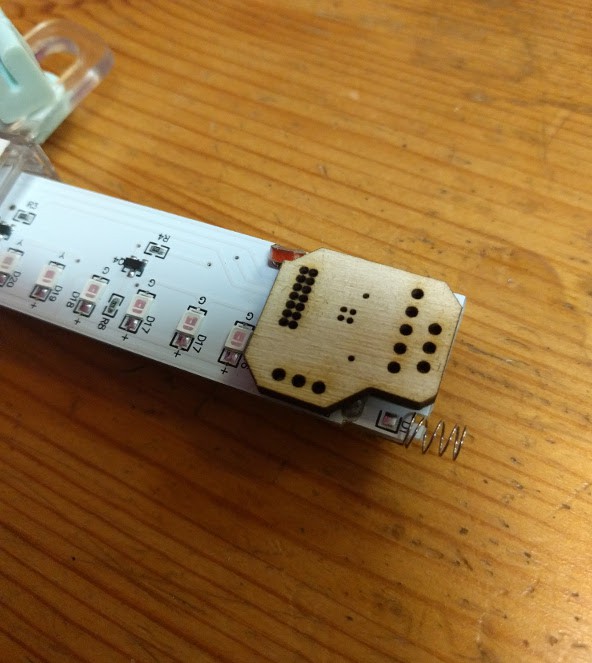
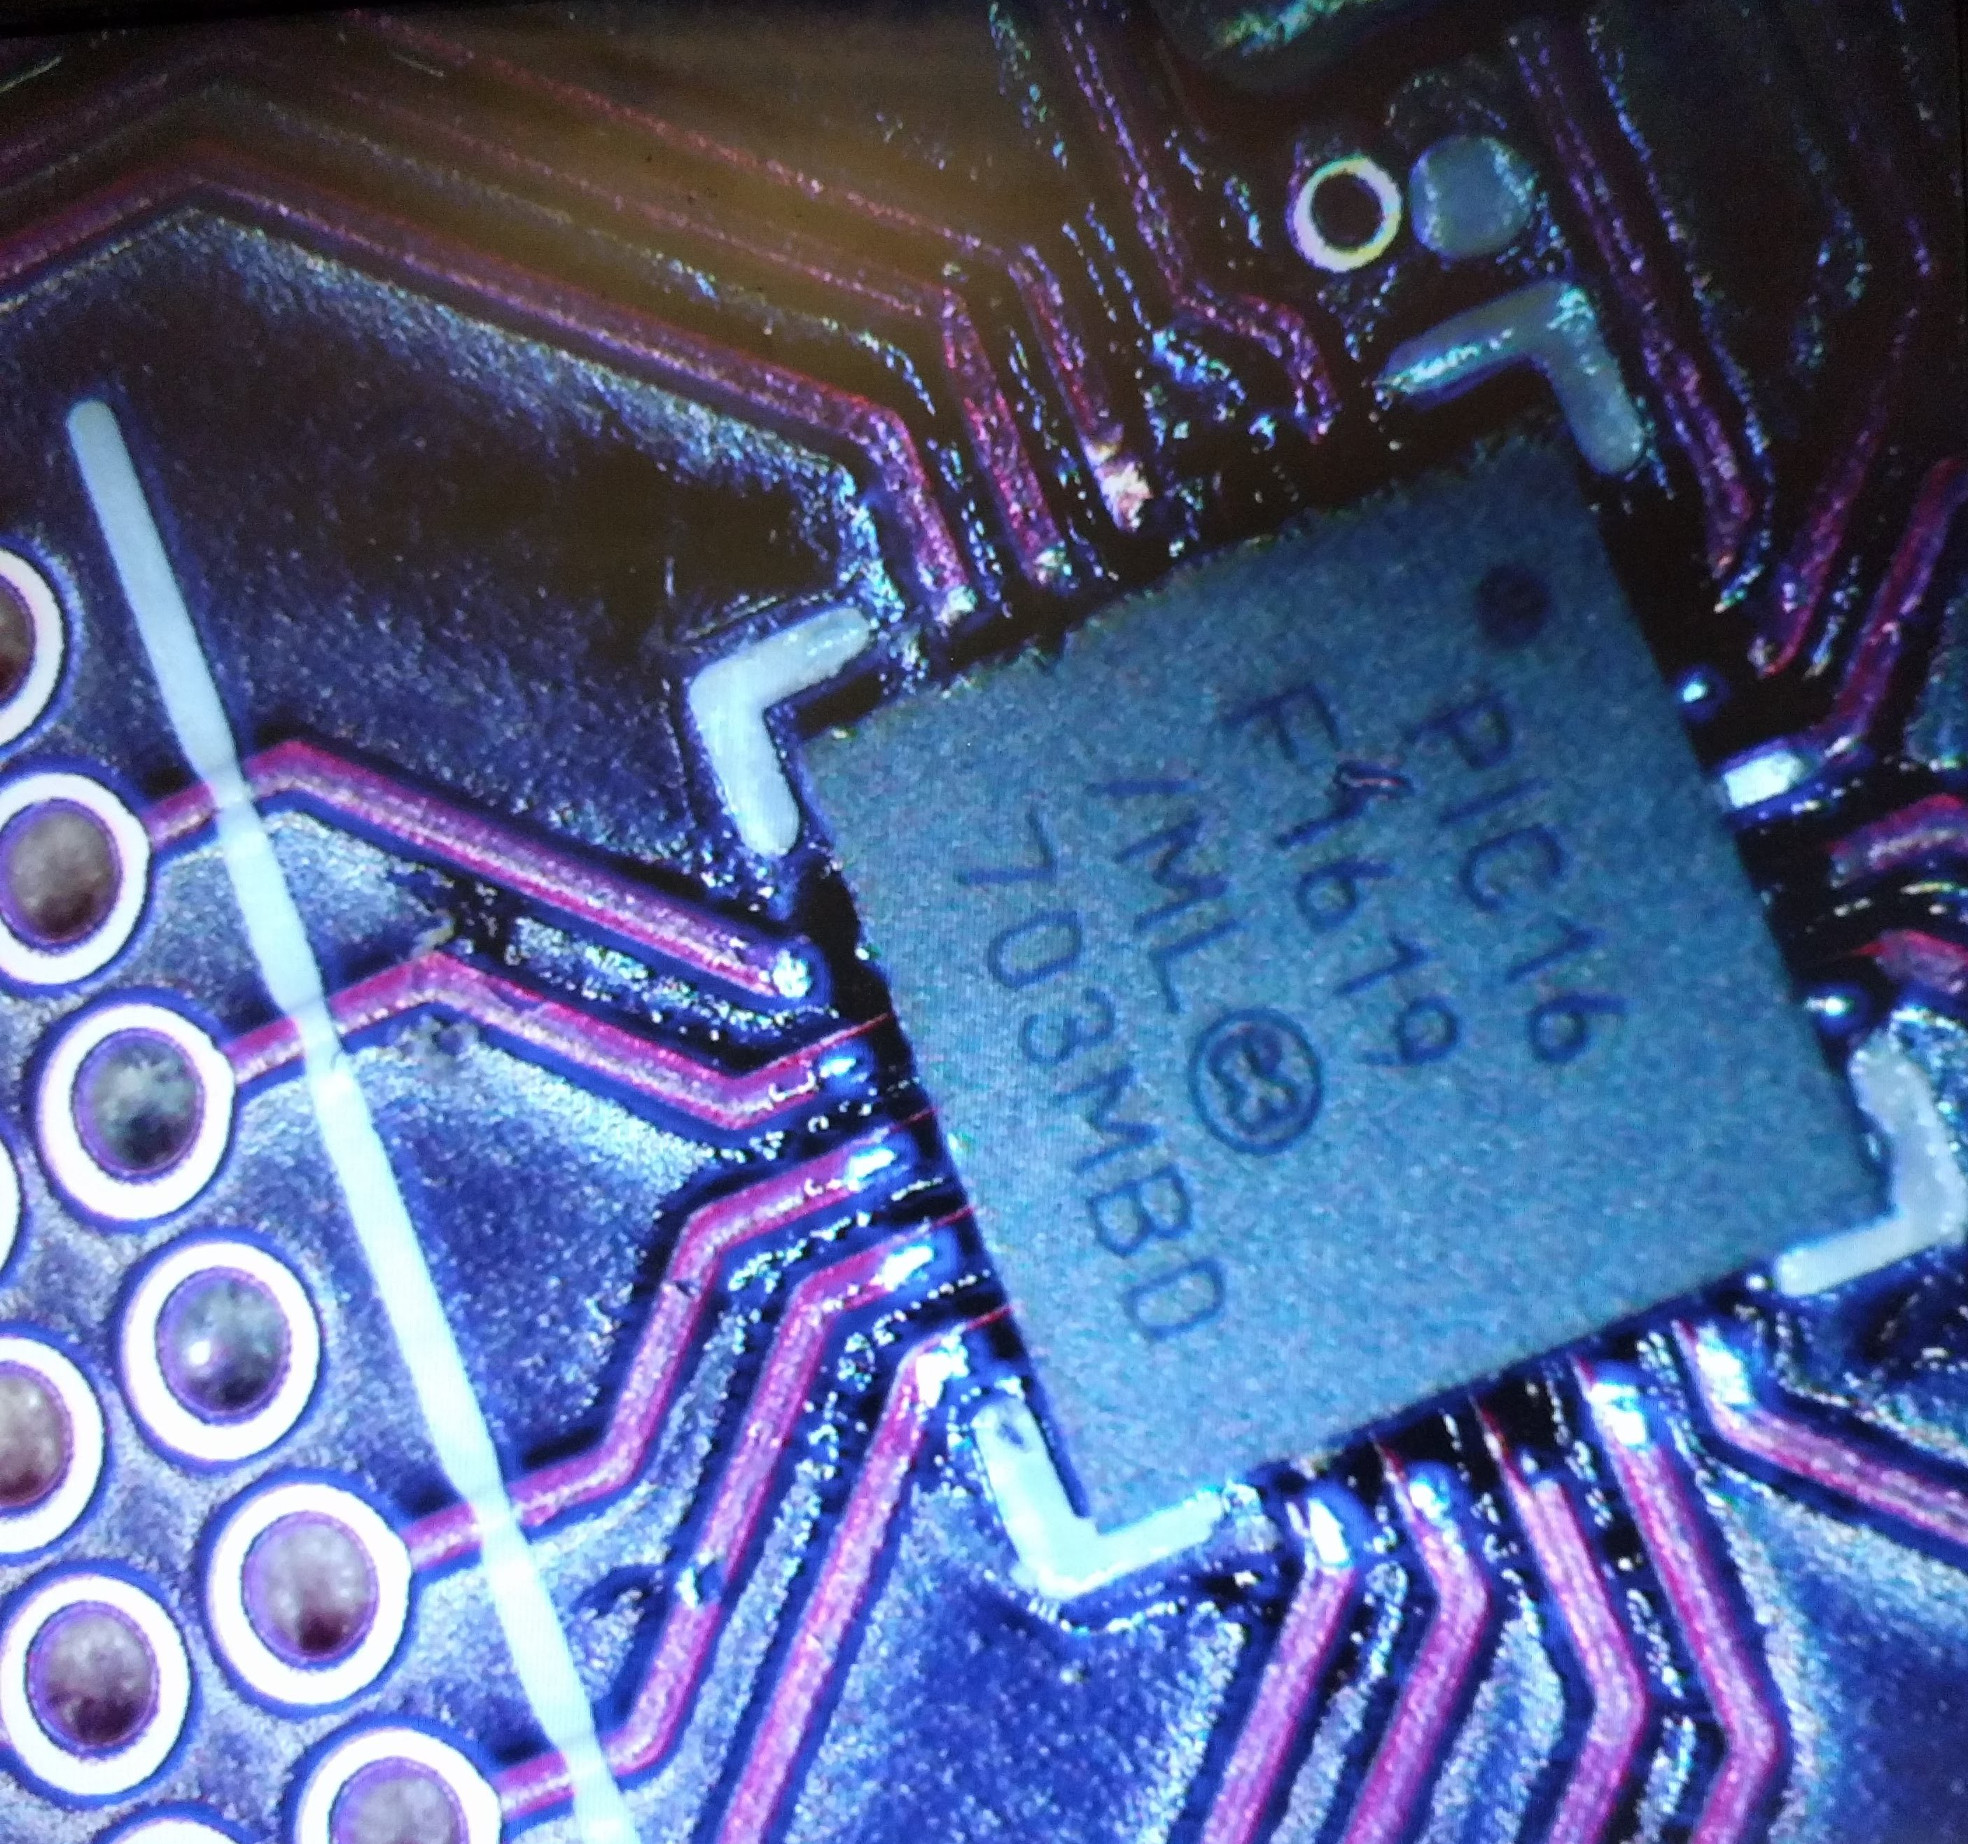
And it totally fits, so off to OSHPark it goes. You’ll notice how neatly the traces were able to be routed on this one. The PIC16F1619 is one of the newer PICs, and they all have something called Peripheral Port Select. Basically, any peripheral can be reconfigured to any pin. It’s pretty fantastic for simplifying board layout.
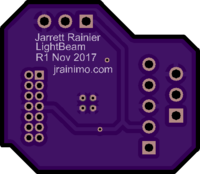
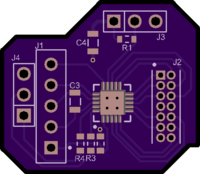
Receive boards, solder, inspect, looks good!
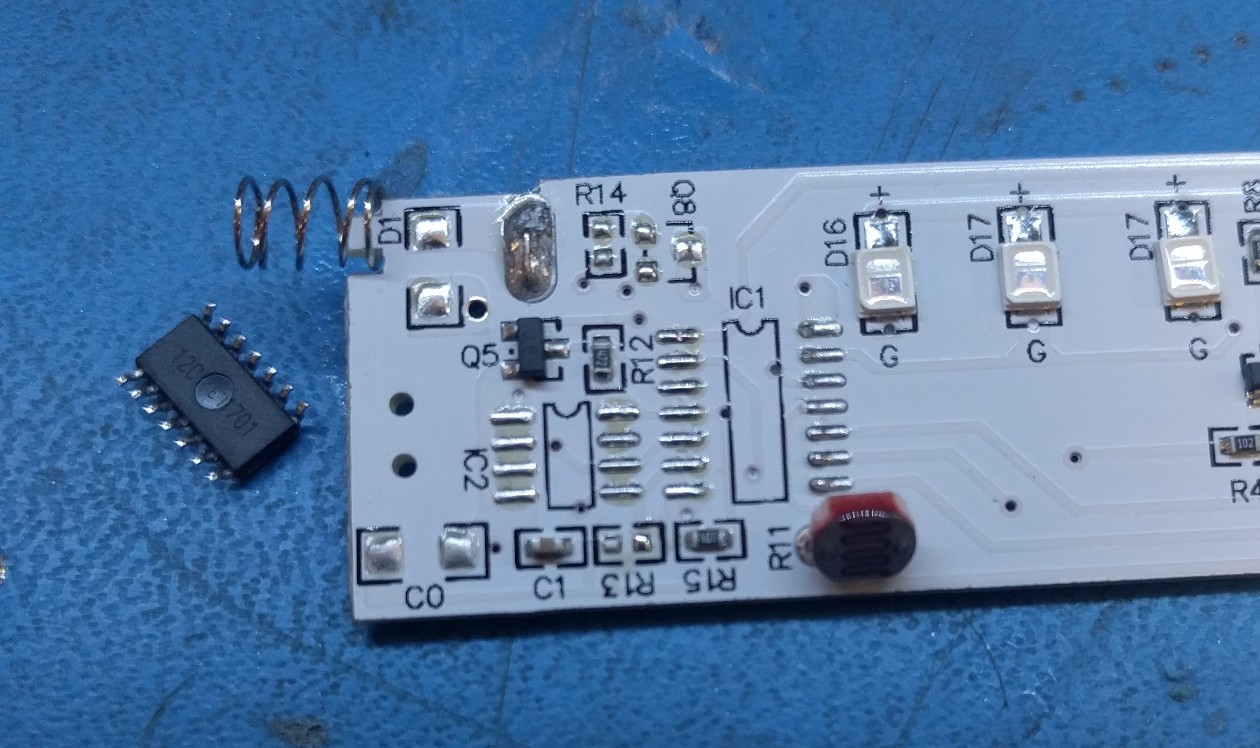
And then at the same time, remove old microcontroller…
…add new flash chip and headers…
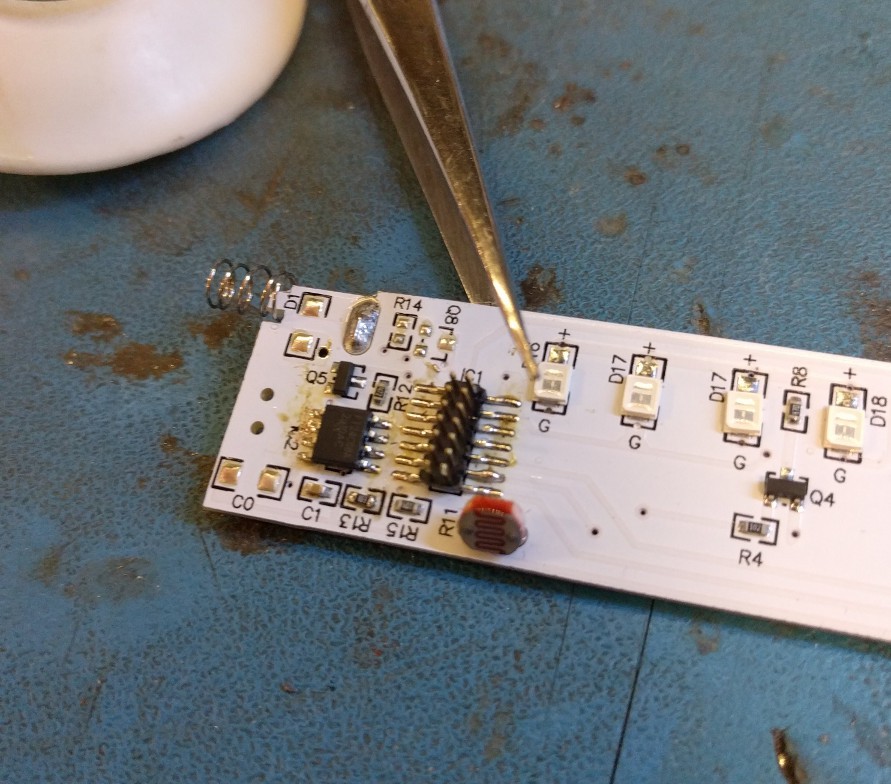
And then solder the whole thing down.
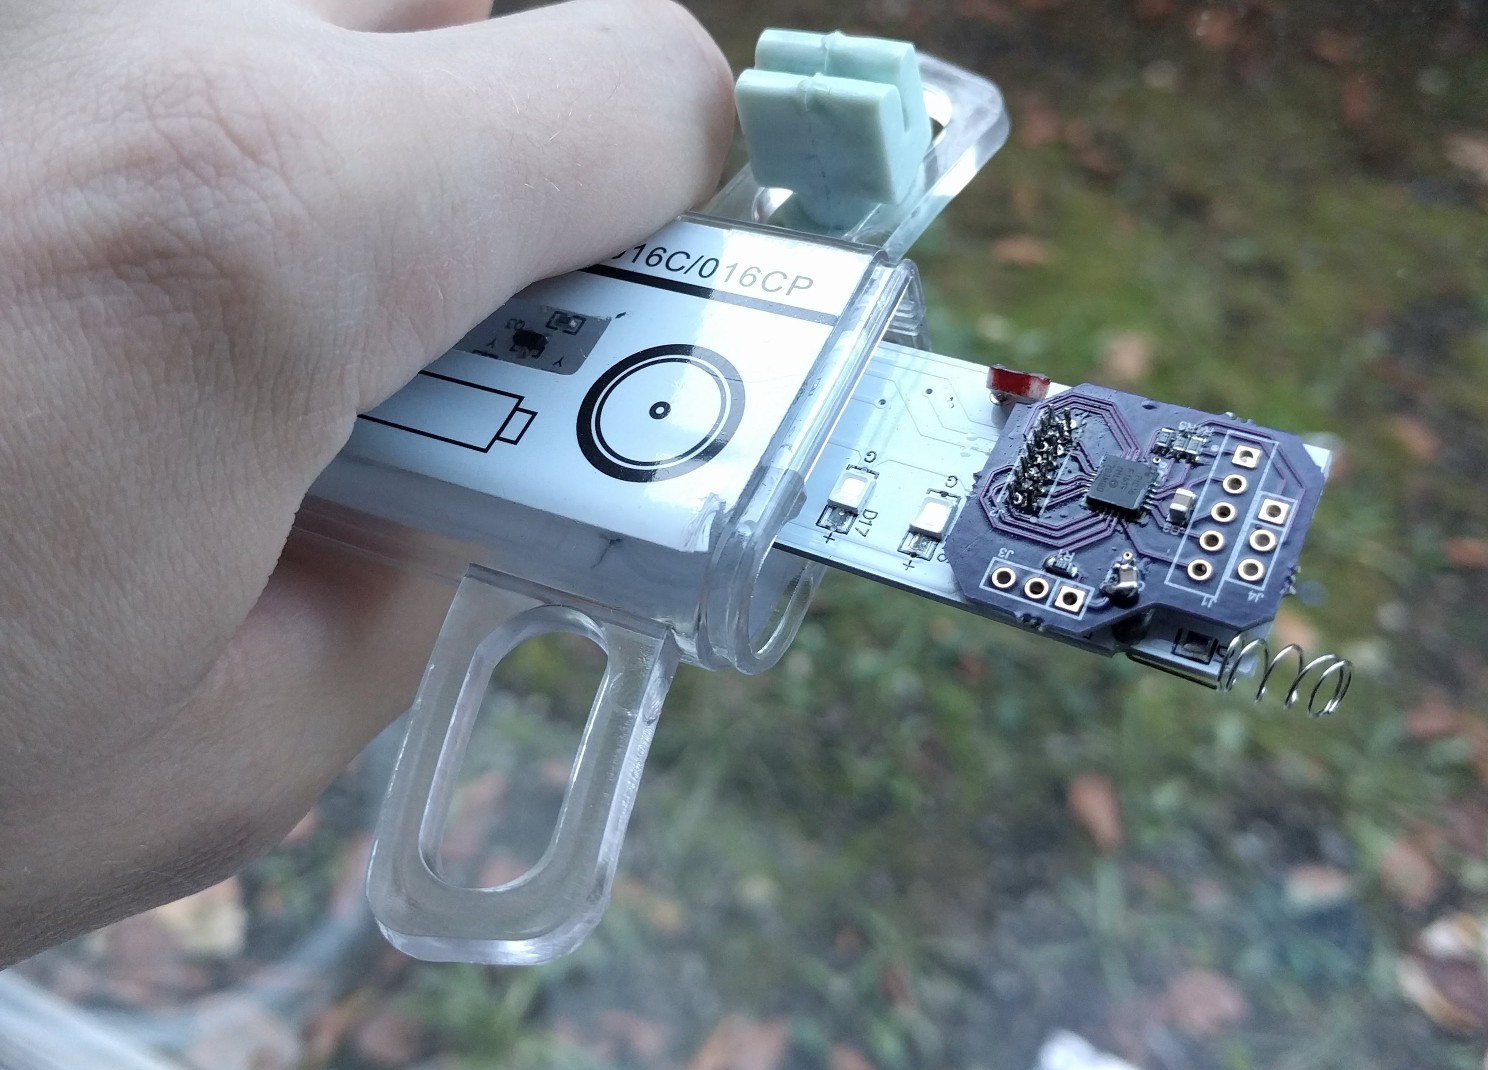
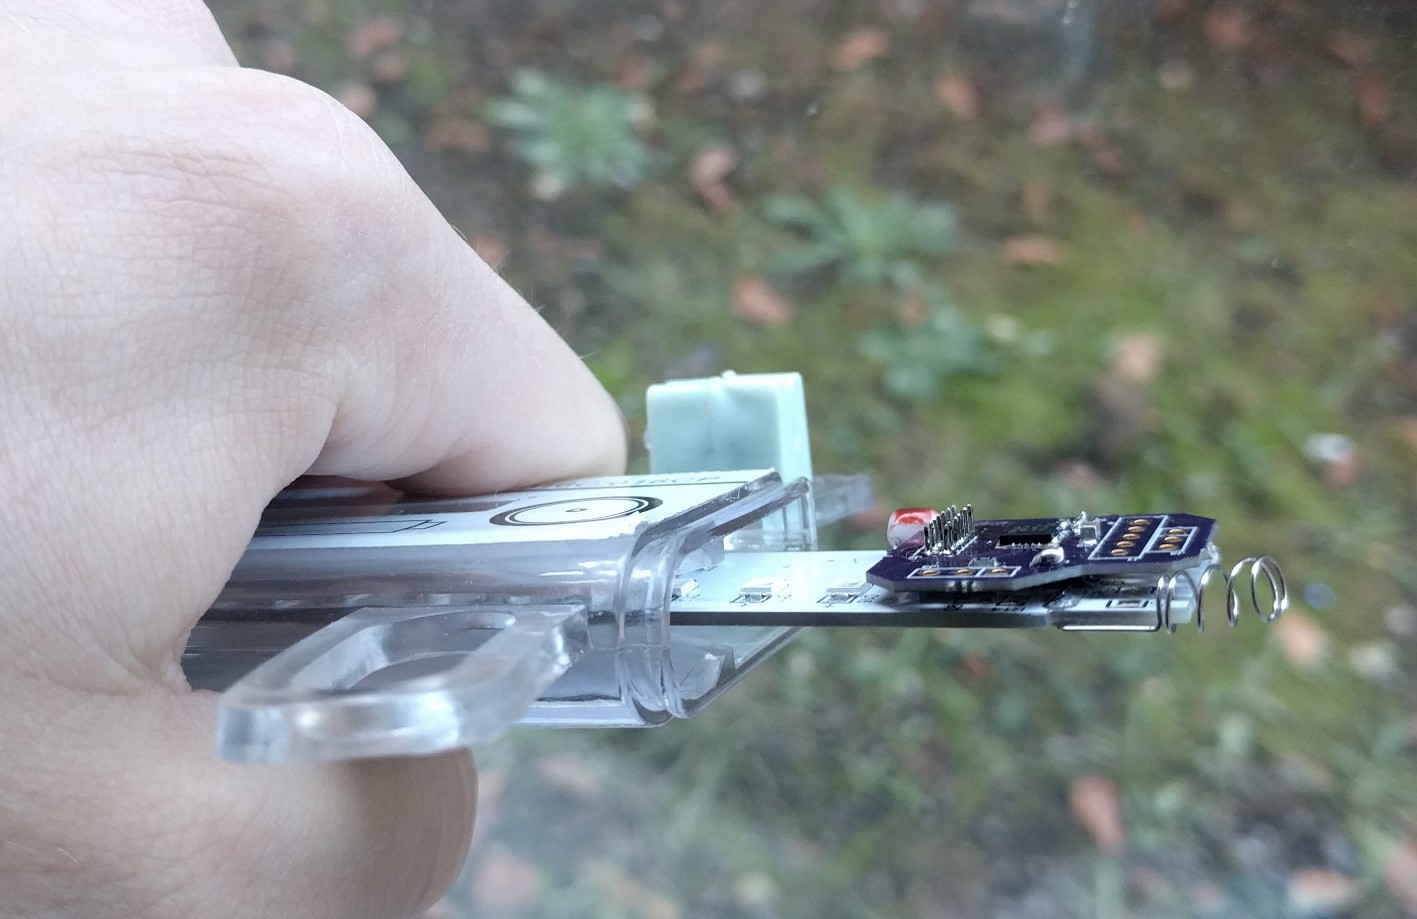
Feel free to fork/download/whatever the hardware files from Upverter, here. I’d be pretty stoked if someone else made some of these, too!
Another hardware update and software is coming in another post very soon. It’s a bit of a tangled web of interrupts, so I’d like to document it properly.
This PCB mostly worked, but the (optional) Hall effect sensor was bad and I changed it. And, final pictures of the result! That’s pretty important.

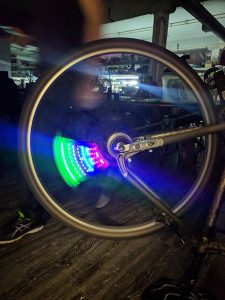
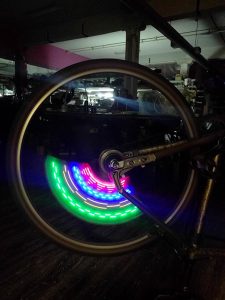
[…] I quickly grabbed the first complete PCB available in Upverter, my LightBeam board. And then I wrote a conversion […]