Archive for Casting

Key Storage

I’m on a home improvement kick. When I walking my home, there’s a long, featureless hallway with kitchen at the end of it. I was using a tray on my kitchen counter to toss keys onto when I walked in the door. This takes up valuable kitchen counterspace, and being at the end of the hallway, was not ideal.


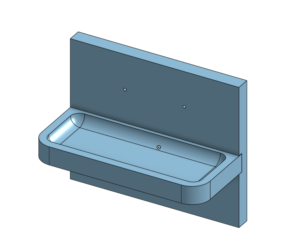
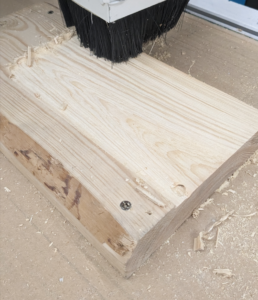
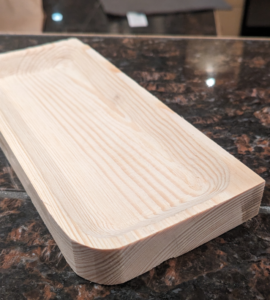
I designed up a wall-mounted tray that looked kinda nice. Then I CNCed it out of a scrap chunk of pine. I did a bad job estimating the size, so it turned out way too small and not really usable.


Instead of just recreating it, but larger, I an additional feature to hold cards would be useful. Additionally, the CNCed wood required some hand sanding that I didn’t really want to deal with again, not to mention the CNC setup time.

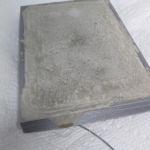
None of that was particularly time consuming or difficult, but honestly, it was faster and less tedious to 3D print it and cast it in cement than to break out the CNC again.
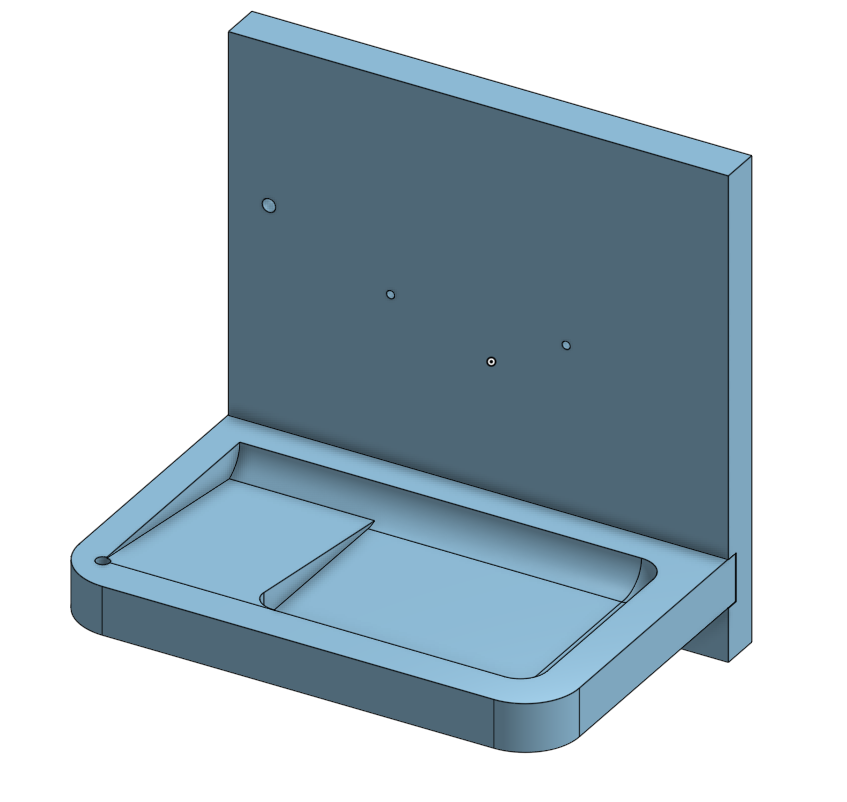
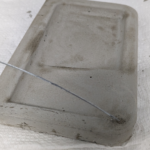
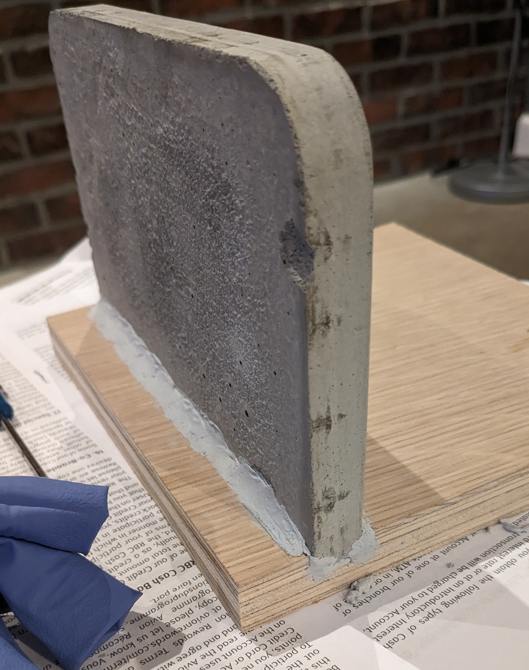
With the larger size, I wasn’t so sure about just slotting it into a piece of plywood without supports, so I added a steel cable. It’s a nice design accent regardless.

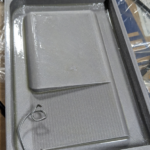
Note the knotted up steel cable in the mould. I also used XTC-3D, a resin coating designed to smooth out 3D prints. It was expired and a little chunky, but still seemed to work well. I’d use it again. The resulting cement form was smooth and required no post-

processing.

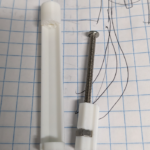
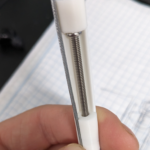
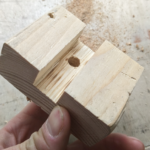
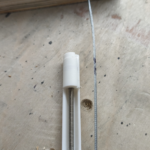
I also designed a tensioning mechanism for the cable. There’s a captive screw that drags a nut up and down. The nut assembly holds the cable end. The whole assembly slides into a 3/8″ drill hole. At the top of the assembly, there is a hole that is sized just right for a screwdriver to come in and engage the screw, dragging the nut assembly closer, tightening the cable tension.


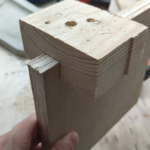
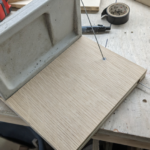
For the backing, I made a drill jig to be able to drill straight down the 3/4″ plywood without breaking through either side. The steel cable goes in, and then I attached it to the tensioning mechanism with a combination of melting the plastic to it, and some CA glue for good measure. The whole assembly then also got glued into the drill hole.

After all of that was set up, I used plumber’s putty epoxy to fill in all of the gaps between the tray and the plywood, and bolted it to the wall!
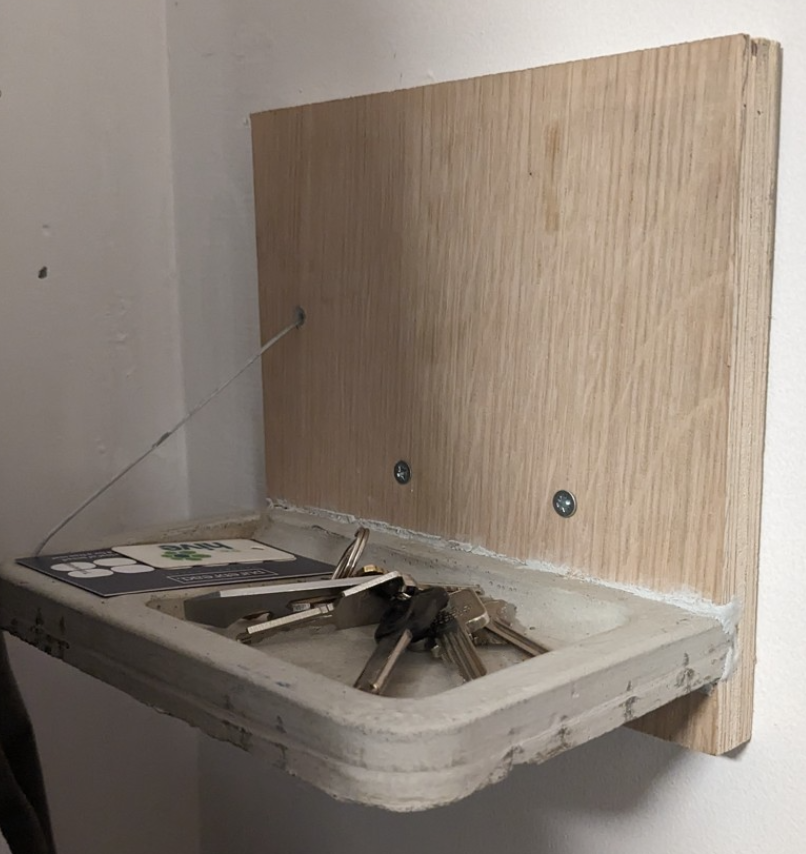
 

This project went just about as smoothly as possible, probably about 6 hours all told.

Rock Planters Rock

I’ve been wanting to play around with concrete for a while, as a project material. I’m not sure what the end goal will be, but once I’m familiar with the material, I’ll be able to shoehorn it into other projects in unexpected ways.

Concrete (actually cement, as I don’t intend to add aggregate) is different from other casting materials like silicone or resin in the cost/quantity proposition. Silicones are quite expensive, often purchased in 1L volumes or so, while cement has the opposite problem. It’s cheap, but I’m stuck buying 40 pound bags of the stuff.

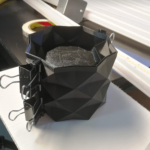
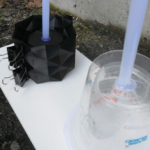
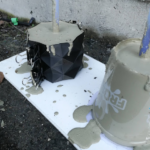
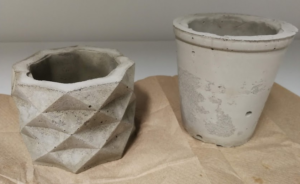
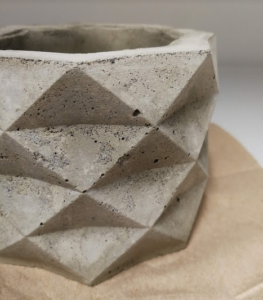
Initially, I found some geometric molds off the internet and started with that, along with a convenience store drink cup.

It was easy and worked quite well.


I used RapidSet cement. The box is blue. There are many different kinds, and apparently this is one of the lightest in colour, while being a little smoother than most.

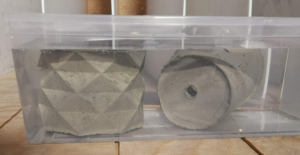
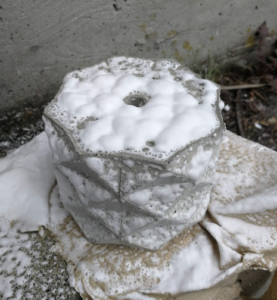
To make these into decent planters, there are also two additional steps: soak it to get all the lye out, and then seal it so it doesn’t shed cement dust all over.


The sealant foams up all strangely. It’s a granite countertop sealer.


This was all just practice, so that I would have a feel for how it works before I put a ton of time into something cooler.

I wanted to cast a mountain range (or two!). I really like mountains.

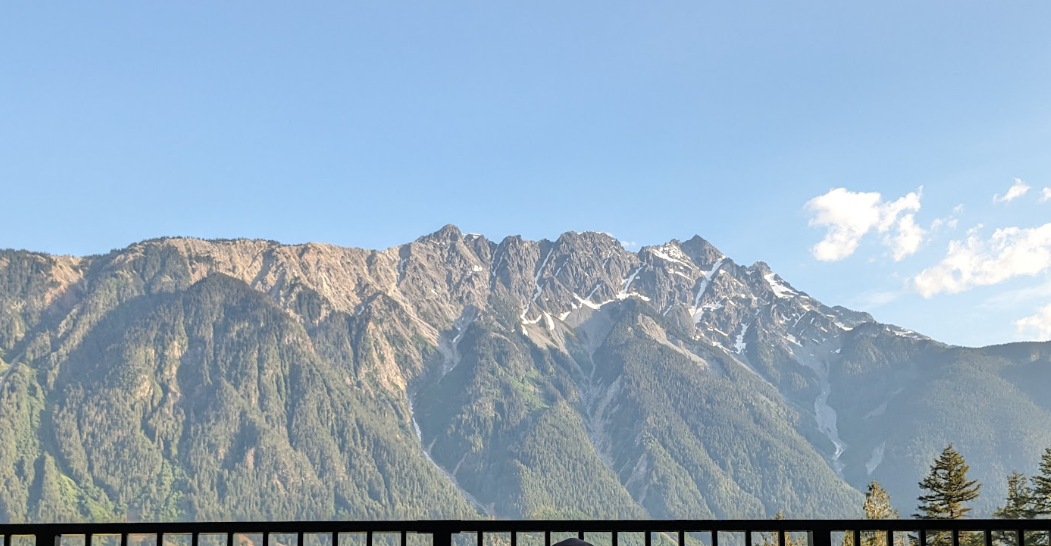
I started with Mount Currie – A distinctive skyline feature near a town called Pemberton. Also as a learning exercise with Blender; I’d never used it before.

Here’s the view from a place I stay at sometimes:


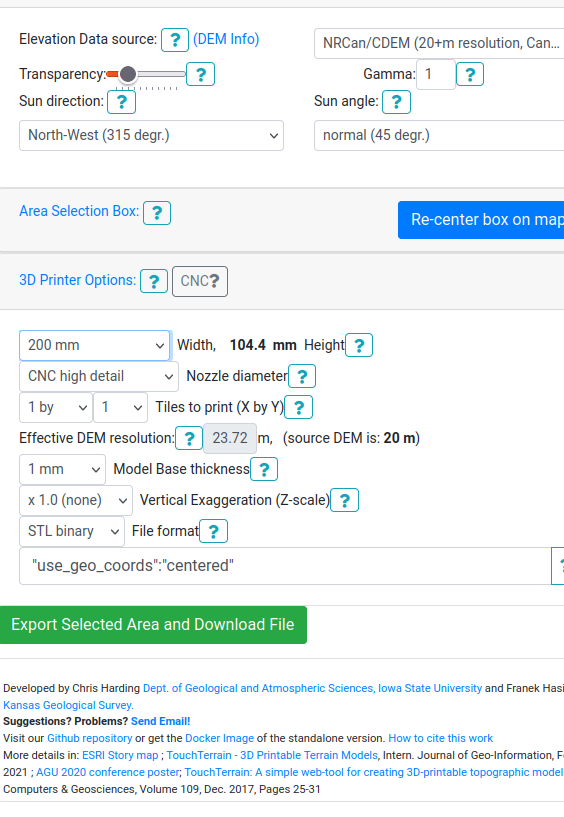
I grabbed the geodata with TouchTerrain. Here are my settings:


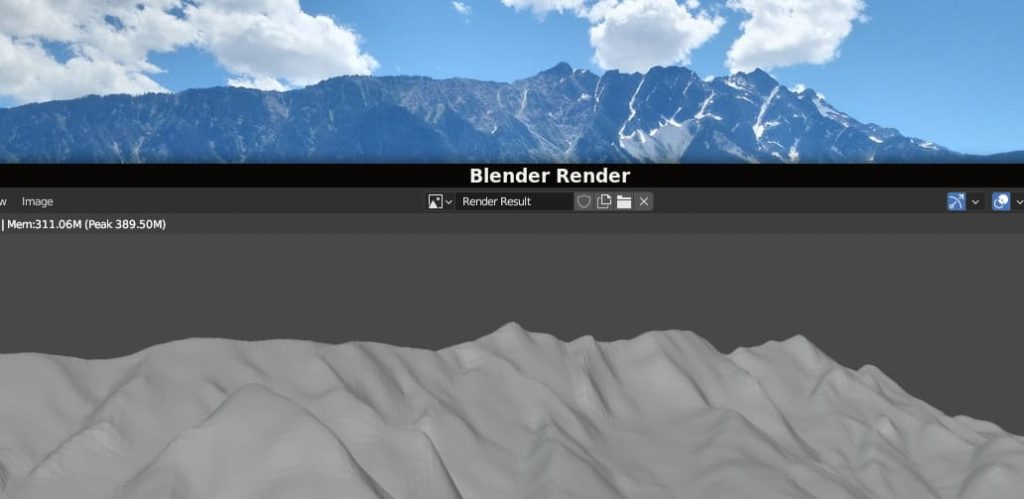
Then in Blender, I set up the camera in the same-ish position and focal length of my camera.


Yeah, I’m very satisfied with that.


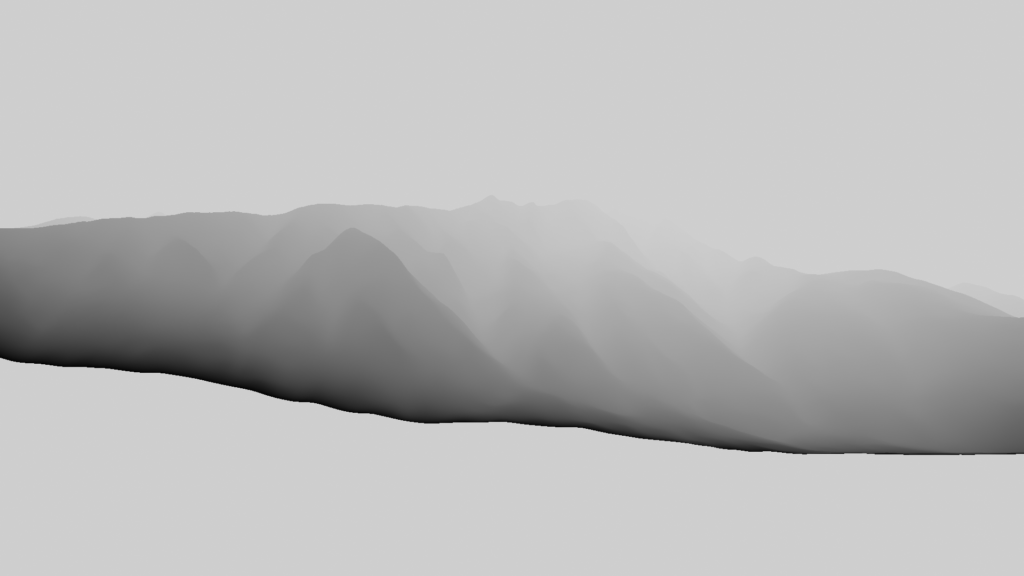
Next step, make the renderer export a depth map instead.


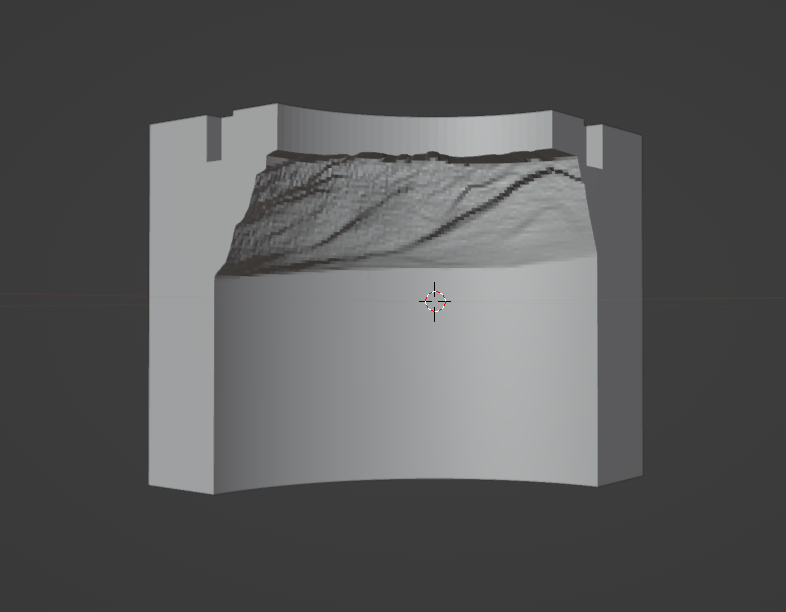
Then map it around a cylinder as another displacement map. The nice thing about this is that the Blender portion of the work, which I’m not very comfortable with, is done. So I’ve got it set up just right, and I don’t have to touch it – The rest of the fiddling on this model is with 2D depth maps in Krita, an open source Photoshop facsimile.

I faked the sides of the mountain range a bit, because they don’t just drop off to nothing.


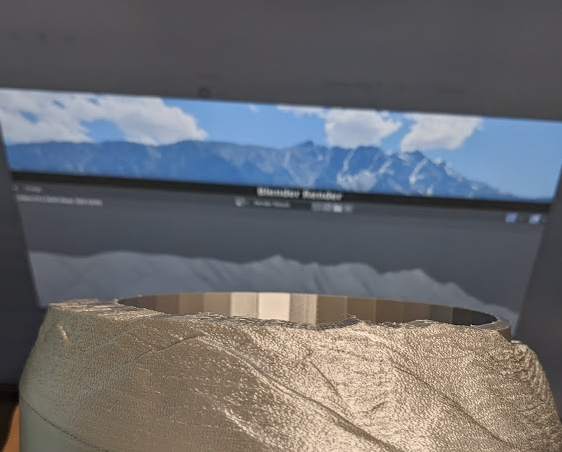
When I got it how I liked, I 3D printed it to get a feel for how it looks in the real world. A few back-and-forths with that, and I built a mould around the positive model in Blender.


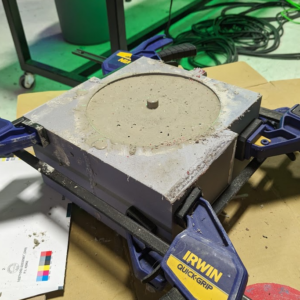
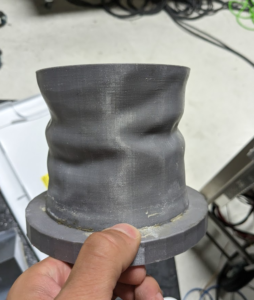
Each piece took about 24 hours to print. This is surplus PLA that will never otherwise get used so the volume of plastic used is totally okay, and the size (and therefore weight) of the cement involved is a concern for a mould that would be more plastic efficient and less beefy.

And then I poured.

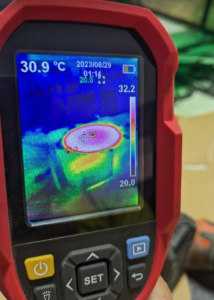
The thermal camera shows how hot it gets as the cement starts to kick. It got past 60 by the time I left it for the night.

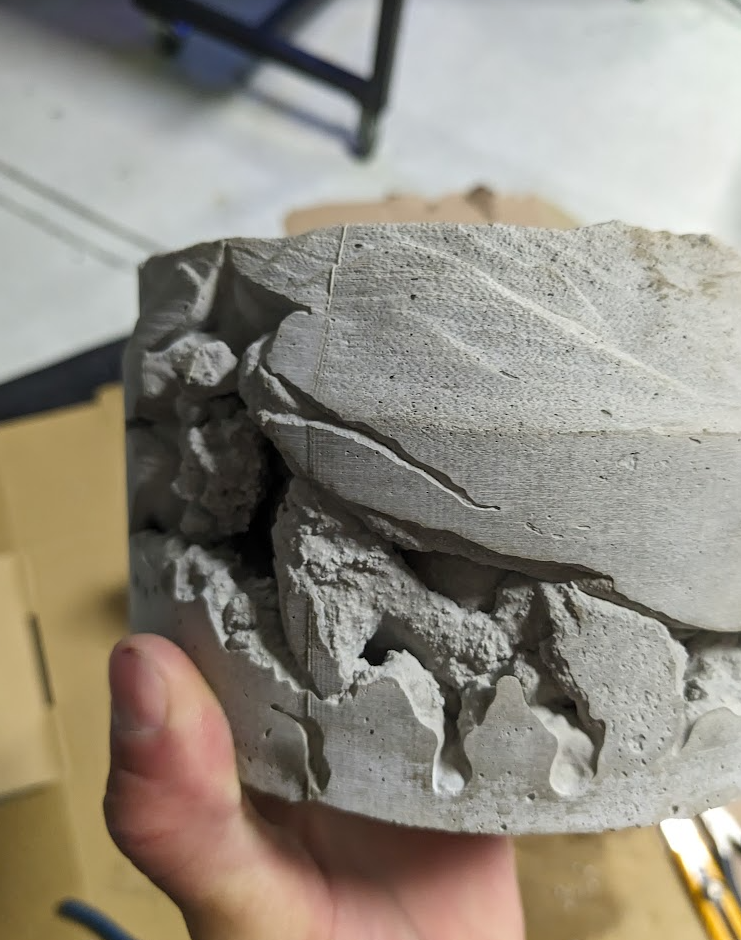
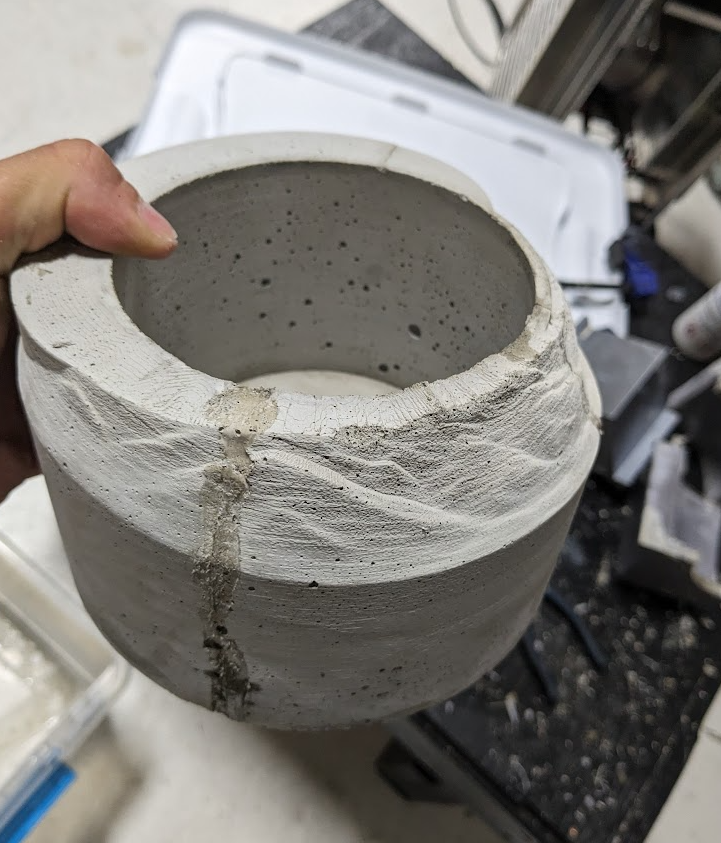
I actually did it twice. The first one I didn’t mix up enough, so ended up scrambling to mix more, which didn’t fill in the mould completely. Honestly, I kinda like it.


For the second attempt, the mould had warped enough that the seam lines were very visible. After the second pour, the mould had warped enough that it wasn’t viable to pour a third time. This is a really interesting datapoint. It’s possible that PETG or some other higher temperature material would fare better. And this issue doesn’t crop up in the smaller castings I did. The cement only gets hot enough to deform the plastic when there’s a large volume curing at once.


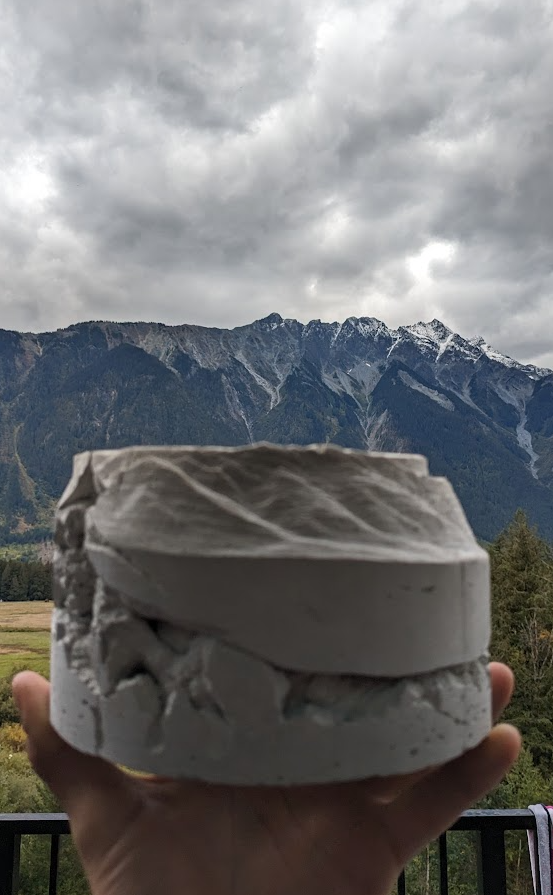
But regardless. The result!

It’s decent. I’m about 80% happy with it. It’s recognisable as the target mountain range, but it’s not instantly identifiable. This is done as the actual aspect ratio of the mountains, with the focal length of the (cellphone) camera I took of the mountains, and it looks a little too shallow. Perhaps the aspect ratio would be a good knob to turn for future experiments, to get the mountains in the casting to look a little taller.