Sometimes I get a little bit inspired by things on the internet. The internet isn’t all bad.
Here are some projects, pictures, or schematics that I like:
http://old.bennahill.com/tsunami/
http://www.piclist.com/techref/io/usb/pcbmaleconn.htm
http://vonkonow.com/wordpress/2012/03/usbserial-pcb/
http://dlnmh9ip6v2uc.cloudfront.net/datasheets/Prototyping/PowerCell-v13.pdf
(That’s mostly a reference for me, for later)
Pretty regularly, I have need of a cheap microcontroller that does one thing only, like output a stepper motor’s step sequence. It would be nice to have a pile of these, and be able to leave them in place, price being insignificant.
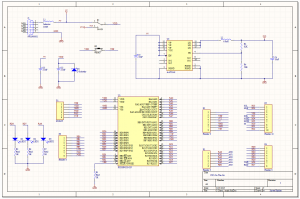
A pretty obvious candidate is the PIC18F14K50. It’s an older PIC that costs about $1.50, has a very small package, and speaks USB. I had also planned to draw a USB card edge connector. The advantage of that is that it’s easy (no solder required!), cheap (minus the costs of a slightly longer PCB), and compact. The cons are that it requires an ENIG gold plated finish to prevent contact oxidization, and the FR4 thickness needs to be 2mm, which is not standard, although not super unusual, either.
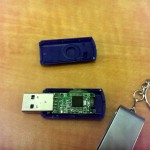
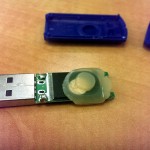
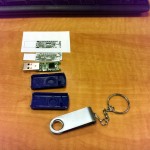
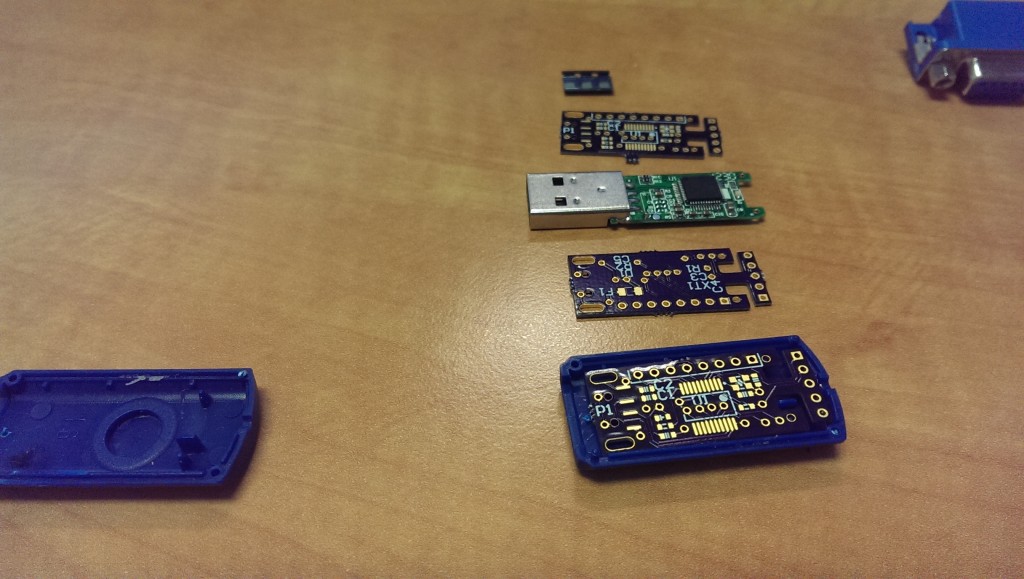
I’ll probably still do that, eventually, but first I got distracted by opening up a USB flashdrive.
Then this happened:
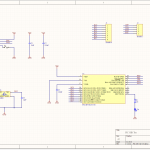
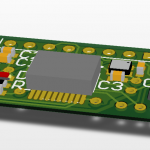
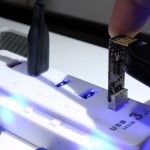
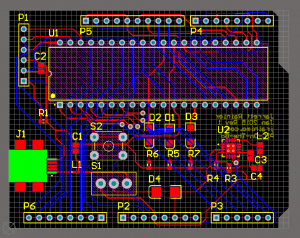
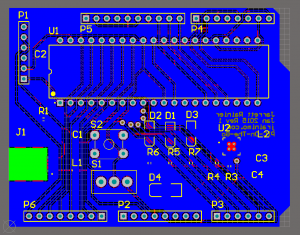
So I sent it off. It’s a hair larger than the original flashdrive PCB because of the programming headers, but it fits.
I used the PIC18F14K50 because I have a pile of them, but if I were to go for an even smaller package, I could fit a flash memory chip on the other side, like the original. That’s a great pathway to a flashdrive that writes a rootkit on-the-fly to data as it gets stored, for example. Scary stuff, and it doesn’t even seem that hard.
A flash memory chip is even pretty bulky, for what it is. By replacing it with a microSD card, there is even more space for other junk. Like using an ESP8266EX for the microcontroller, and drawing a small wifi antenna on the PCB.
There are so many side channels for this project, I don’t even know where to start.
In the meantime, I’ve spun this off into it’s own repo, here.
There’s a quick LED-blink program, but the real fun is in the “HID” projects.
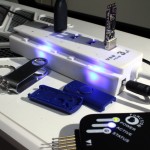
Note the pogo pins I jammed into my PicKit for programming. The slot quite nicely into the programming header, while the board is being powered over USB.
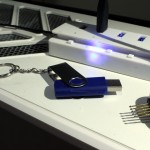
When you plug this in, it appears to be a dud flashdrive. Doesn’t do anything. Until you forget about it and leave it in for ten minutes. At that point, it emulates a HID keyboard, and starts typing commands.
As this is just a test, it types “Windows-R->Notepad->Hello world!”, but it’s a great demonstration of the terrifying stuff you can do with literally 15 hours or less of work.
Keep in mind, I have never worked with USB hardware before. This stuff is not rocket science.
Don’t plug in unknown USB drives, folks!


