Archive for Jarrett

Syringe Full of Lead

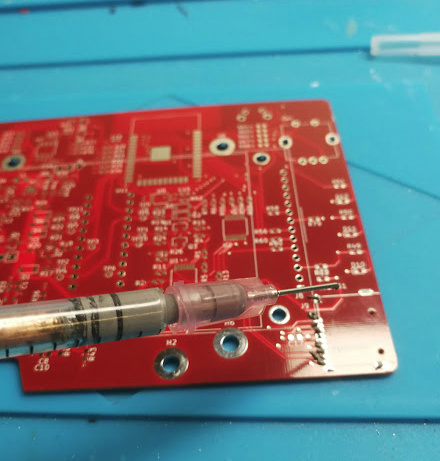
I’ve used a lot of solder paste, usually from one of those big syringes.

When depositing little tiny blobs of solder on a few hundred little tiny pads, two problems emerge:

  1. That big syringe has a big plunger that really starts to hurt the heel of your hand after a lot of usage, especially when the paste is still a little cold from storage. And,
  2. when it’s so challenging, accuracy of deposition goes down.

Yes, both of these problems sound really minor, but they’re actual problems! And solvable!

There are a few different strategies for paste deposition. One of them, which I had a mild infatuation with for a while but never tried personally, uses an air pump connected to a syringe. It drives out the paste with air pressure. Apparently, though, the compression of the air leads to inconsistent and ultimately disappointing results.

Another strategy is to make it electric and attach motor, drivers, and a control system on the back of the syringe. The problem I’ve had with this is that it makes the whole assembly heavy, and therefore difficult to accurately control. The syringe-mounted button also seems like it might cause a little bit of unwanted movement when it’s being pressed.

So, like all quick projects, I let it sit for years while I pondered the issue.

After deciding on a strategy that would allow me to put the least amount of effort into this as humanly possible, I bought the following:

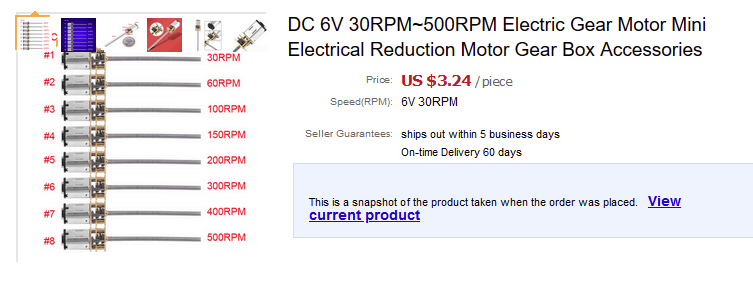
DC motor with gearbox and threaded rod:


Brass heat-set inserts:


1mL syringes:


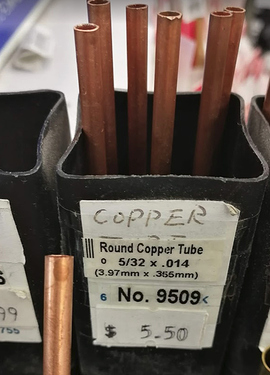
Copper tubing:

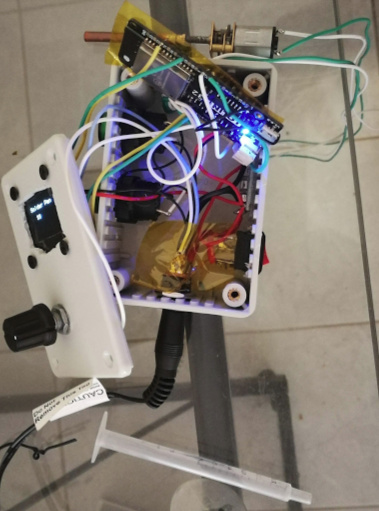
And a pile of electronics I already had kicking around.

I 3D printed a syringe-motor adapter.

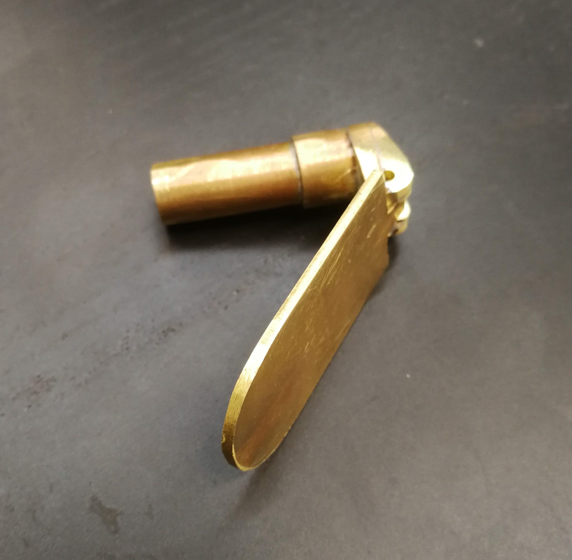
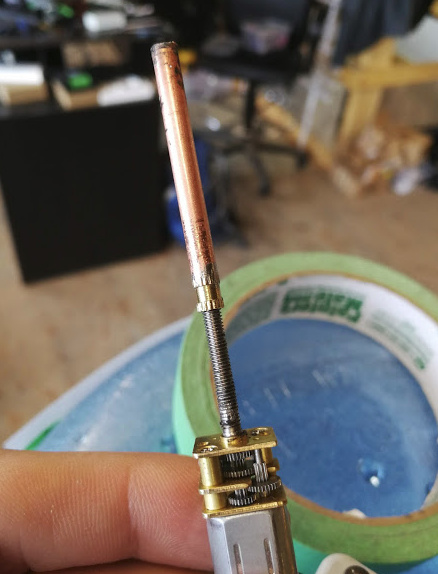
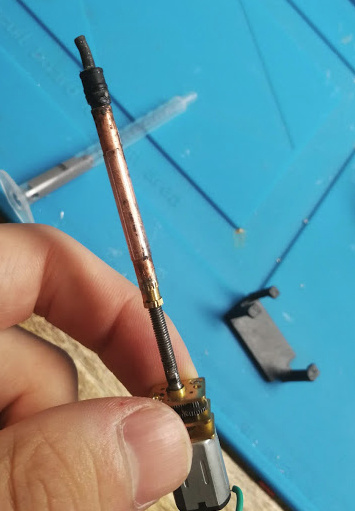
I soldered an insert onto the brass tube, and then with the motor, I had a linear actuator.


Pile of electronics:


Neat.


I also glued the rubber gasket/tip to the copper tube.


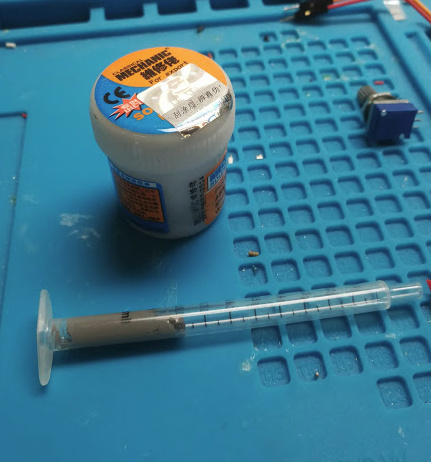
The solder paste I had available is a couple years old, and really chunky/nasty. Solder paste has a shelf life, and paying attention to that is important.


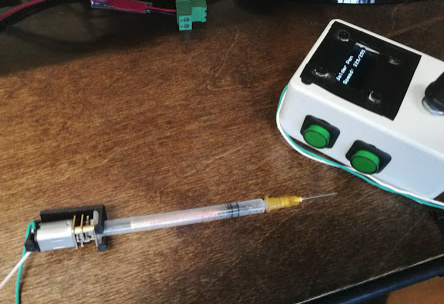
Put it all together anyway:

Little bit dribbly at first:


But not bad for a first test:


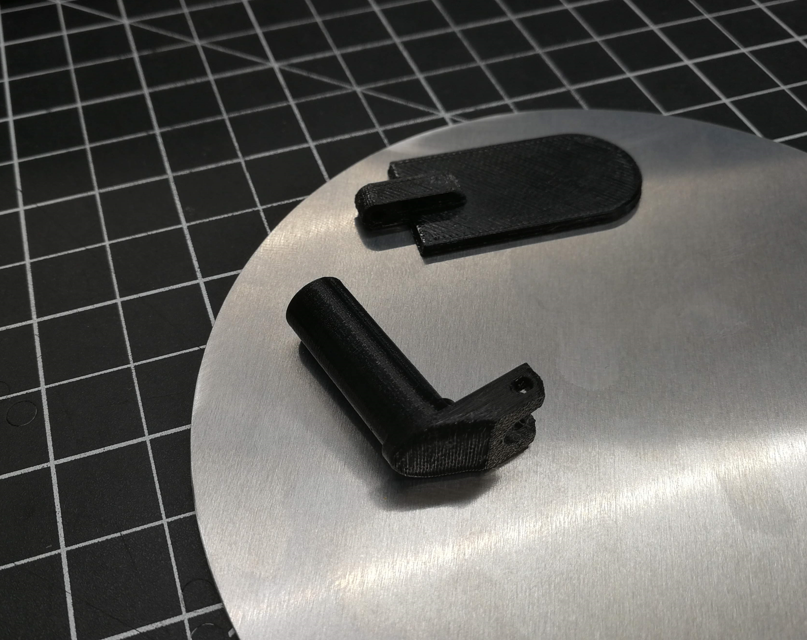
Obviously not perfect, though. The mechanism stopped being able to force the crusty paste through the needle, and broke the (admittedly flimsy) 3D printed bracket when the motor tried to exit its situation.

Using the flimsy bracket as a mechanical fuse might not even be a bad idea to keep around for future versions. The real problem was the paste, it was toast.

This will definitely be tweaked a lot. I’ll add pullback to the software to prevent the nozzle dripping, and maybe some other features. But it’s a start!

Summertime, and the livin’ is easy

People often ask me, “Jarrett, what is the Best Thing in Life?”

I’m not sure why people keep asking me this, but depending on my mood, the answer is one of two things: Floating on a lake, or swinging in a hammock. At peace with the world.

Frustrated by this bounty of choice that I just couldn’t narrow down, I began righting this wrong in the world.


So I bought a boat.


And I bought a hammock.


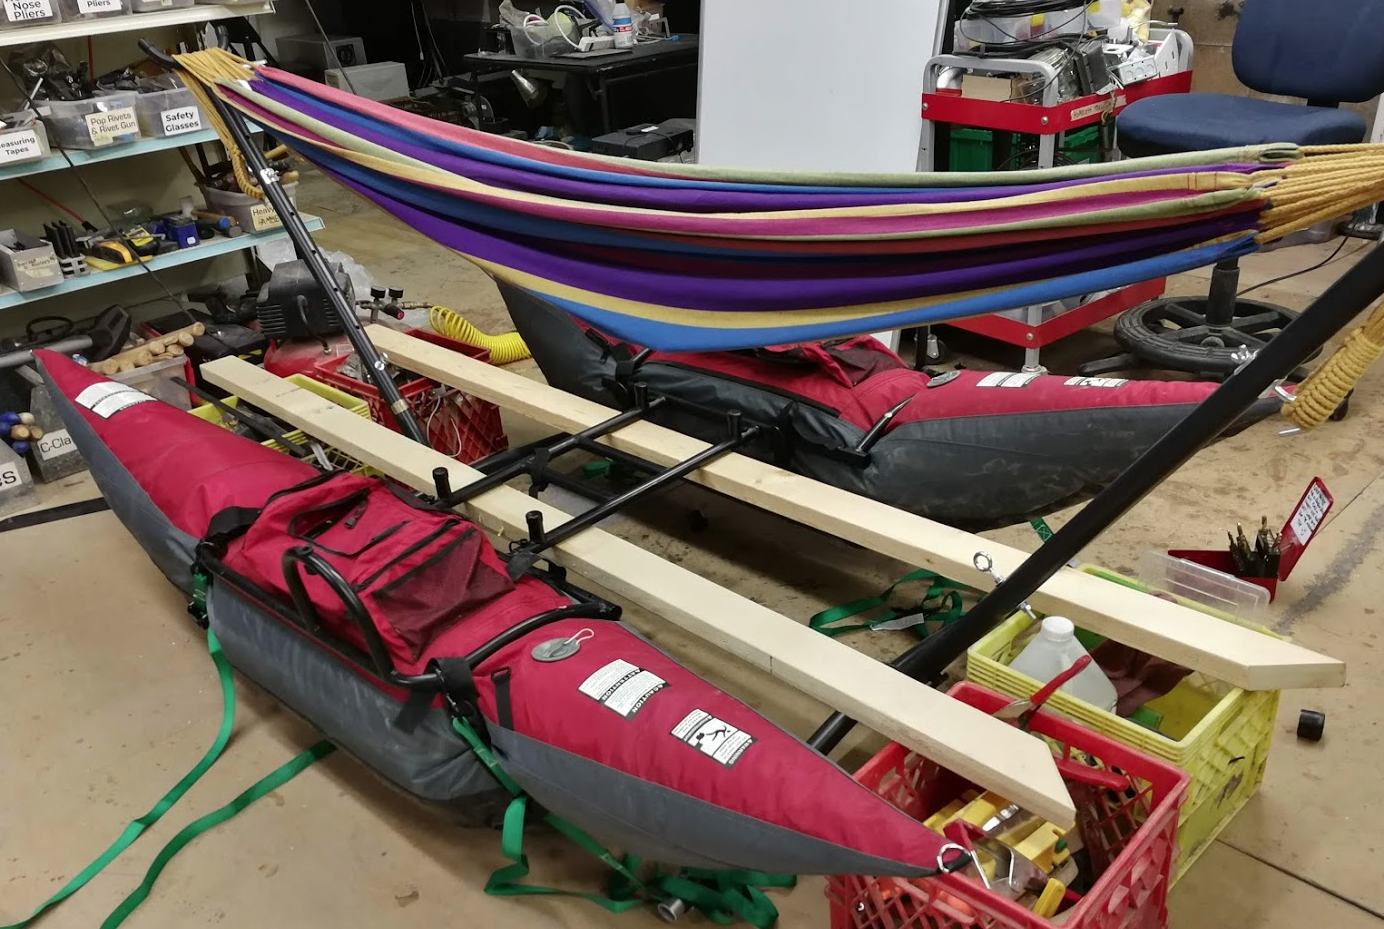
And I bolted them together.


It even got me a sweet discount on the boat.


In truth, it actually took several false starts to build this successfully. Part of the challenge was that I wanted to avoid making any permanent modifications to either of the two structures, and the other difficulty is that while mulling over the challenges, well, I had a hammock in which to ponder design decisions. It’s nigh impossible to exit a hammock once you’ve settled in: fact.

The hammock frame is made out out of steel tubing, but the pontoon boat’s frame is aluminum. This made things a little challenging. No welding, really.


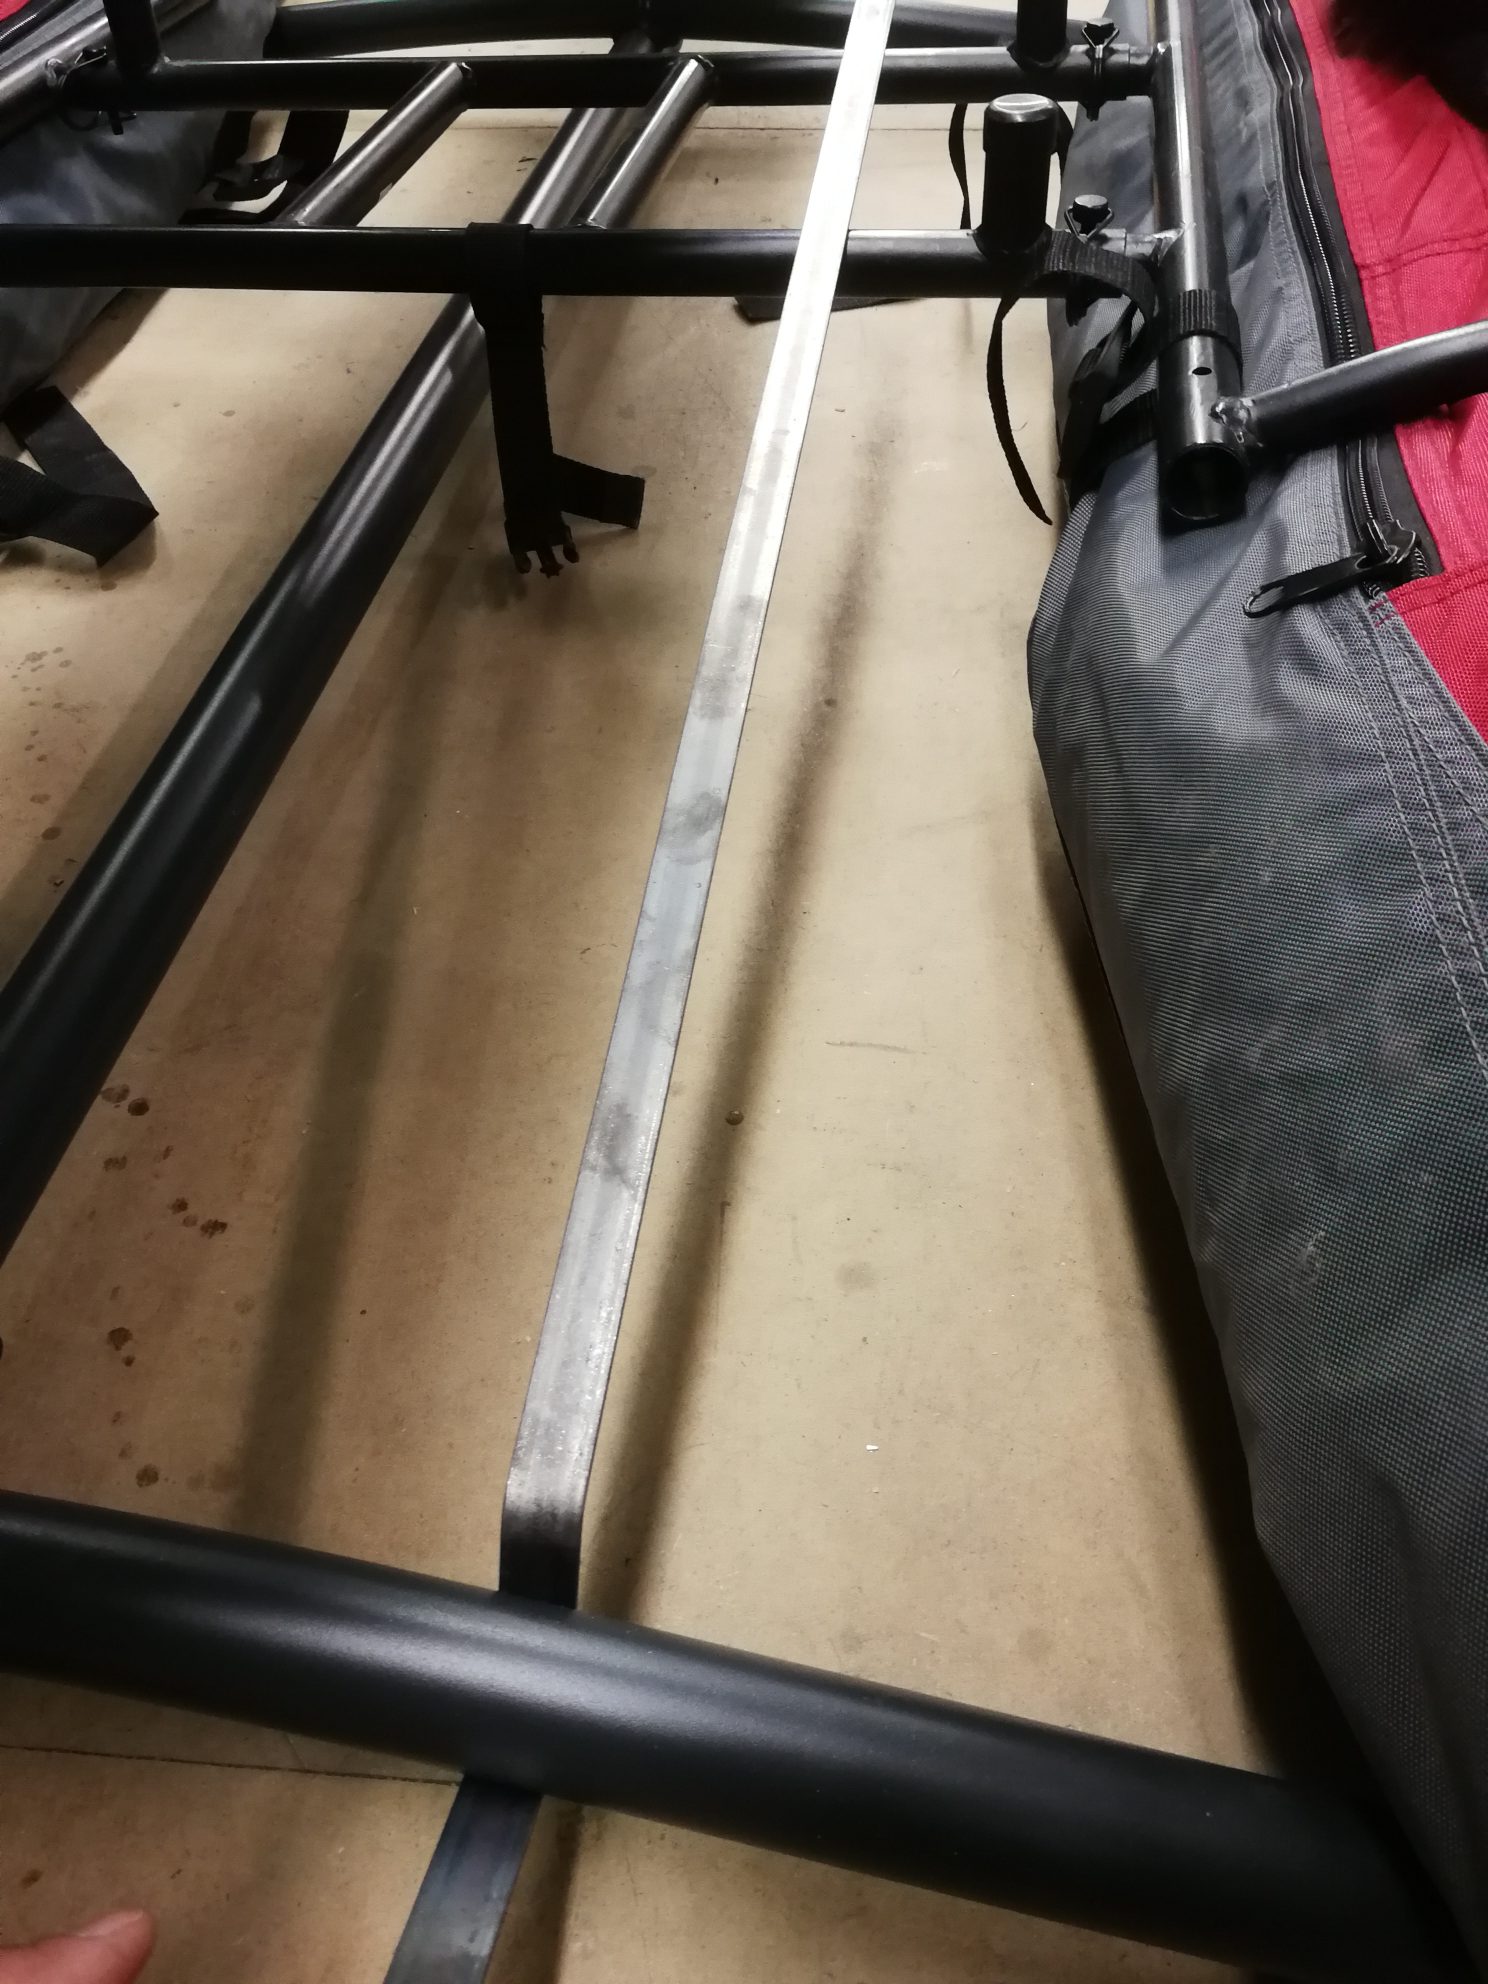
My first attempt used some steel flat stock.

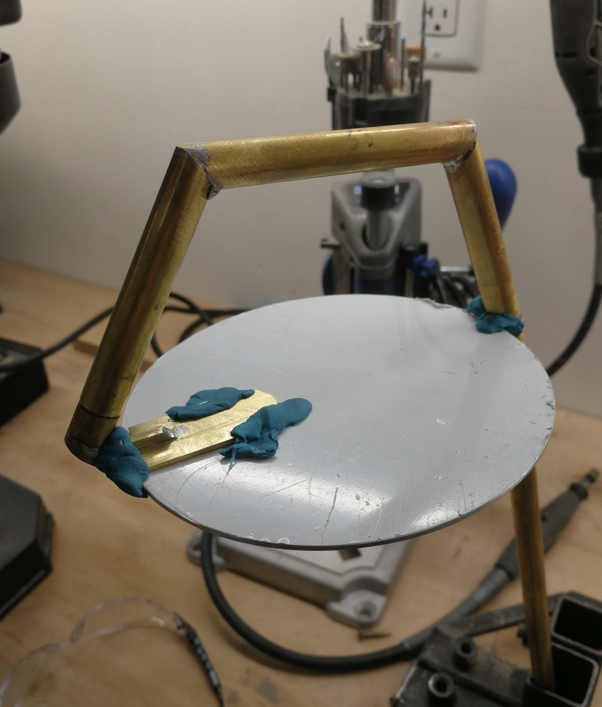
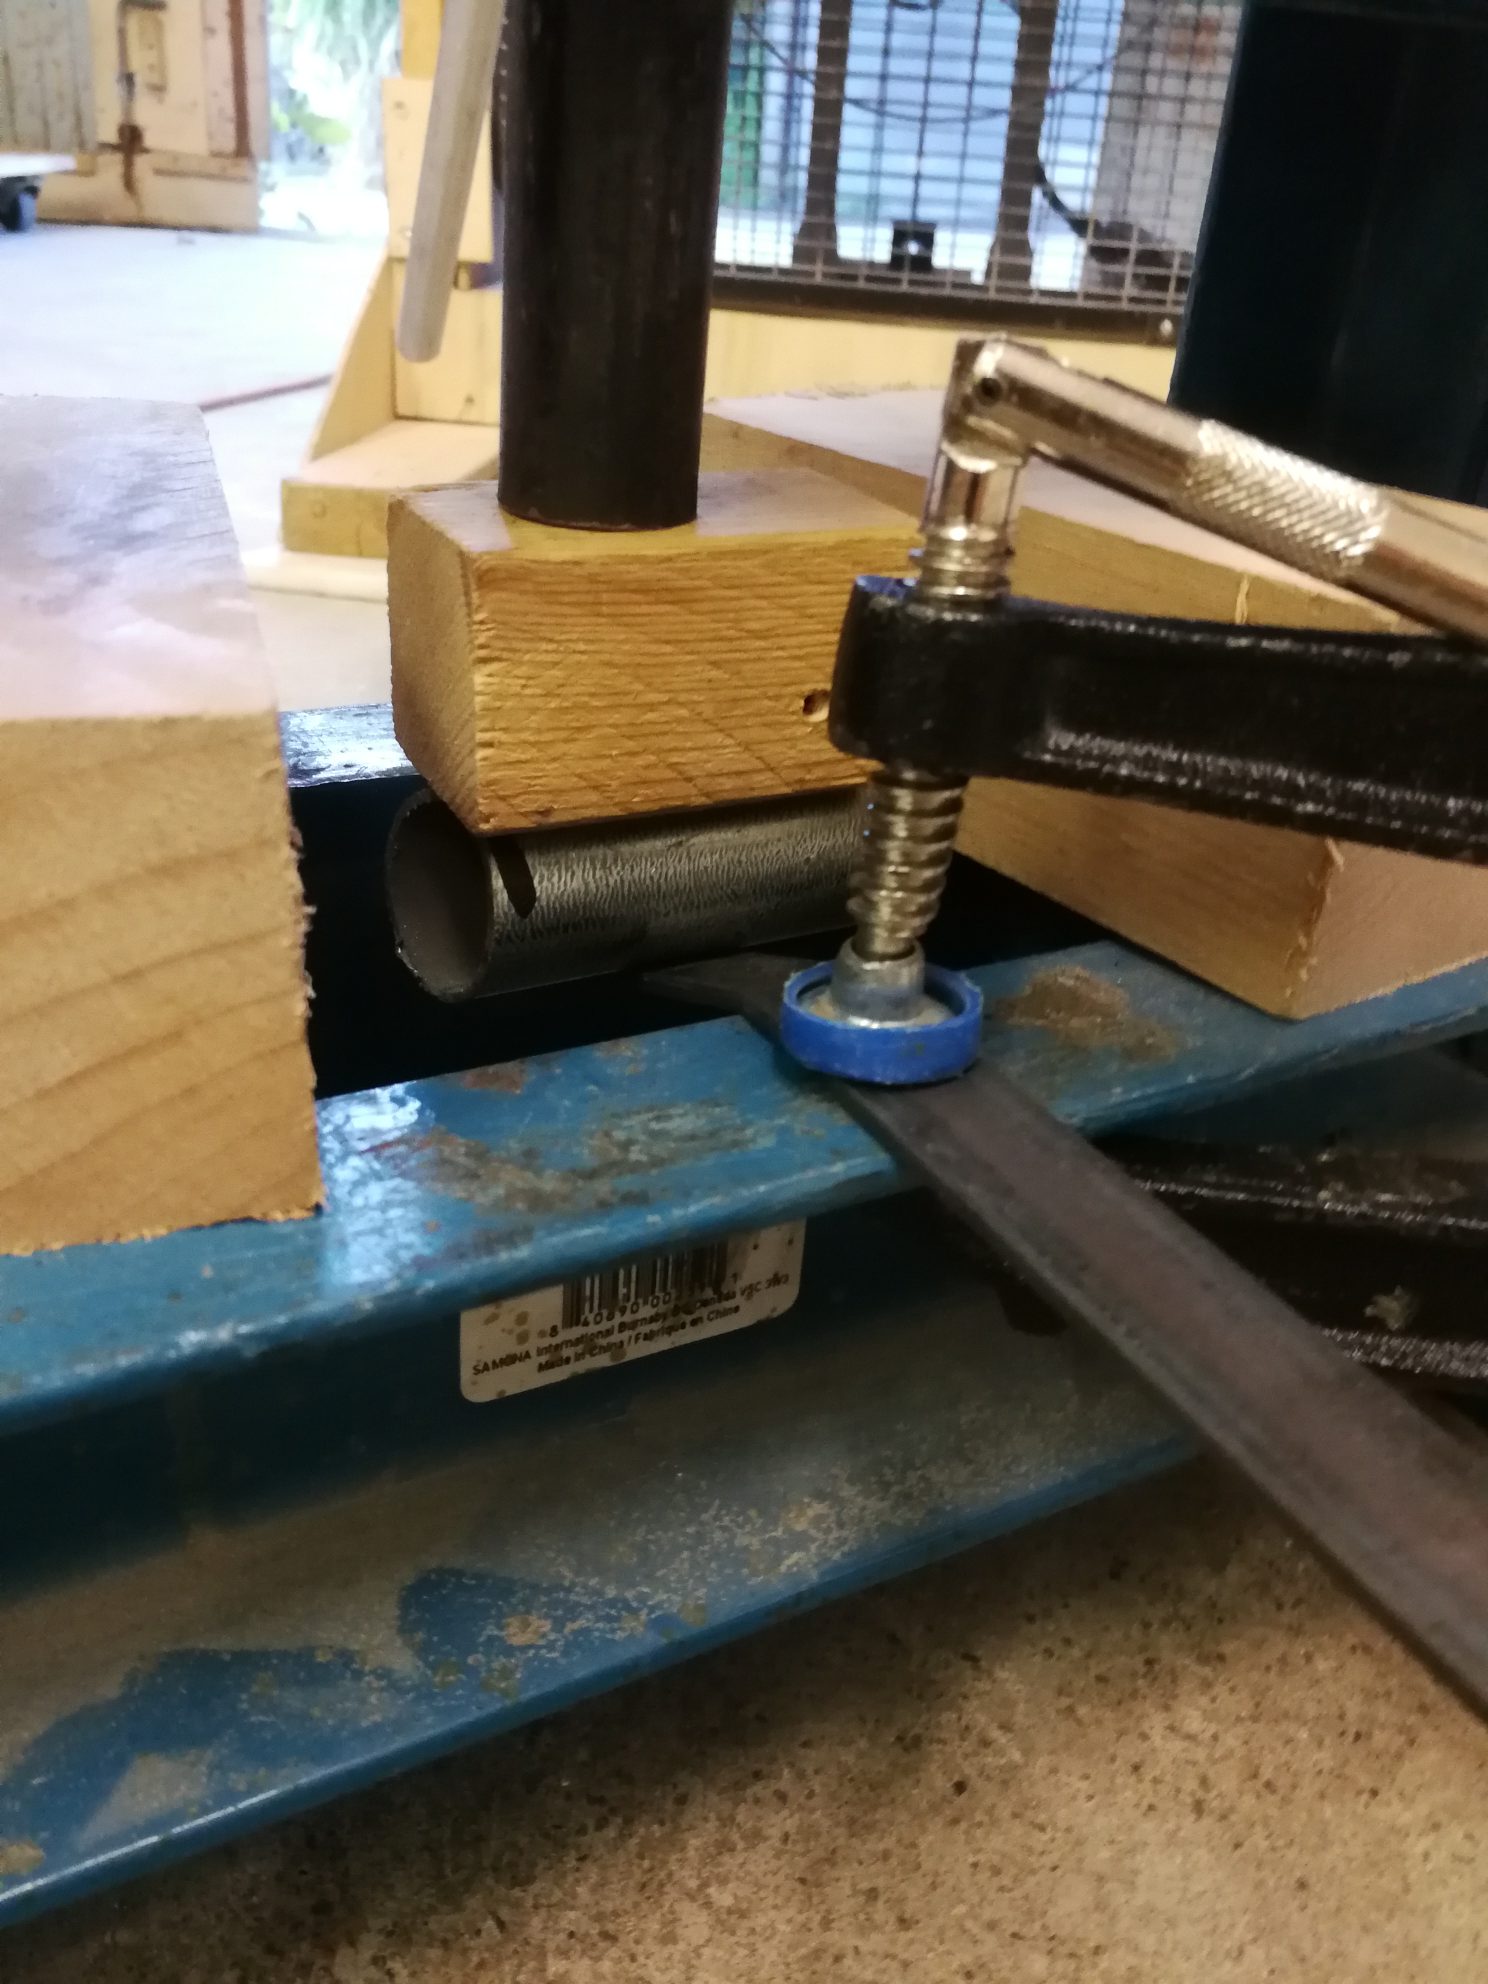
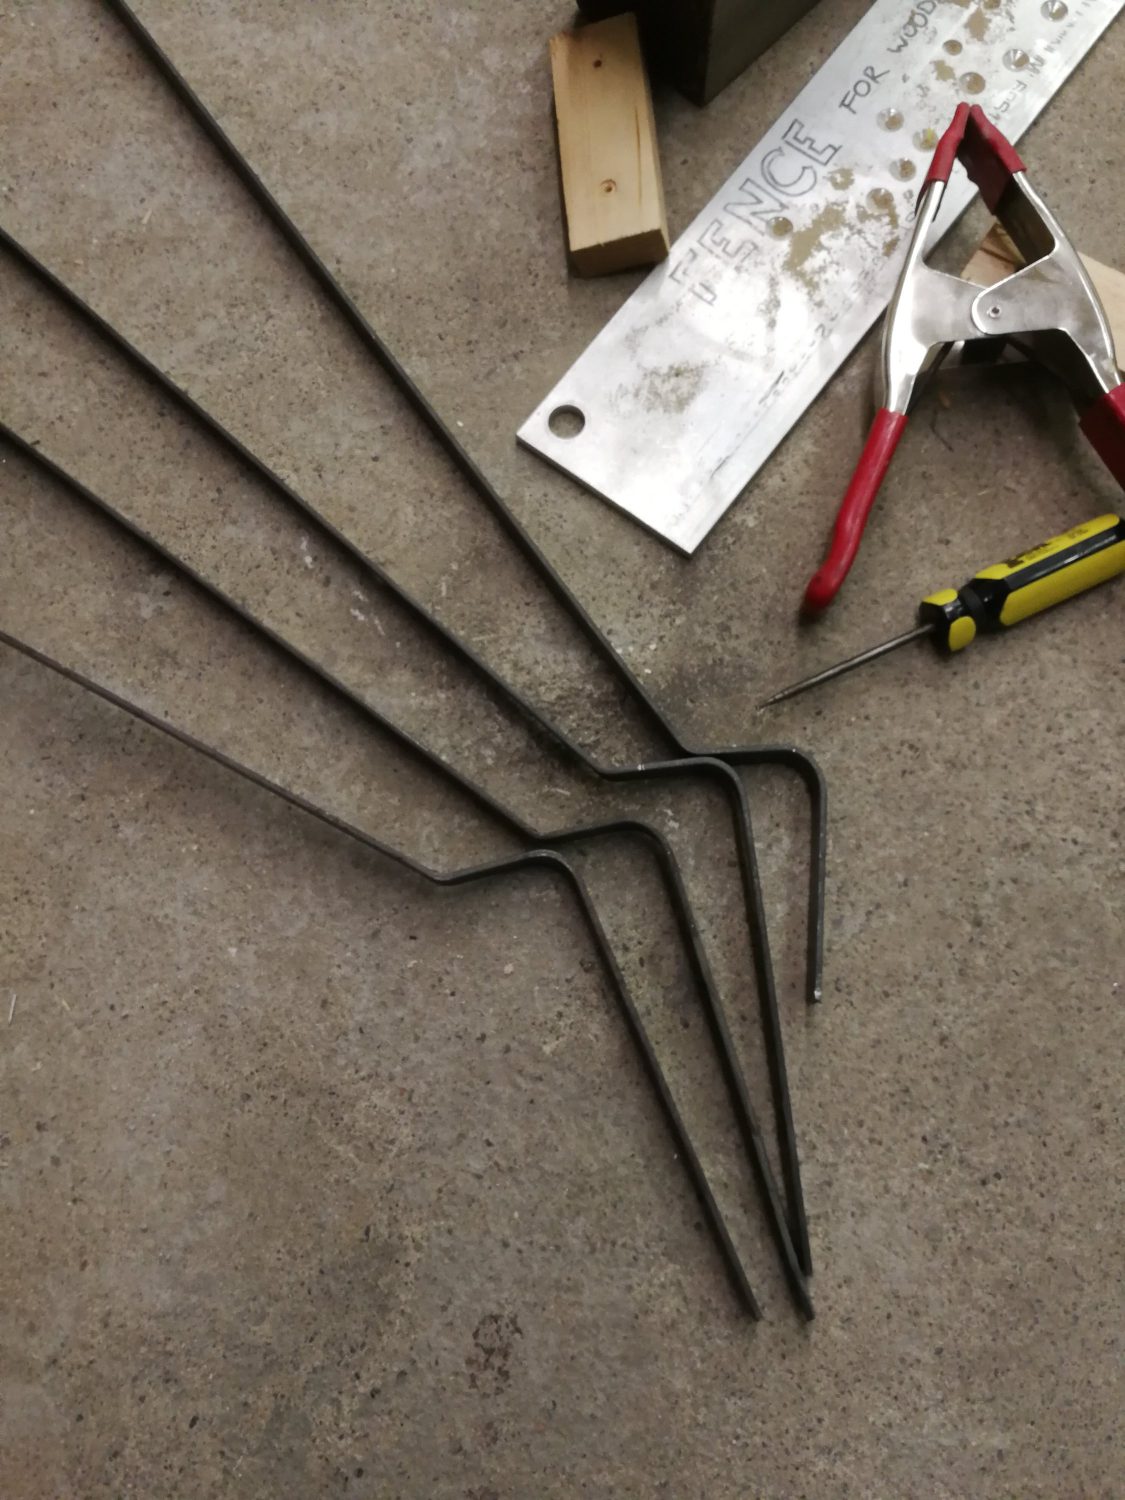
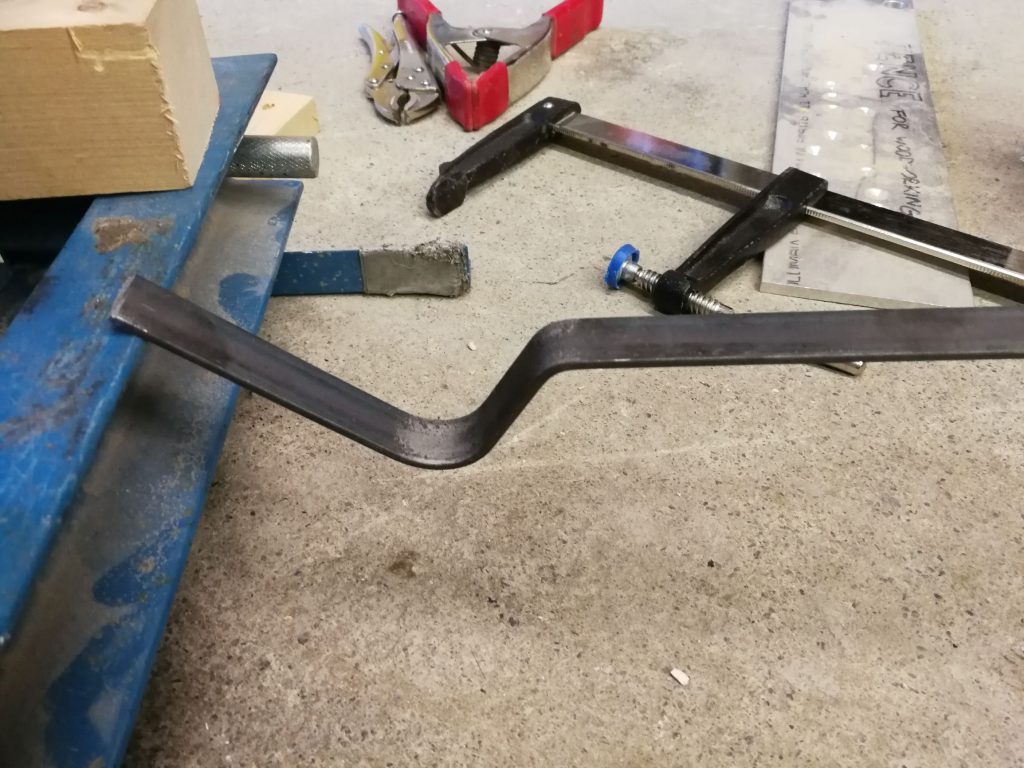
I used a hydraulic press in an only sort-of-sketchy set-up to bend them in a half circle to go around the hammock frame’s steel tubing.


While putting any kind of weight on these, they’d bend distressingly, and have a sort of spring effect that I could see multiplying forces in weird ways, so I decided to abandon that route.

That made me sad, though, look at those bends!


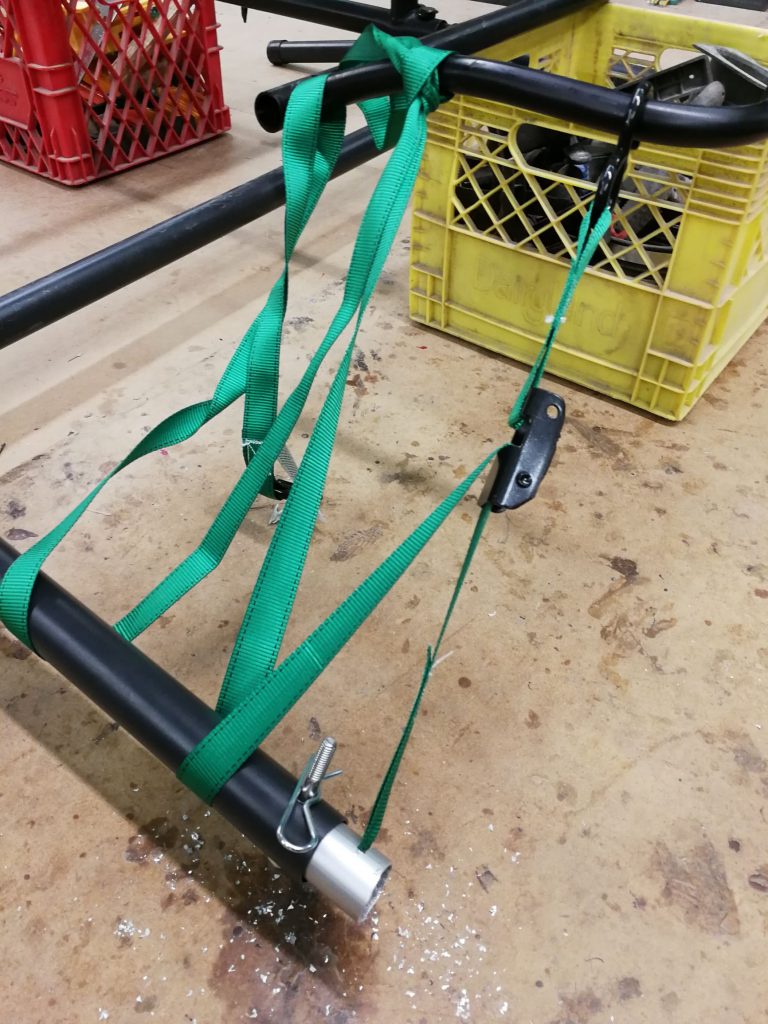
In parallel with the above, I also picked up some straps and built a method to fasten them around the pontoons.
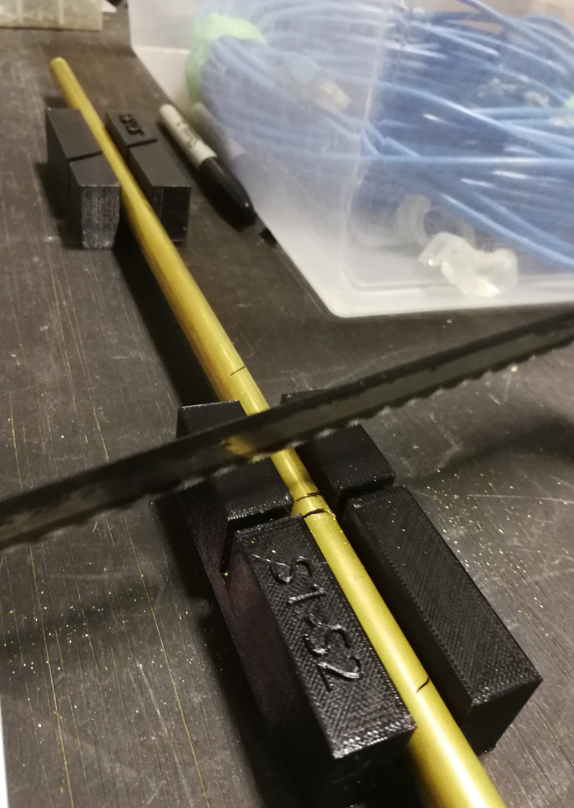
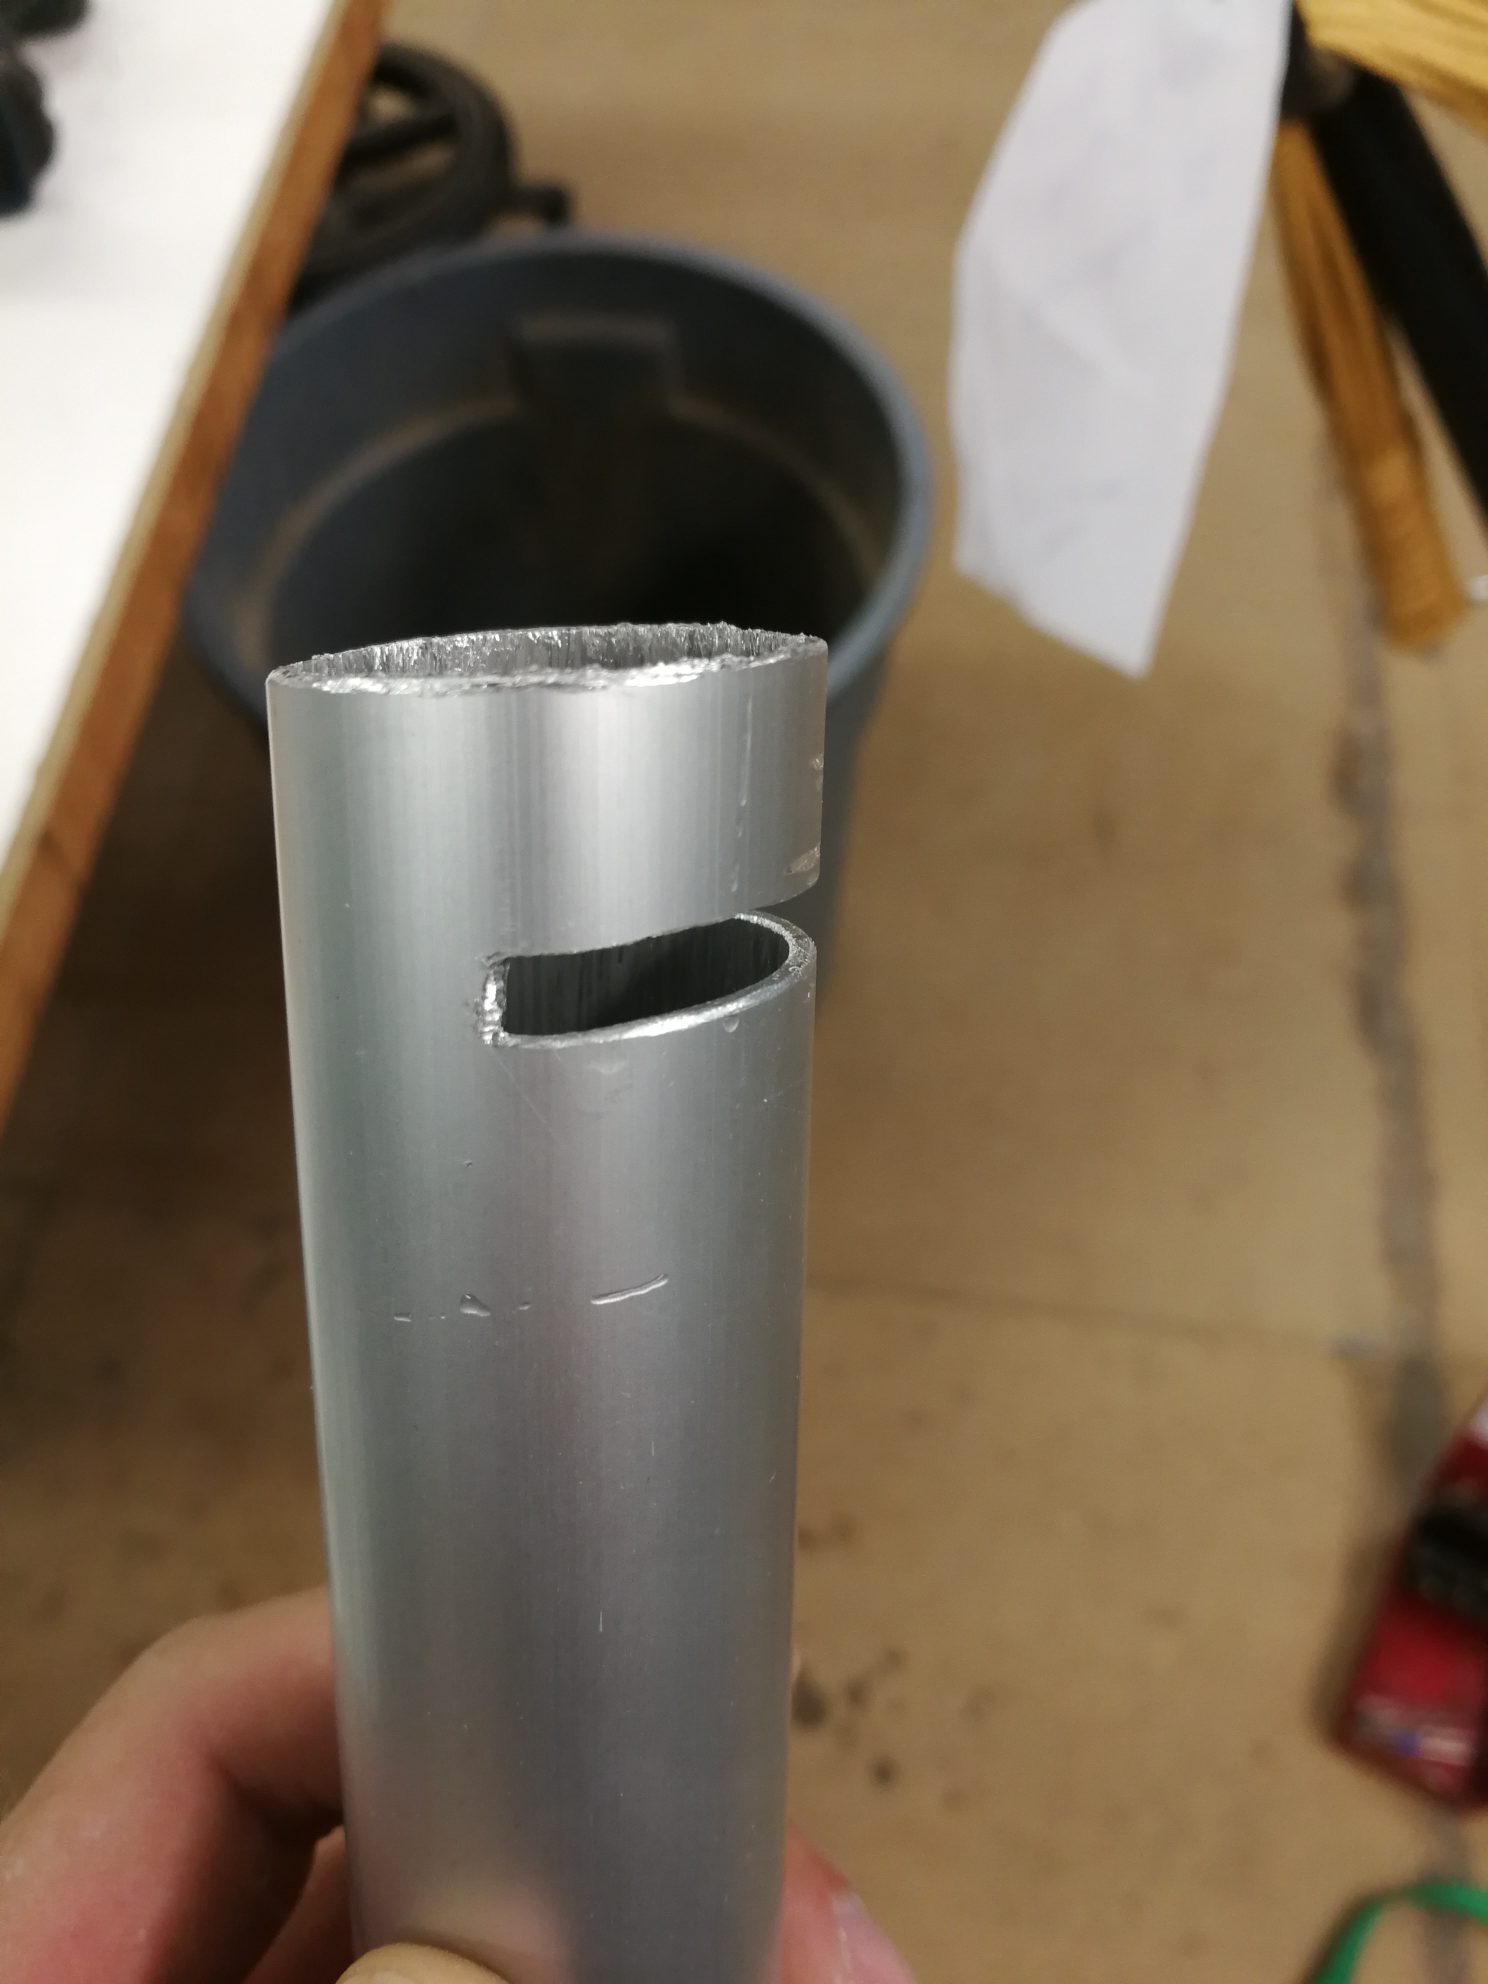
Aluminum tube, a slit, and some filing (oh so much filing) did the trick, along with some new holes, bolts, and cotter pins.


Also positioning the whole contraption without mashing the pontoons against potentially sharp machine shop floor was tough. I finally settled on this lumber solution, which helped me see the final fastening solution.


Back to the scrap bins, I found nearly the identical black anodized aluminum tubes that the pontoon boat is made out of. They slot right into the existing frame and couldn’t be more perfect. I hear they’re from an old bedframe.

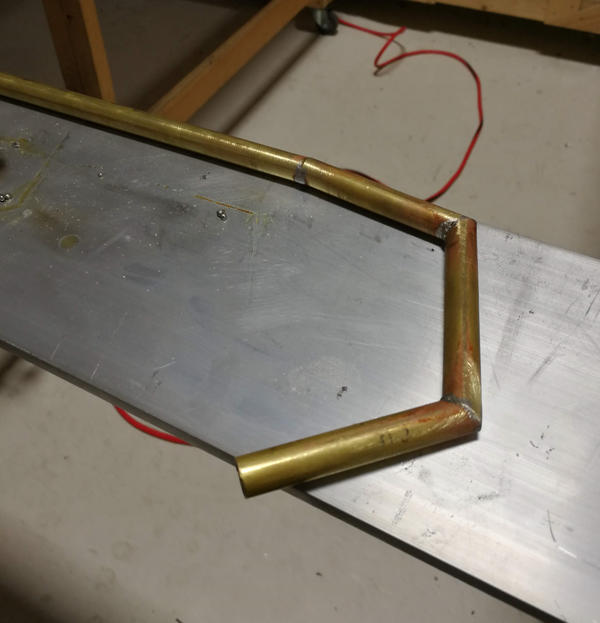
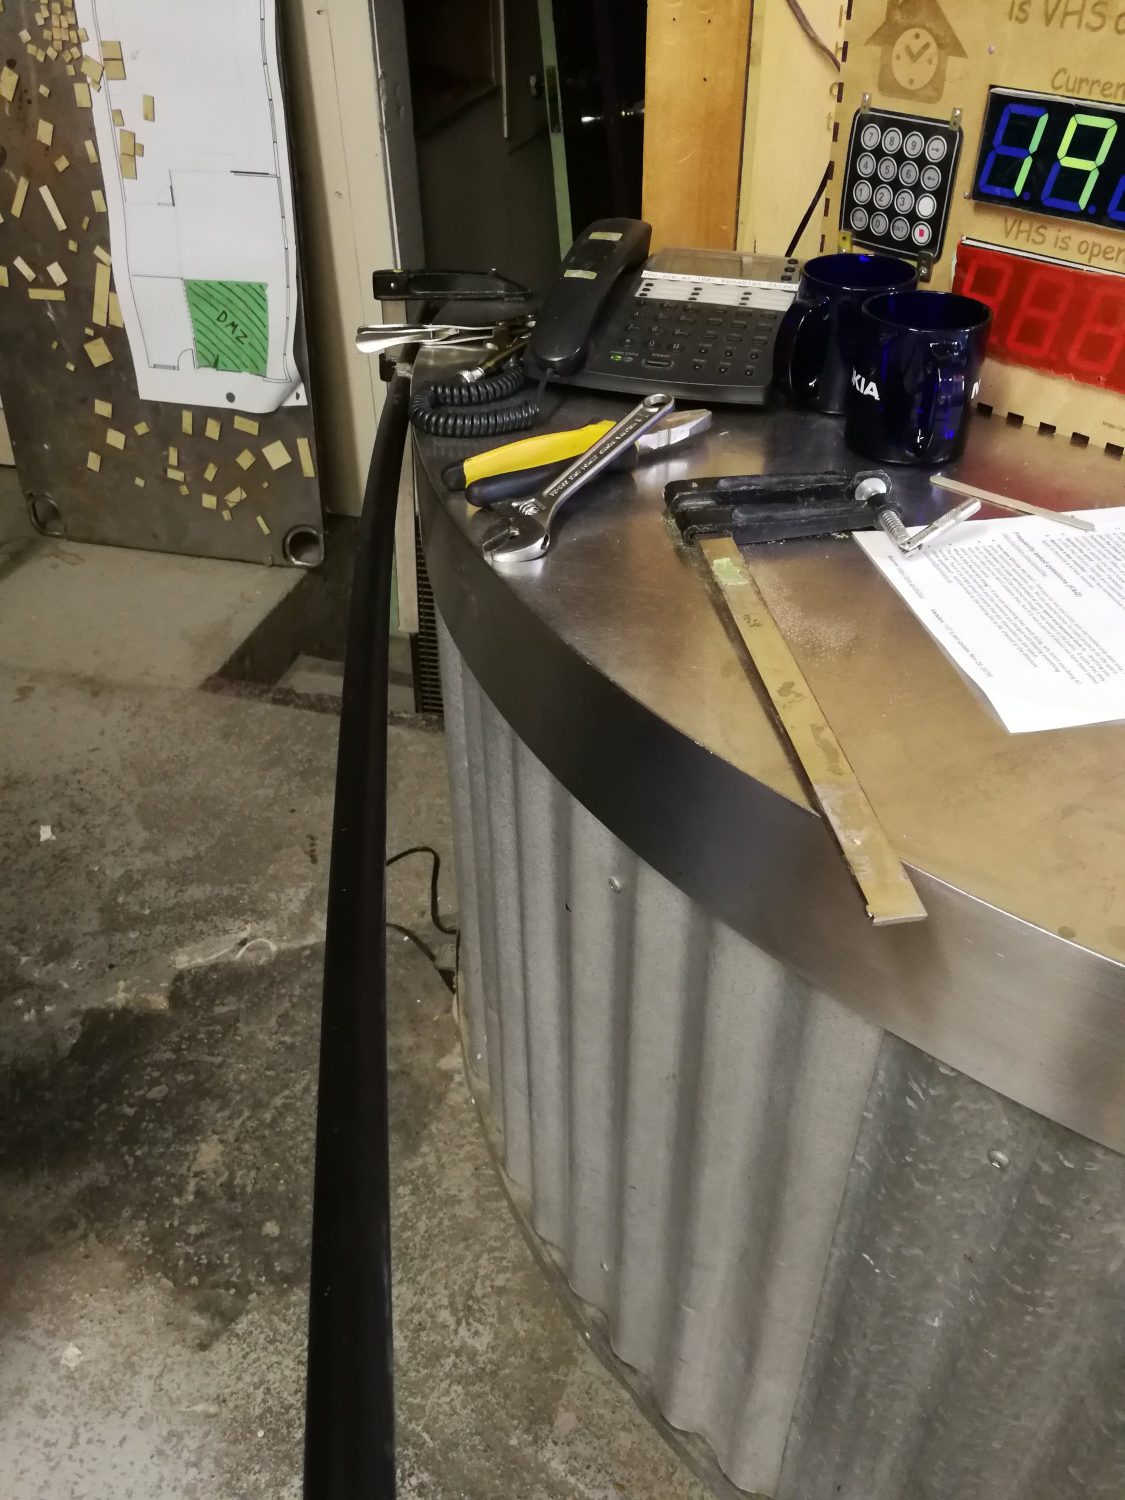
First I tried to bend one.
 

Then I tried harder to bend it.


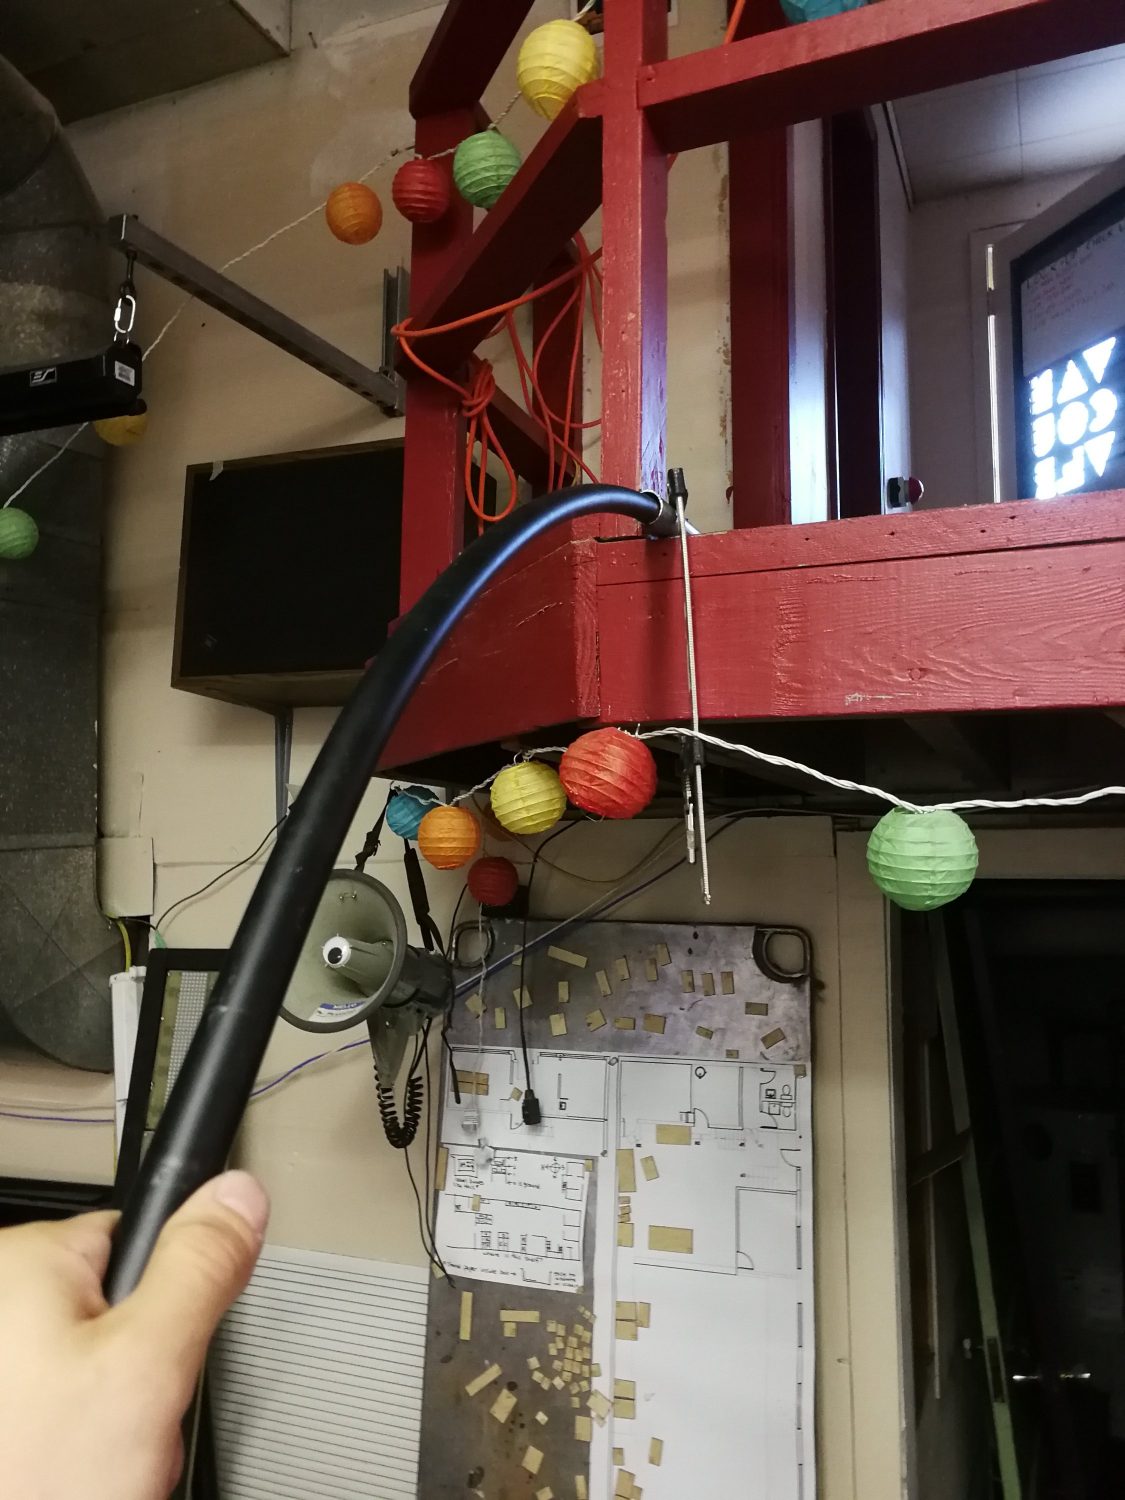
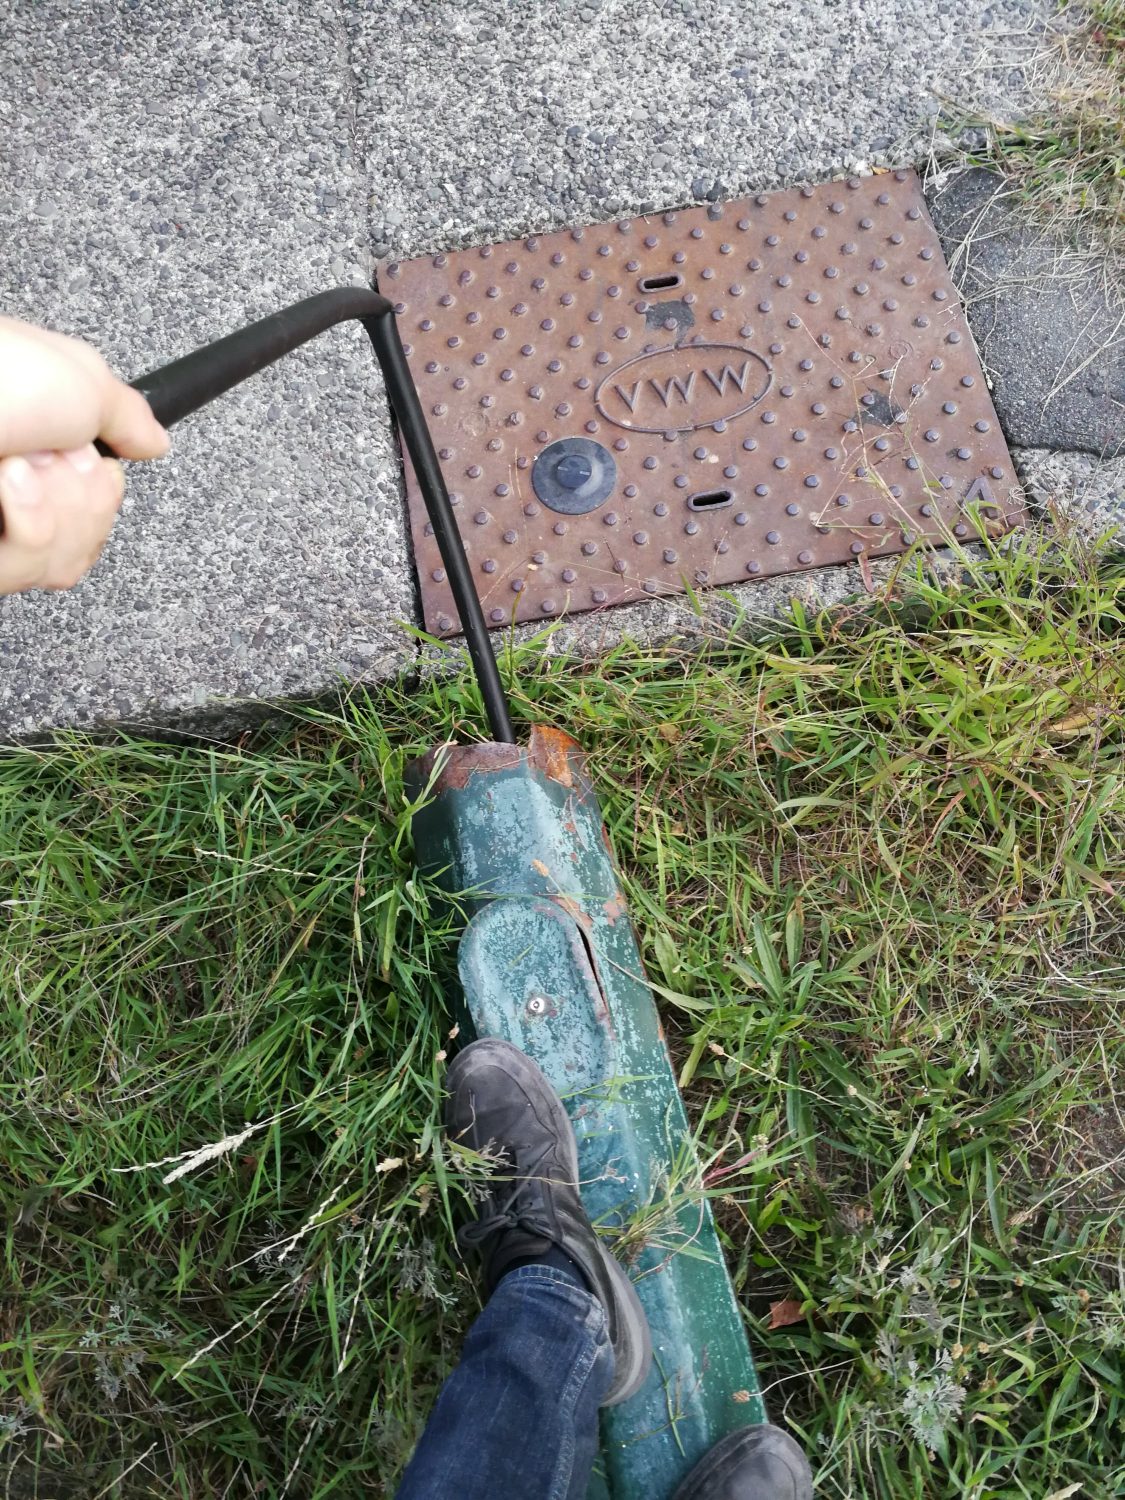
Naturally, I kinked it, but I continued to try to bend it, this time using a convenient streetlamp garden decoration.


I still couldn’t get the bend angles I needed! Just not strong enough or heavy enough or clampy enough! I abandoned that attempt.

So attempt number, whatever.

I tossed two more of those scrap tubes into the boat frame, and clamped it on with some u-bolts.


Well that was easy. It brought the hammock a liitttle higher than I really wanted, but I decided to gopher it and fix it in rev 2 if it was a disaster. Summer is running out.


Before launch day, with much thought and much more relaxing hammock meditation, I decided that the boat tooootally had enough side-to-side stability, and that I’d have more issues front-to-back. This is because the hammock in resting position really wasn’t too much higher than the original boat’s seat, but the leverage on the hammock’s front/aft mounting points was way further out than the pontoons.
This later turned out to be completely correct.

But, burn that bridge when we get to it! I will probably add an outrigger to the back of the hammock frame. The water wings and pool noodles are not intended to be used, they’re just there as a last resort hammock rescue device, which we didn’t need.

And grab a couples friends and off we go.


Here’s the maiden voyage:


Spoiler:


But with a little more careful weight distribution, it works! It actually works really well, I was kinda blown away. It’s pretty much the best thing ever and I can’t believe it didn’t kill me.

Bliss.

POV Globe – The Mechanicals

The mechanical design for this project follows the “as quickly and easily as possible” maxim even more so than any other section. I used flat pack laser cut design strategies that results in pieces that snap together. I like that because it could in the future be turned into a kit reasonably easily, and in the meantime, it’s just a quick way to design and iterate.

For this first version, aesthetics plays no part, I just wanted to get the PCB mounted and spinning, along with an appropriate motor.

I used off the shelf mechanical components wherever possible, too. Standard bearings, shafts, collars, and couplers. Oh my.

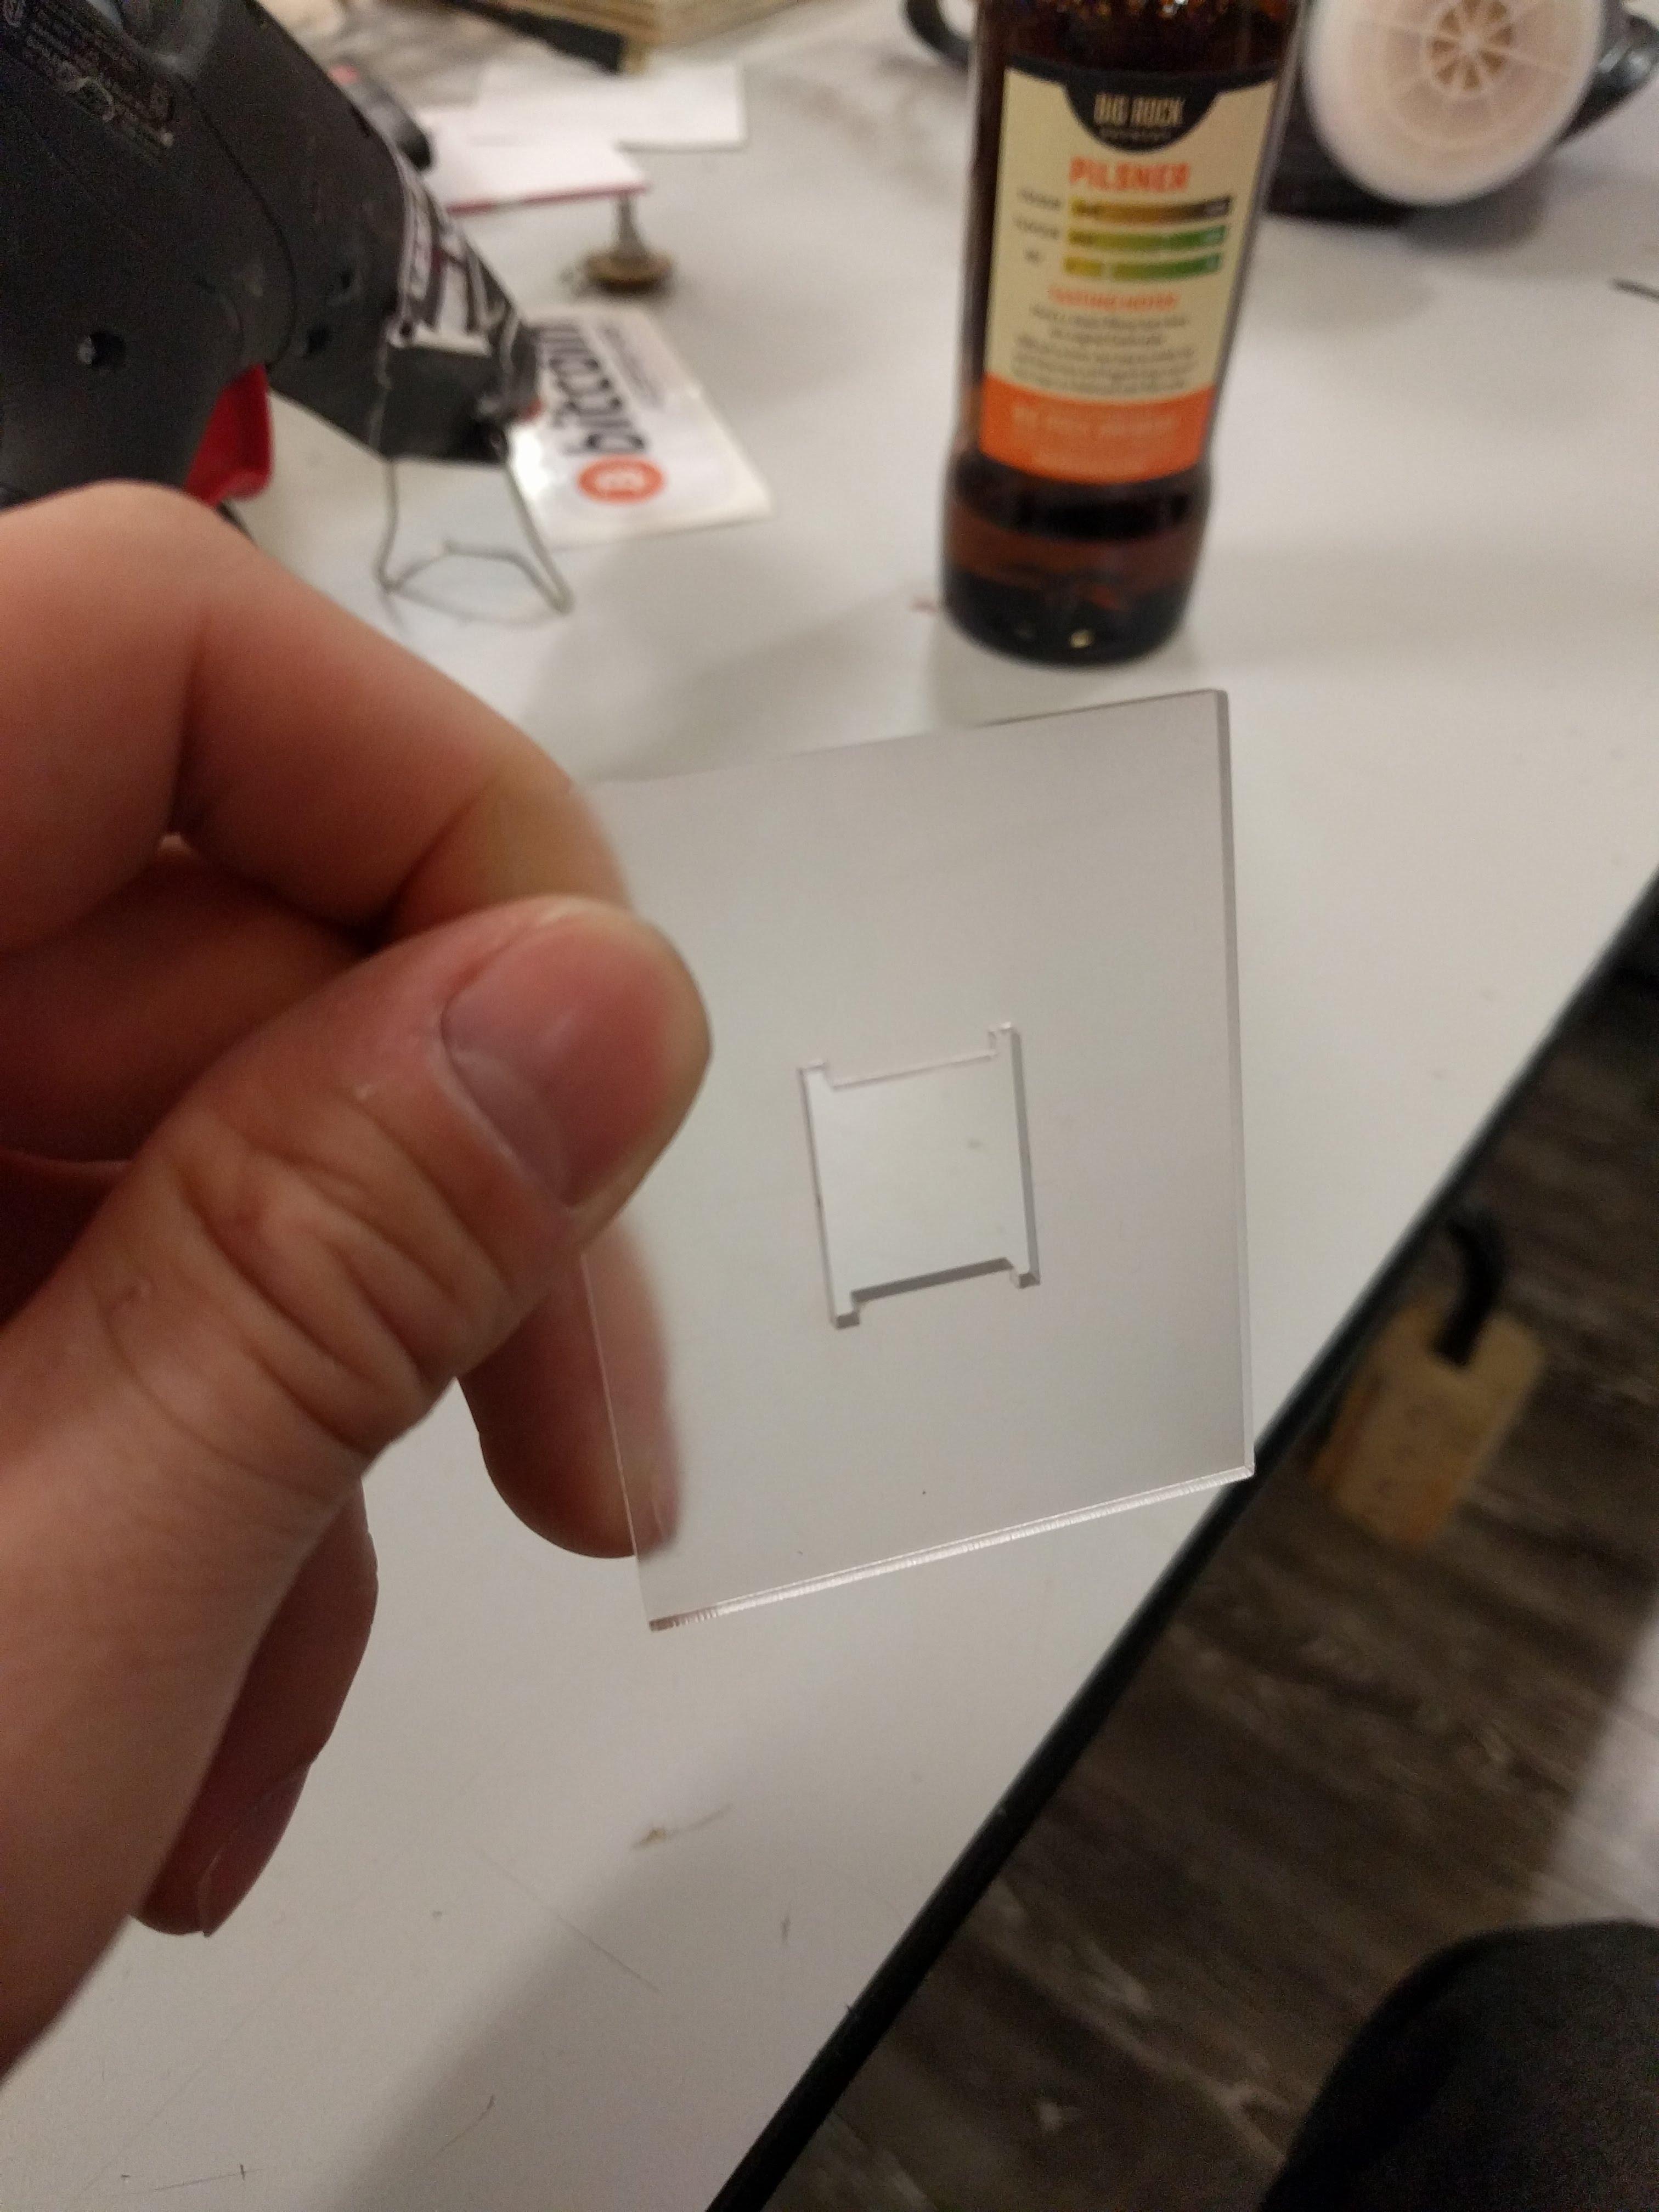
Coupling the PCB to the drive shaft was a challenge that went through a few ideas to keep it manageable. Something off the shelf, or quick and cheap to manufacture. 3D printing is right out. This picture illustrates the problem, along with a laser cut mock up of the PCB:

One of the solutions I explored was to use clevis pins, intended for RC helicopters.

I found some aluminum ones and some nylon ones, but the former ended up being unsuitable for size. The nylon still wasn’t perfect, but here’s a tip for when your shaft is inappropriately large:

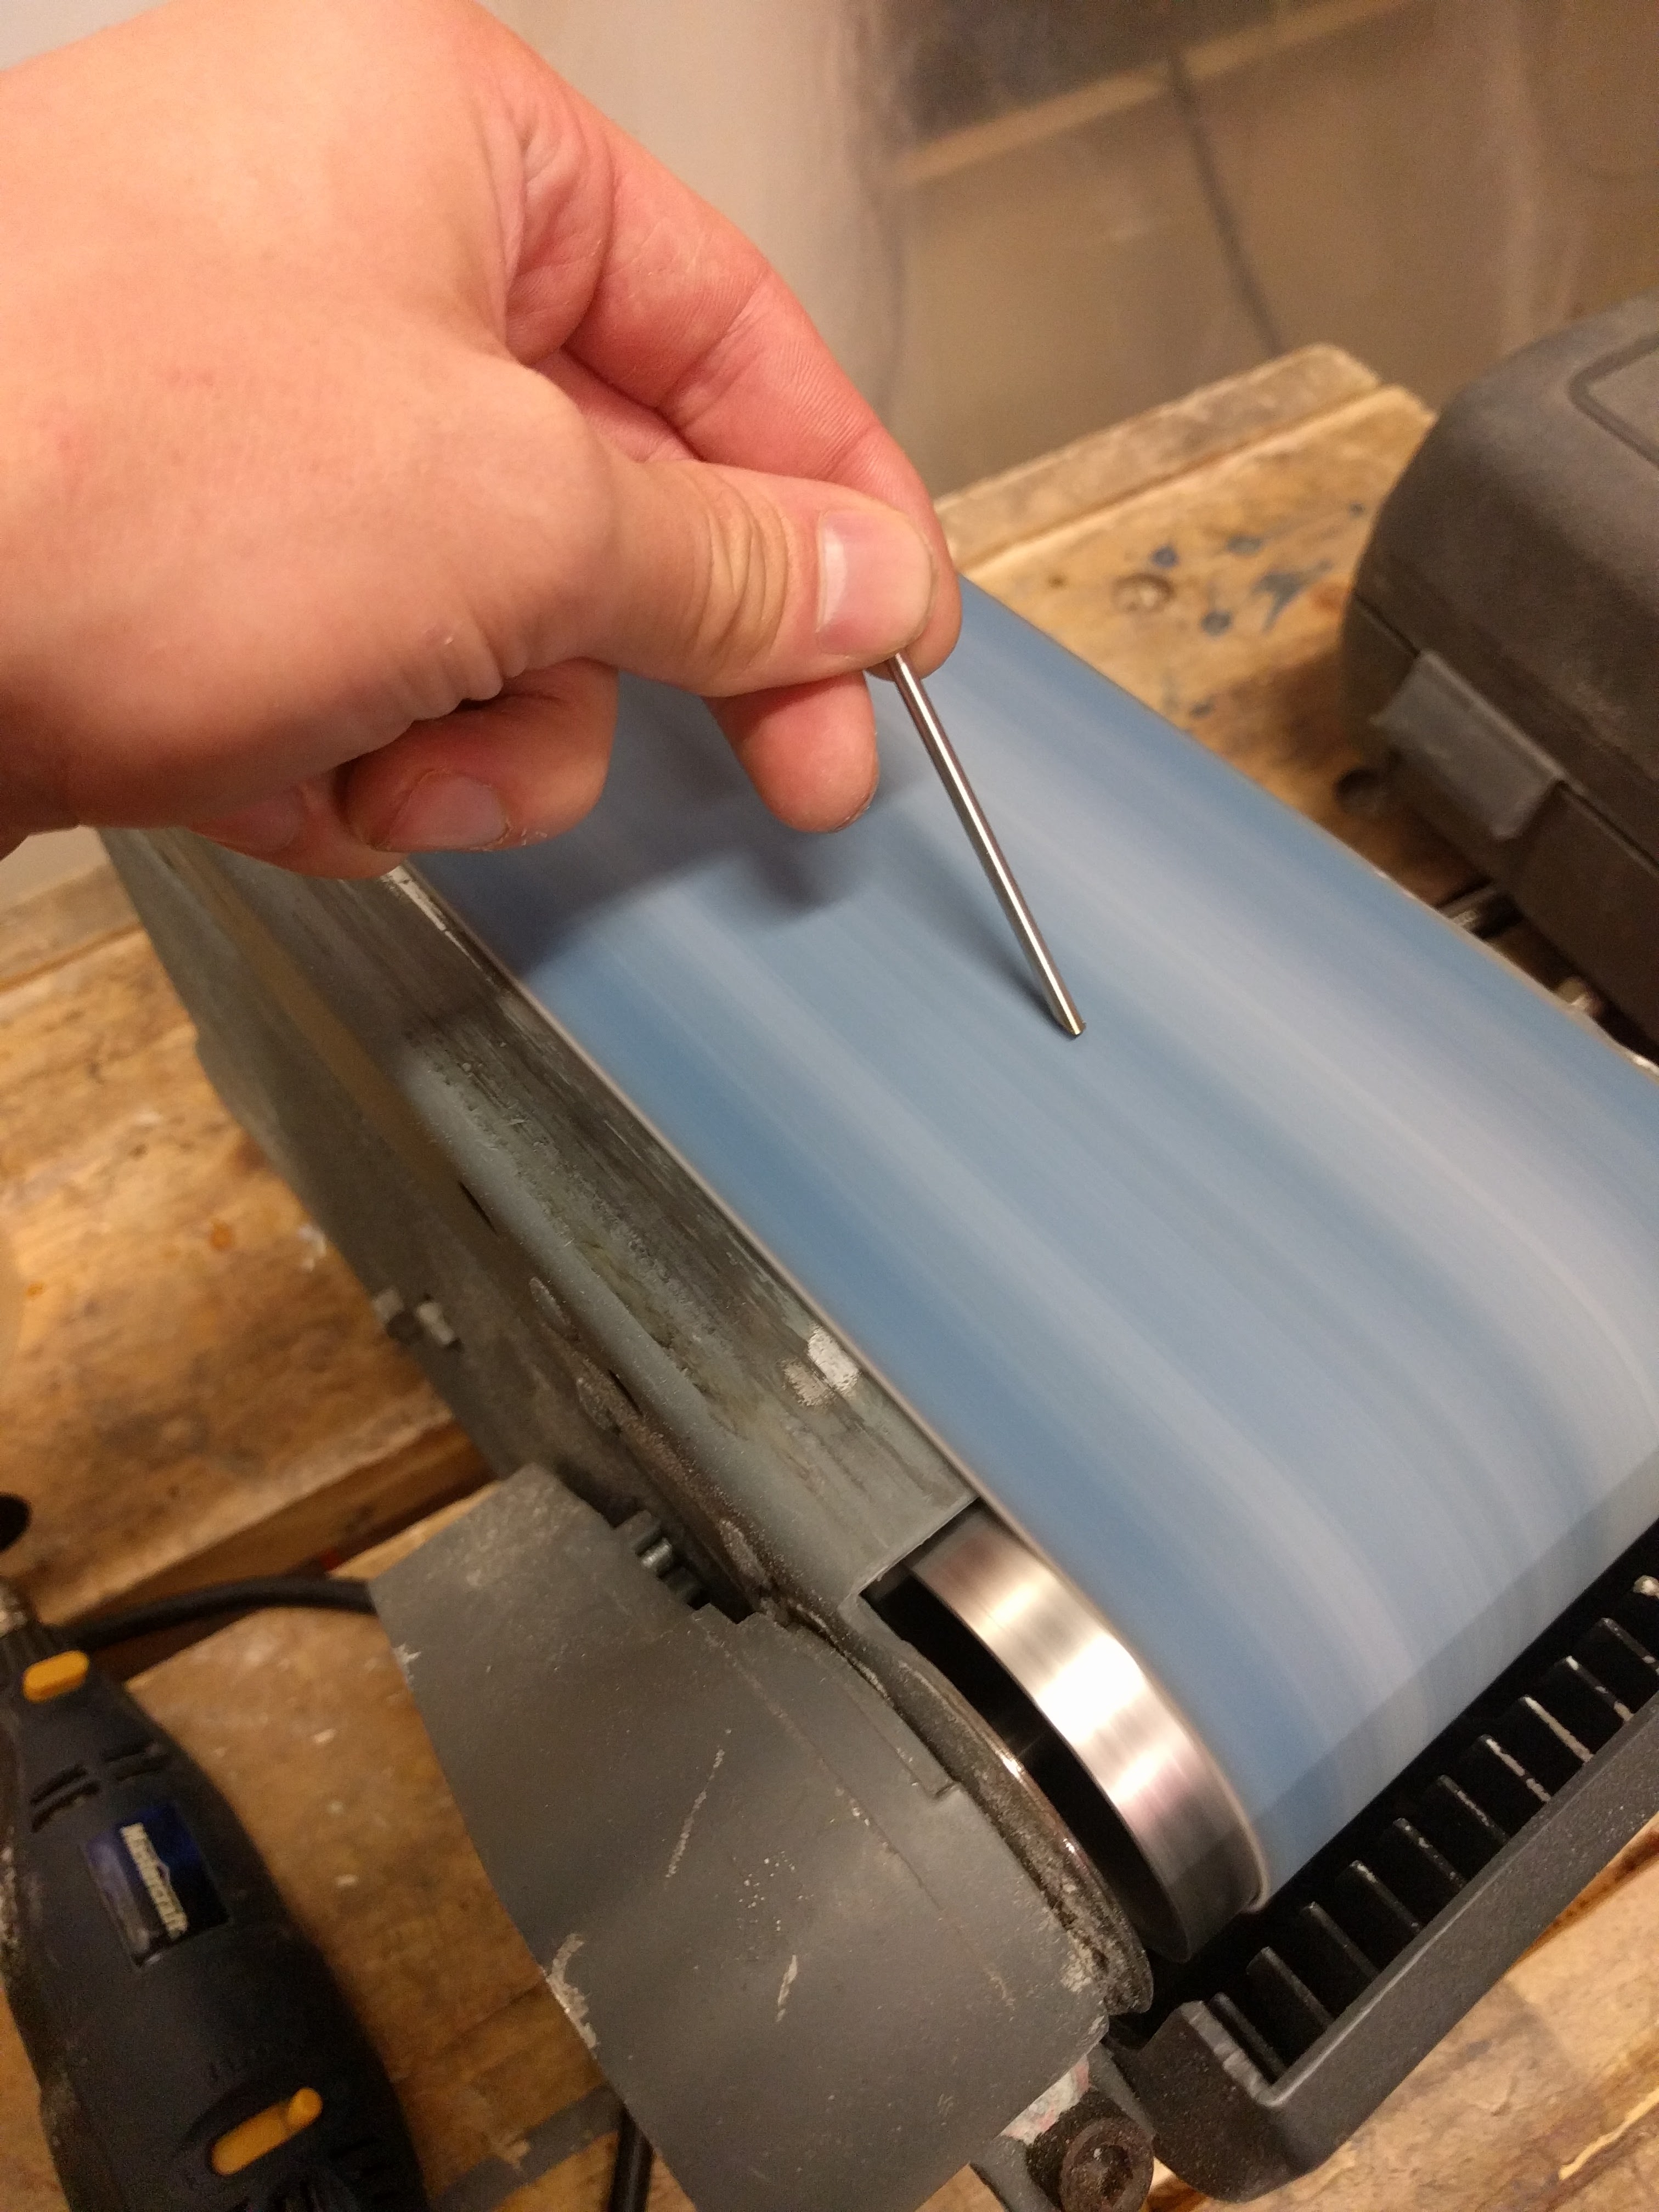
You can grind down steel rods to make a serviceable cutting edge, turning it into a poor-but-functional drill bit. Then they’ll drill right into the nylon.

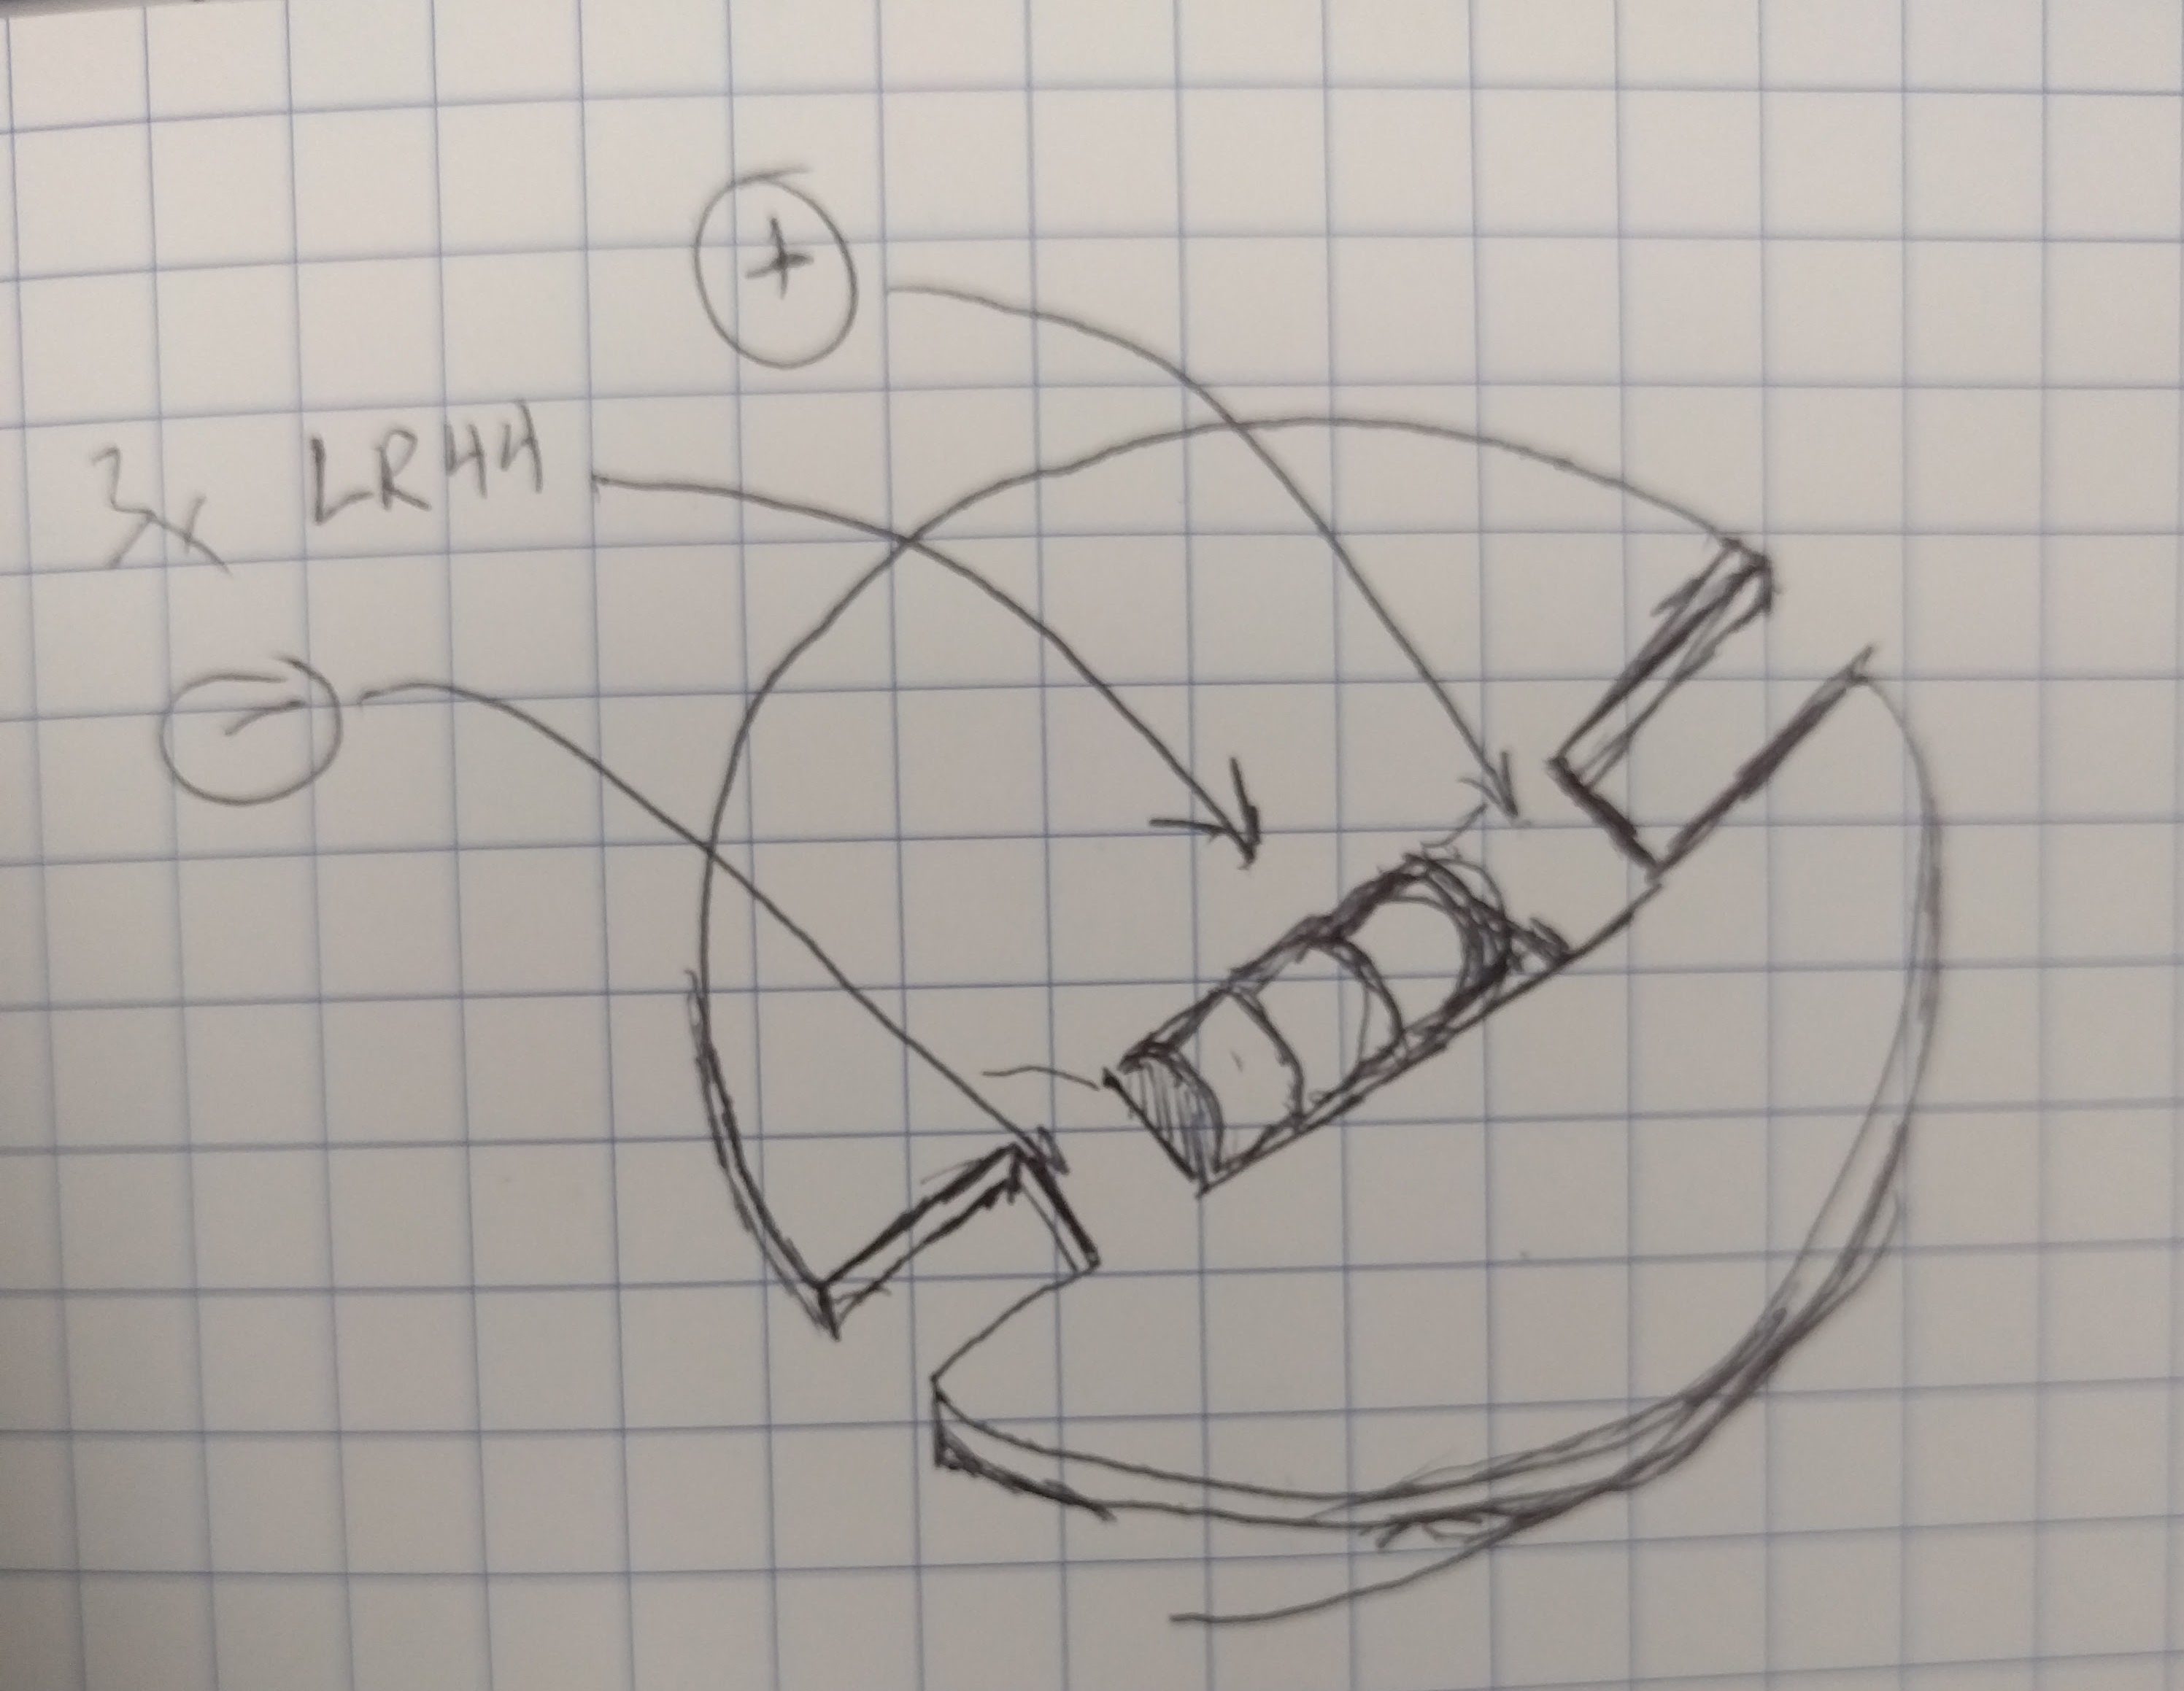
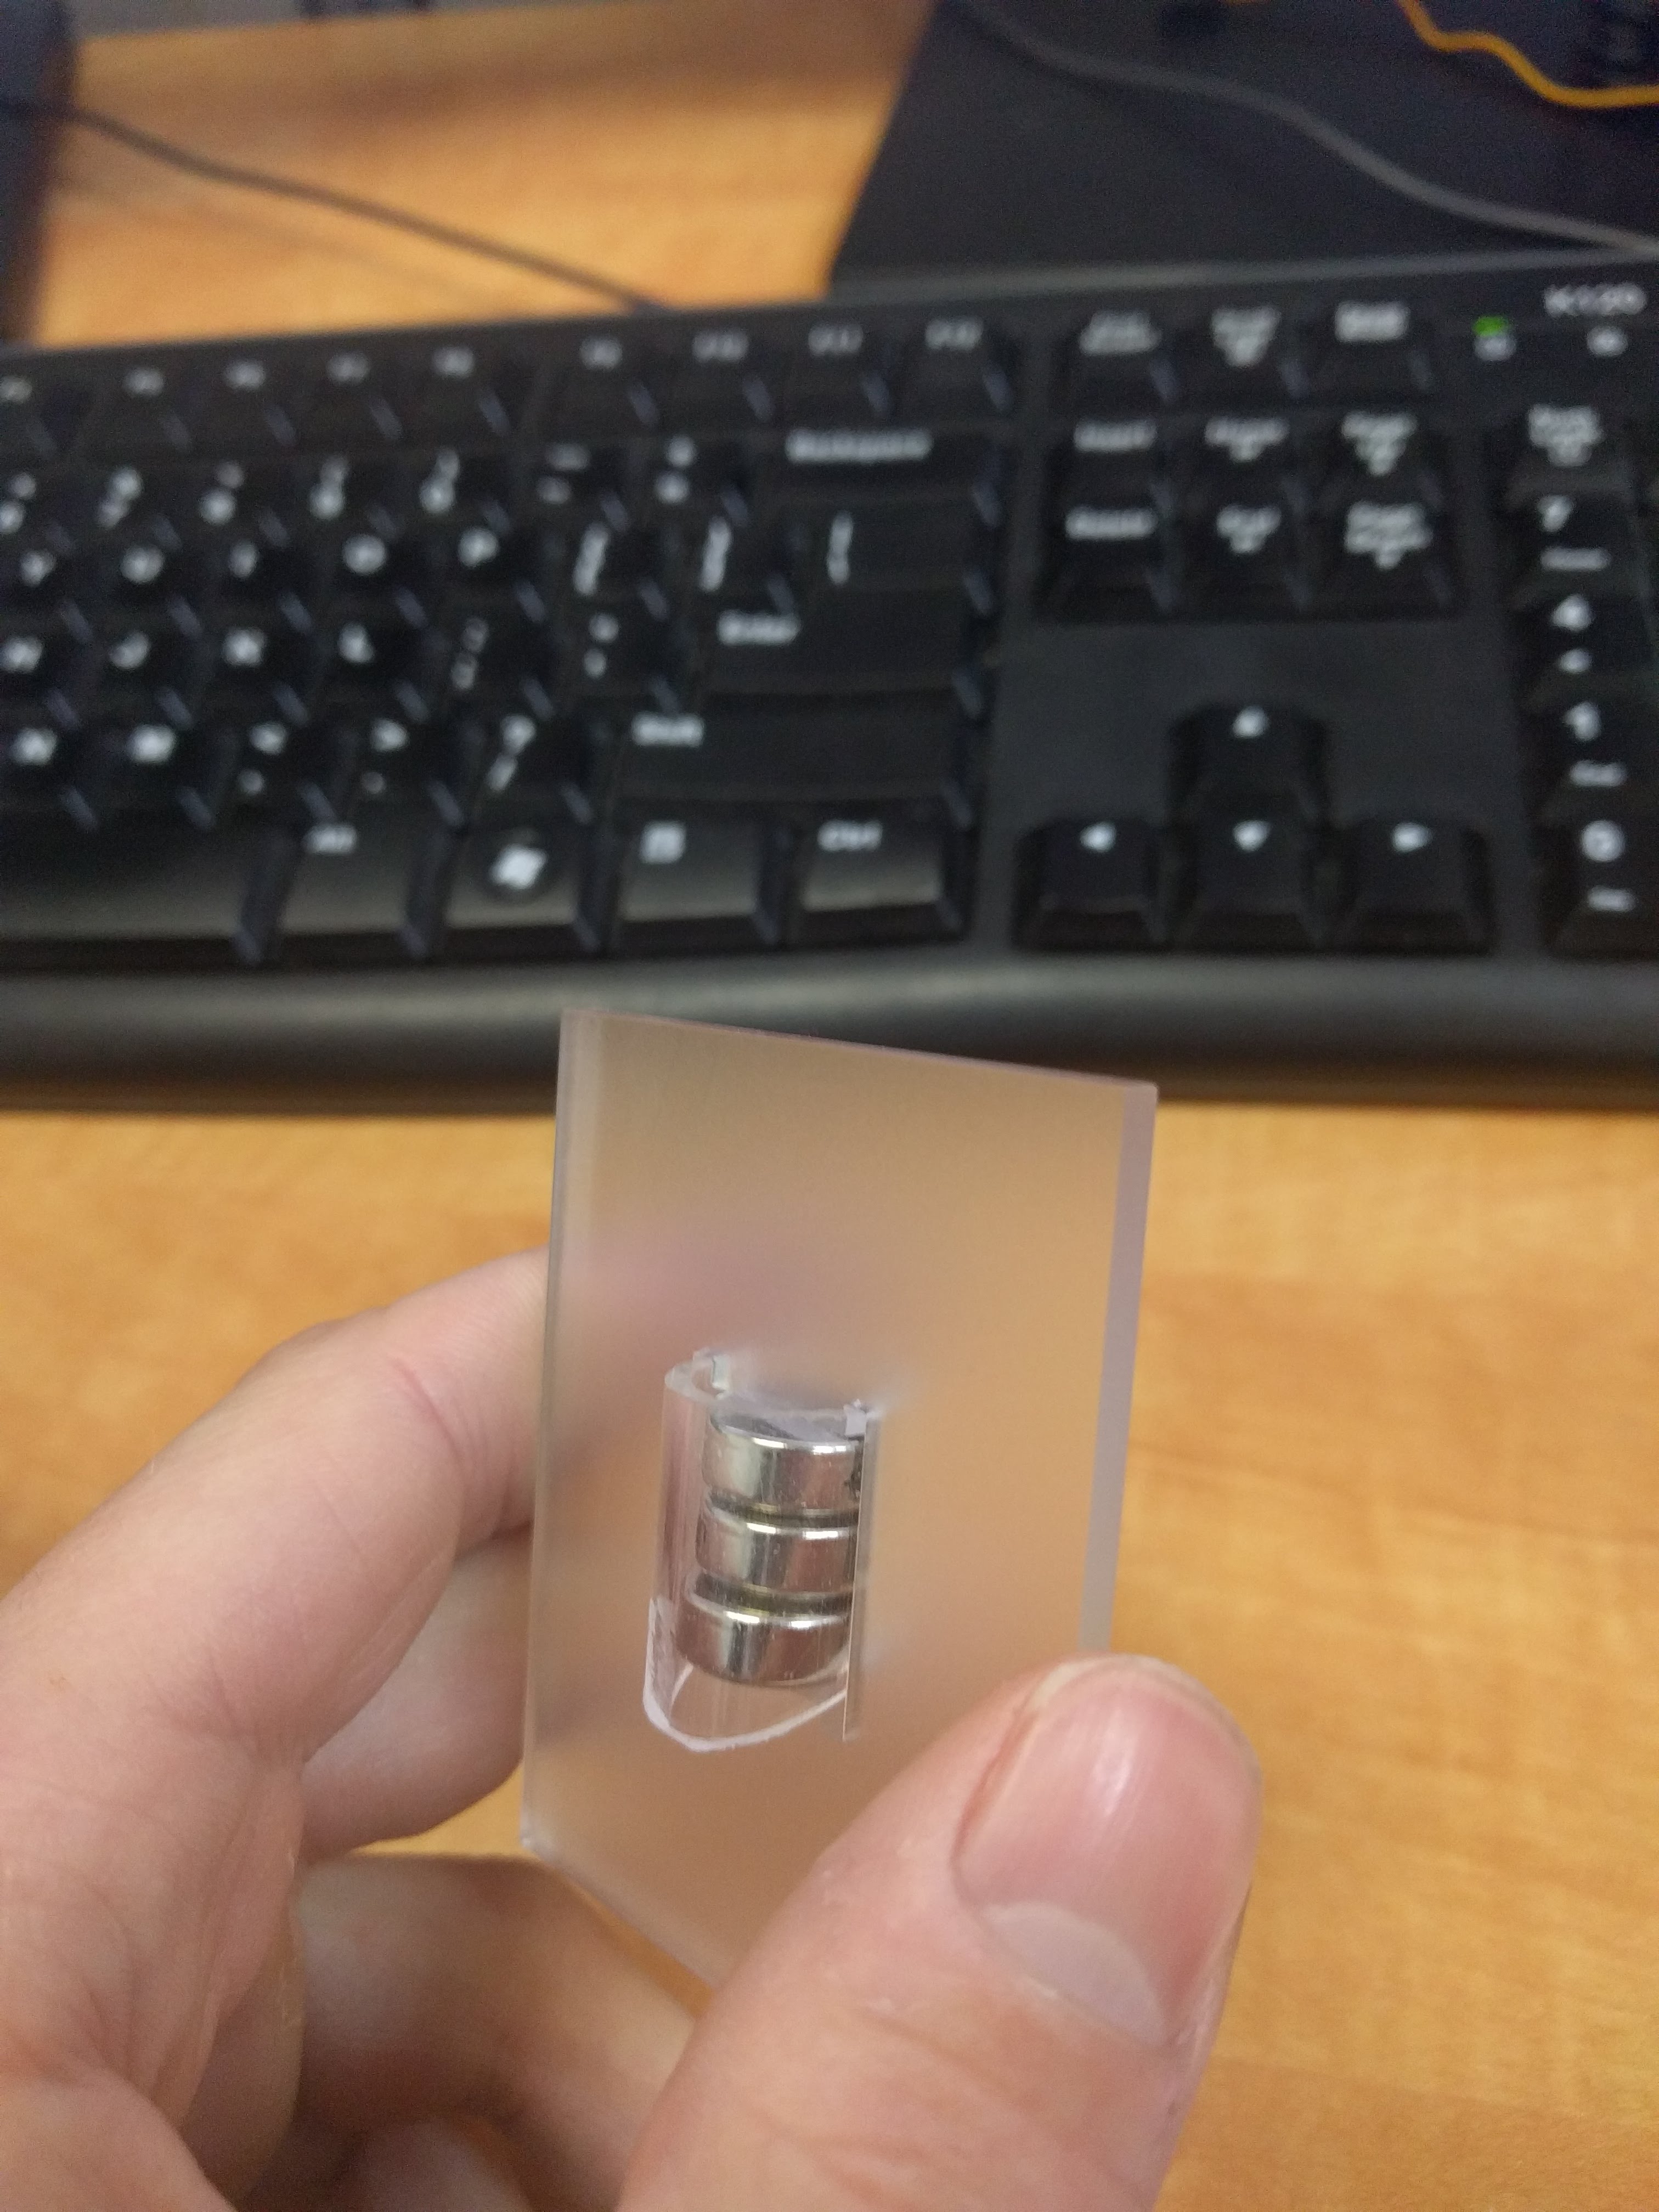
One more issue was battery holding. Ideally, I wanted a cylindrical battery (or batteries) held longitudinally in the centre of the sphere. That seemed best for keeping the spinning disk balanced. For electrical reasons, I chose three LR44 coin cells stacked up to make 4.5v nominally.

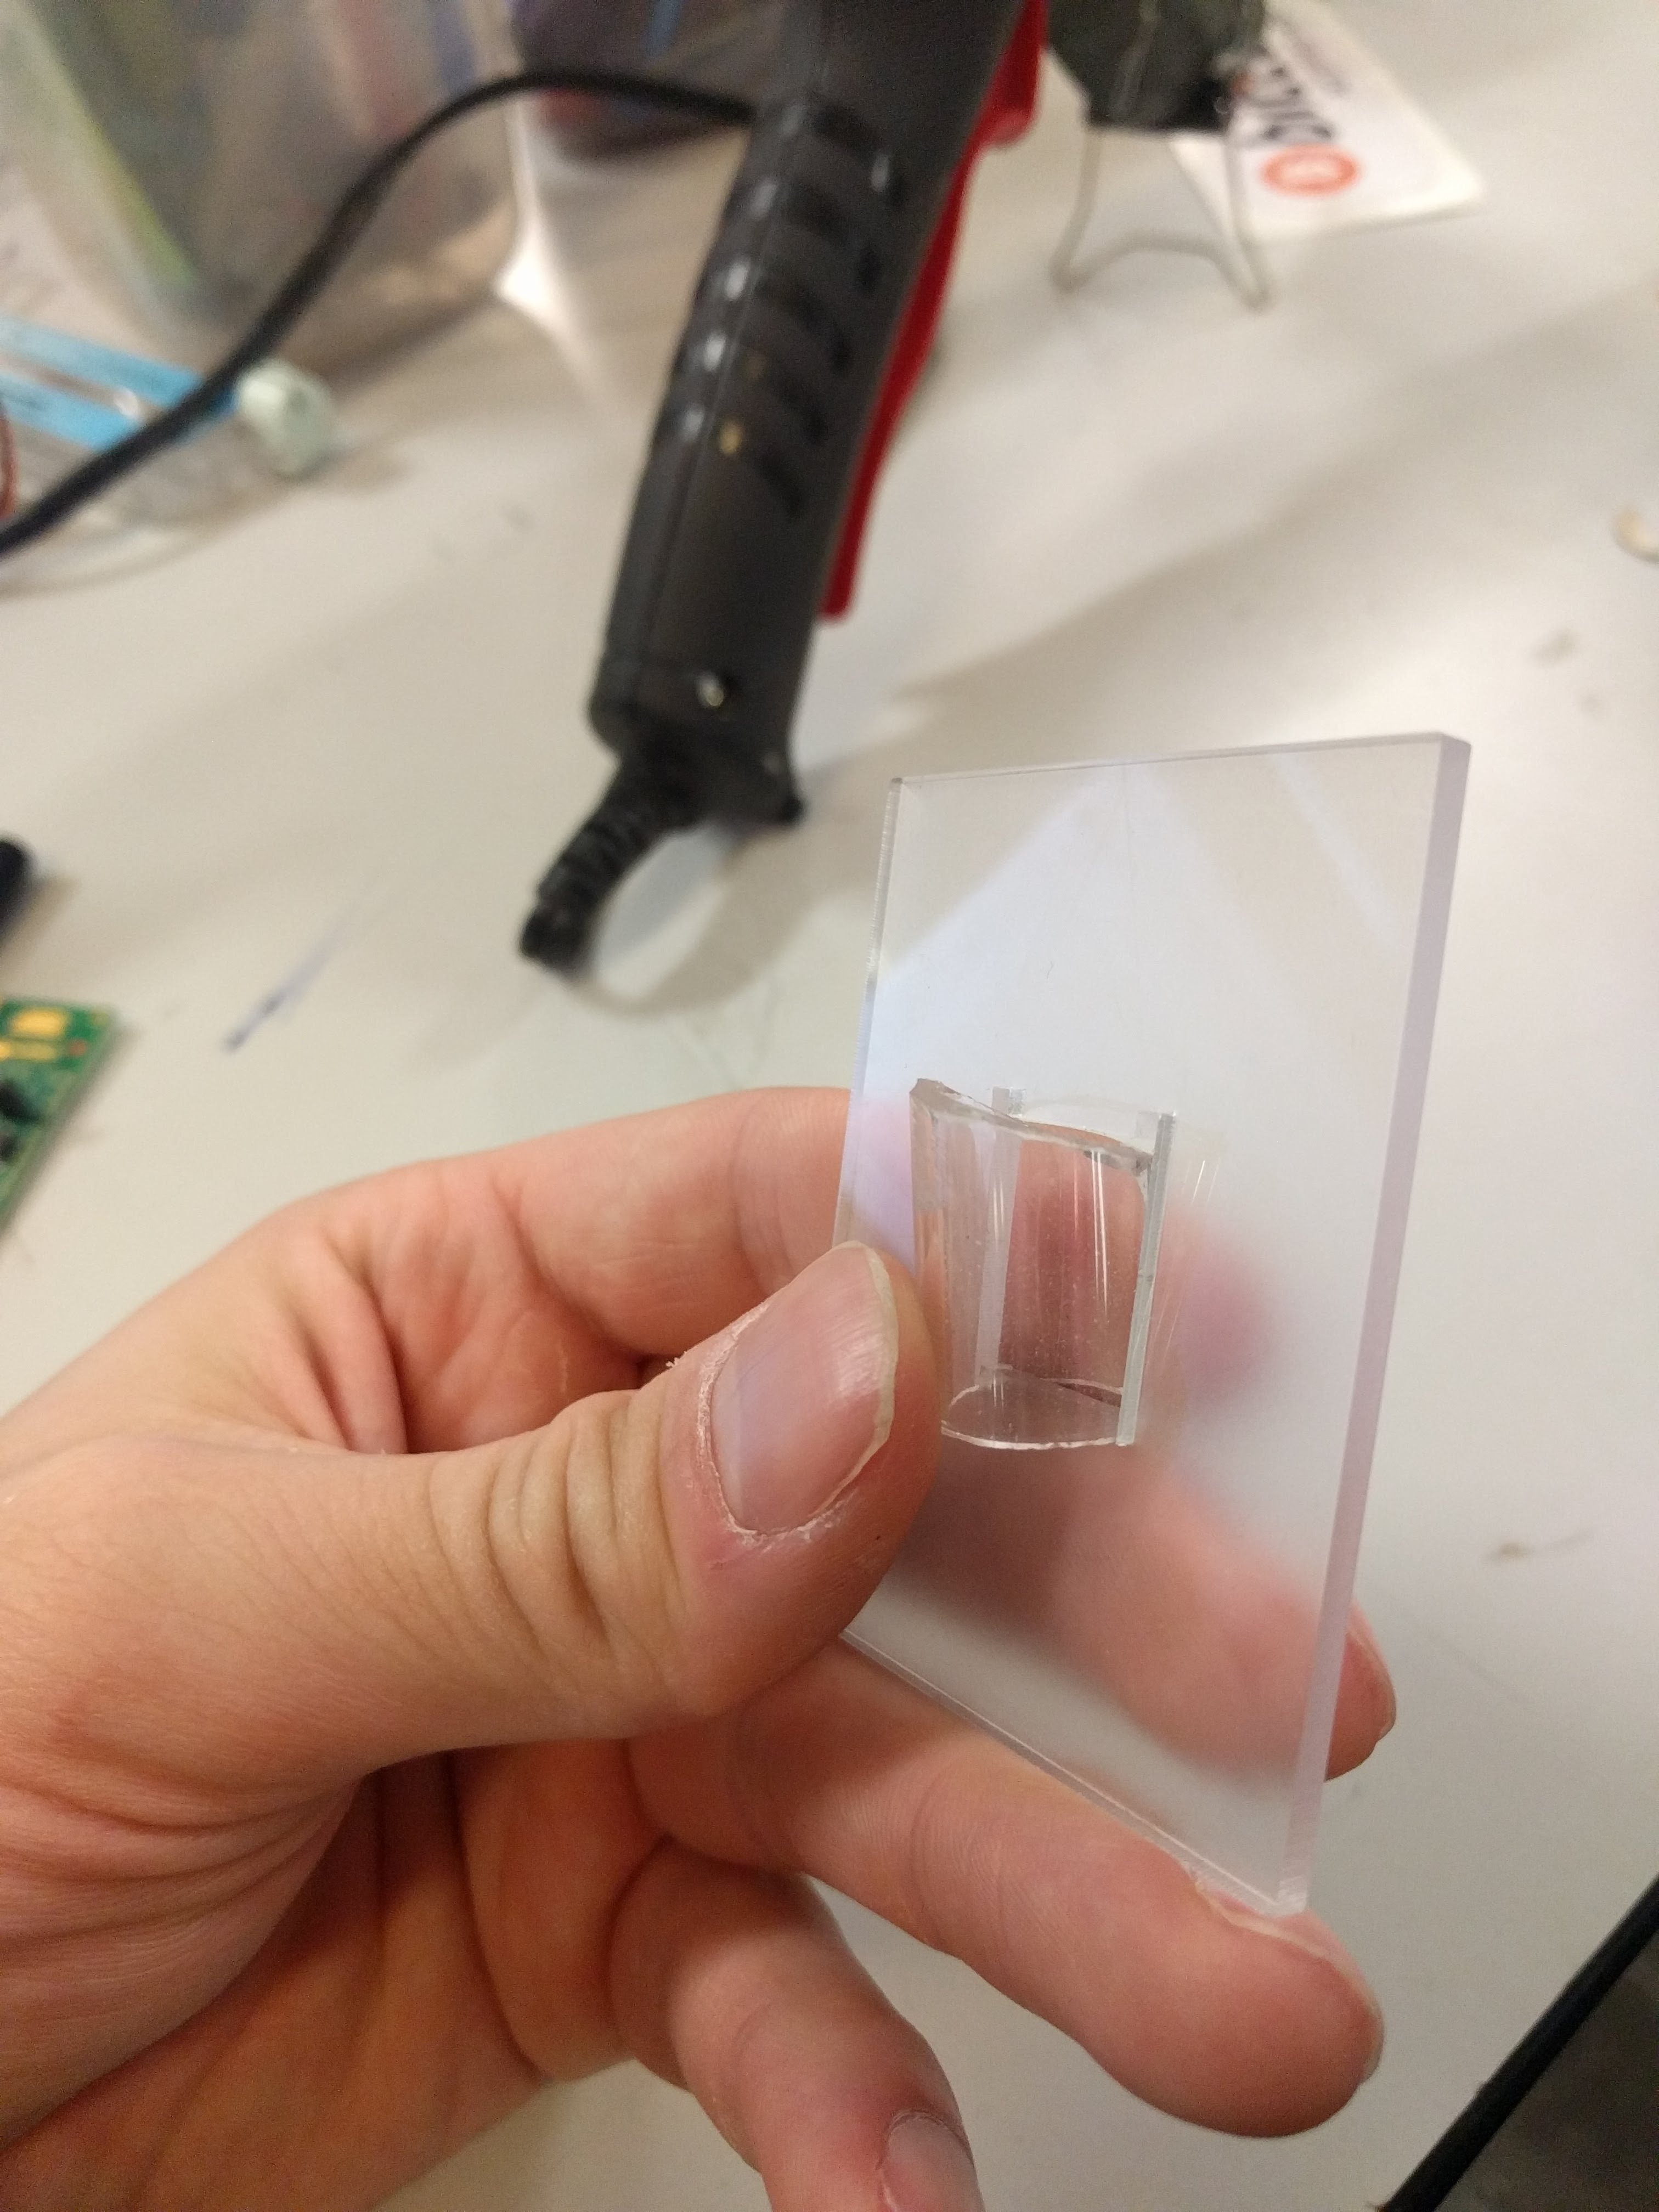
After much fruitless battery holder searching, I grabbed a 12mm ID acrylic tube, and cut away part of it such that it could be fit into the PCB and then twisted to lock it in place. Like so:

That actually locked together pretty solidly, and I added a battery spring to the PCB to hold the batteries together.

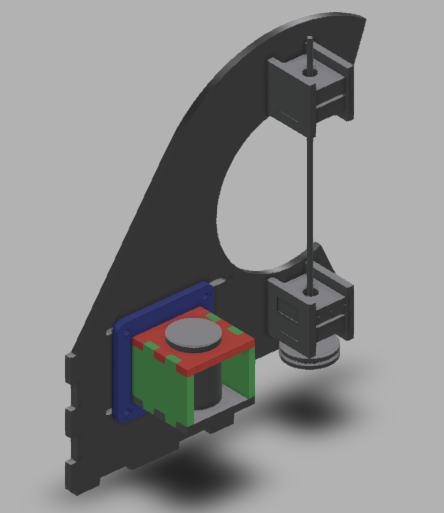
For the overall frame, I tossed something together in Fusion 360:

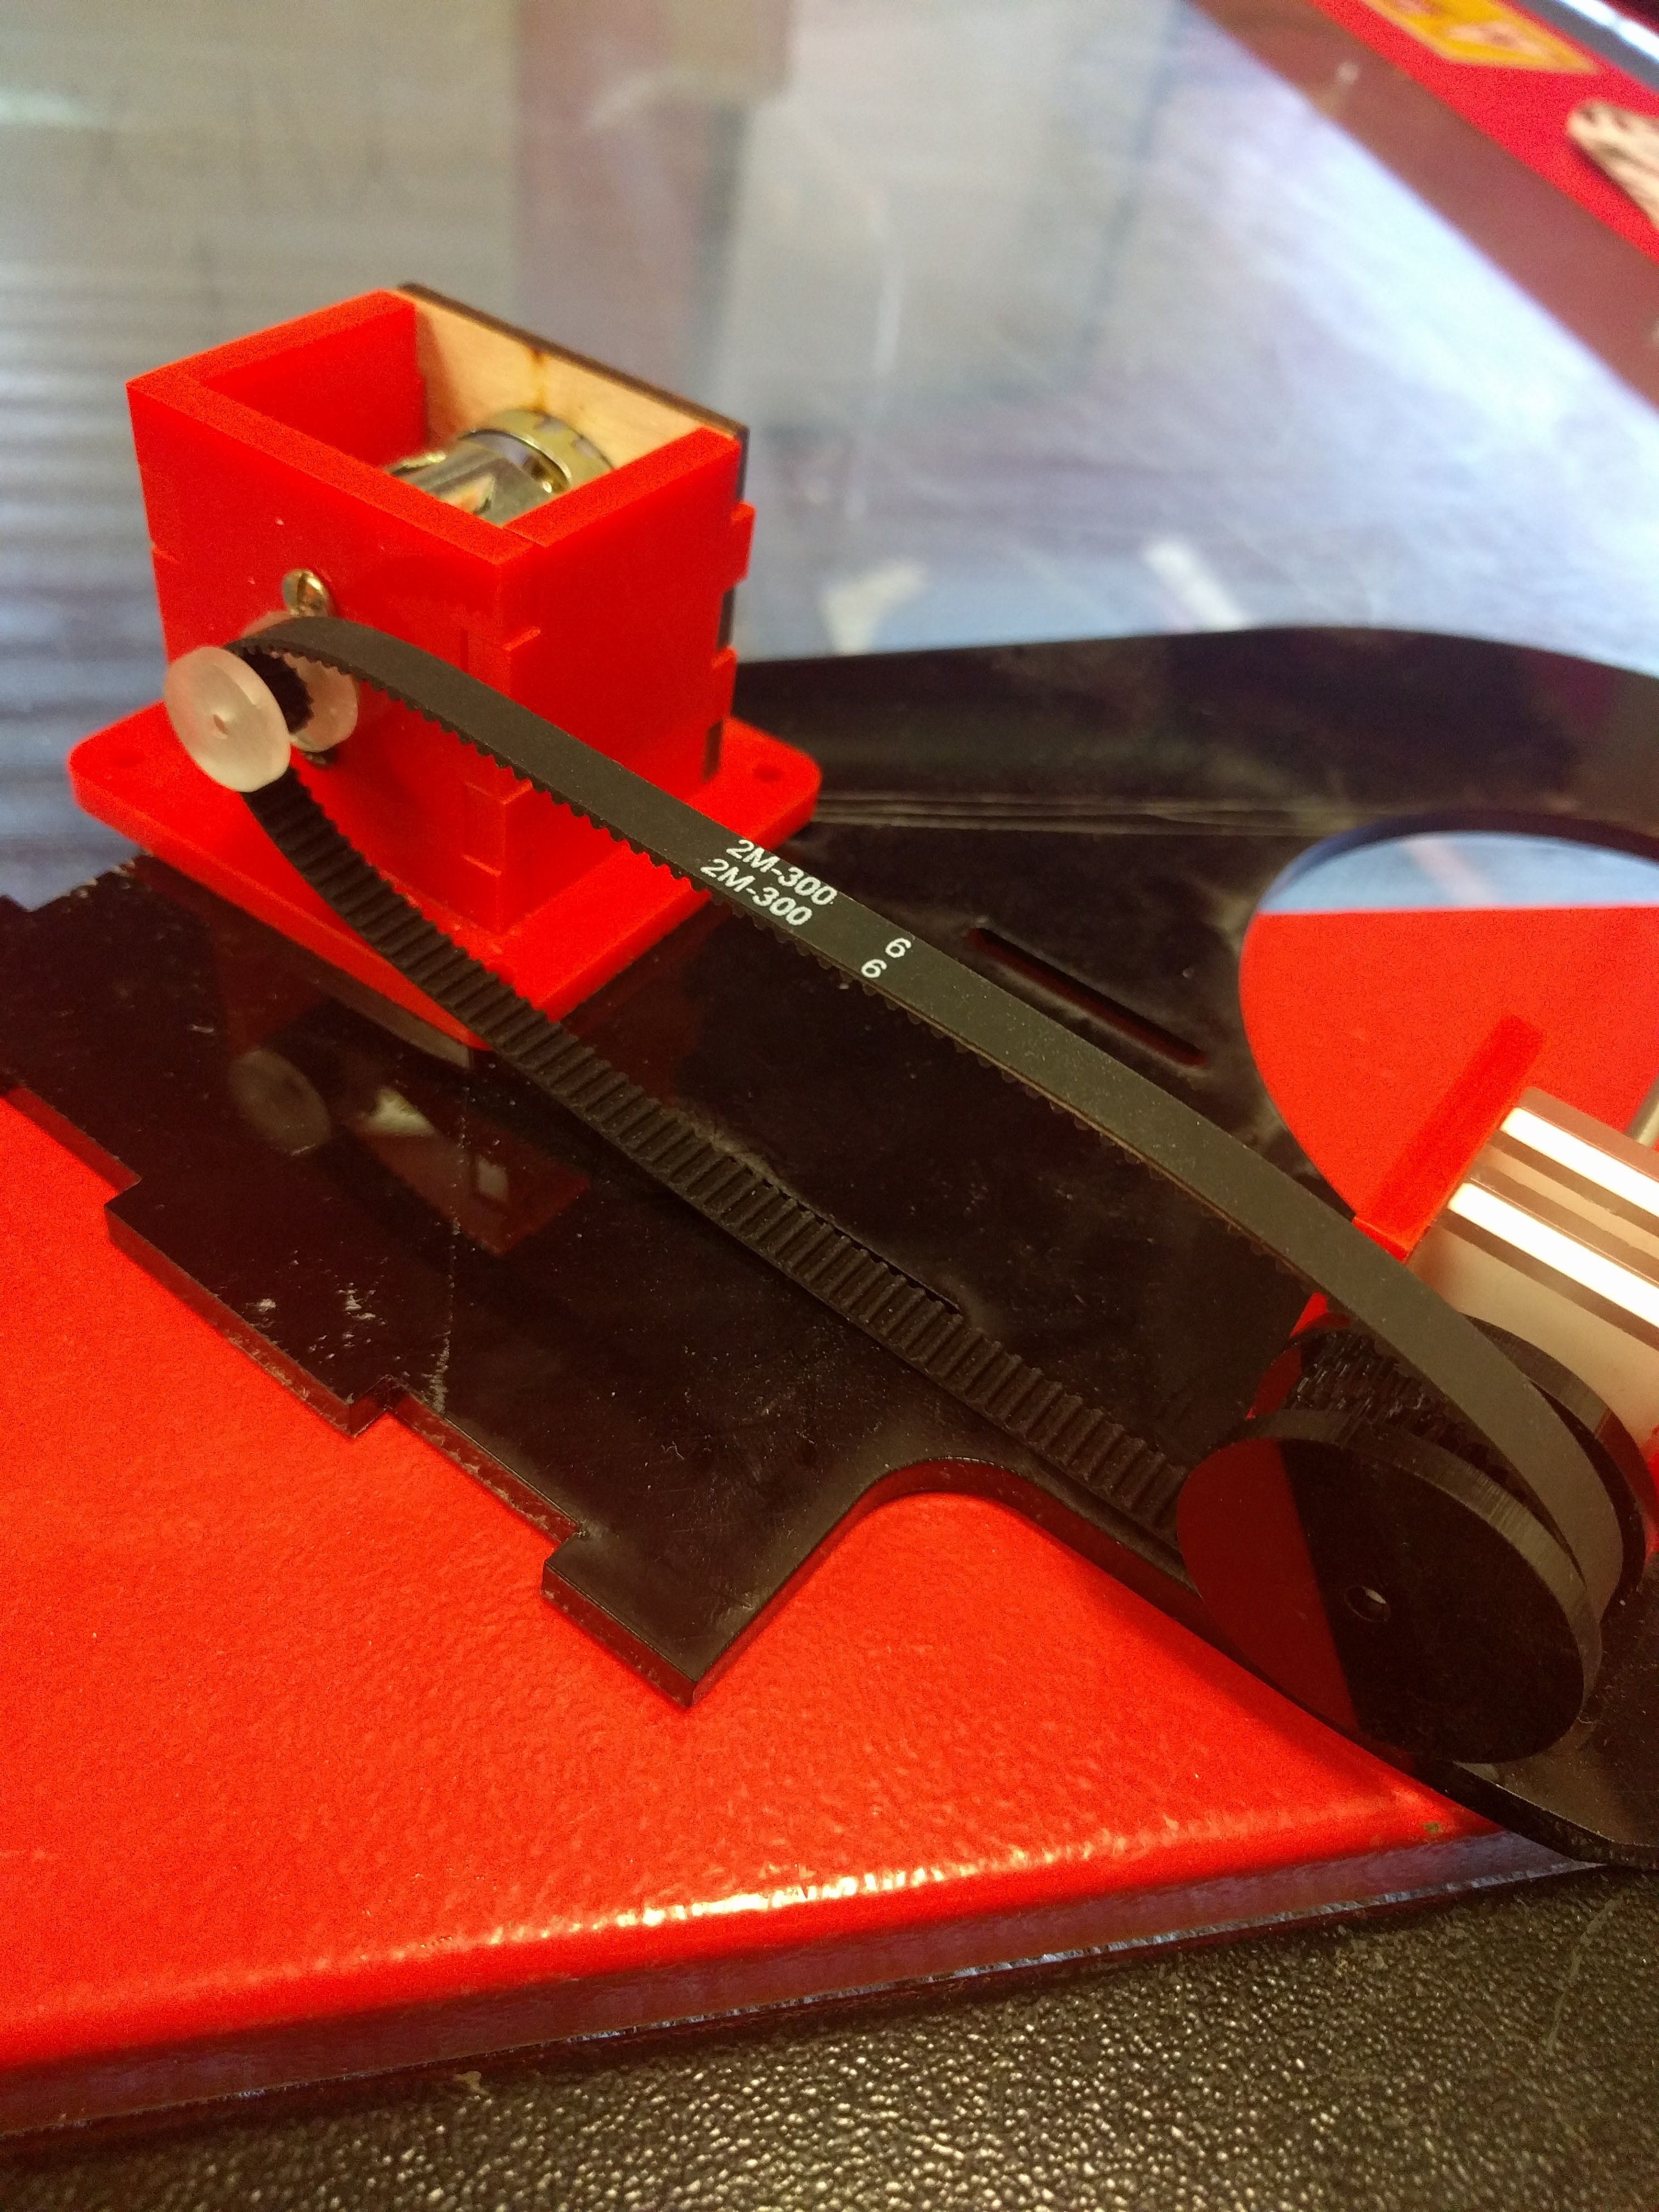
With the very first cutting, made from totally scrap laser material – mostly acrylic, but some plywood in there for good measure – I found a minor setback: I had the wrong belt size.

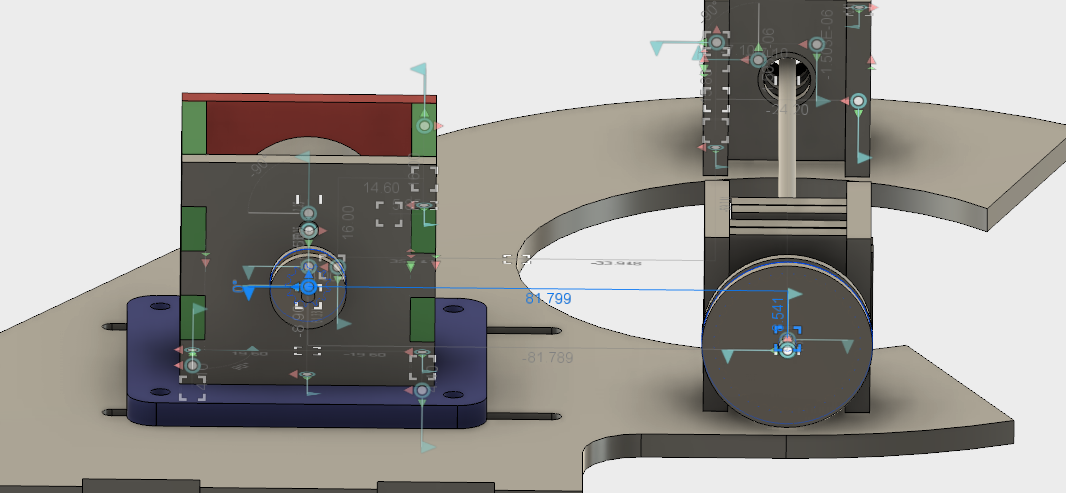
I’m not sure if I calculated wrong the first time, or did some redesigns after purchasing my belt or what, but a second calculation did confirm that my on-paper expectations should have matched my physical fit. I had a 300mm belt, but 82mm between centres at the middle of the adjustment distance, so there was no way that was going to fit.

A 200mm belt proved much more suitable and revealed the next issue, which I vaguely suspected would crop up.

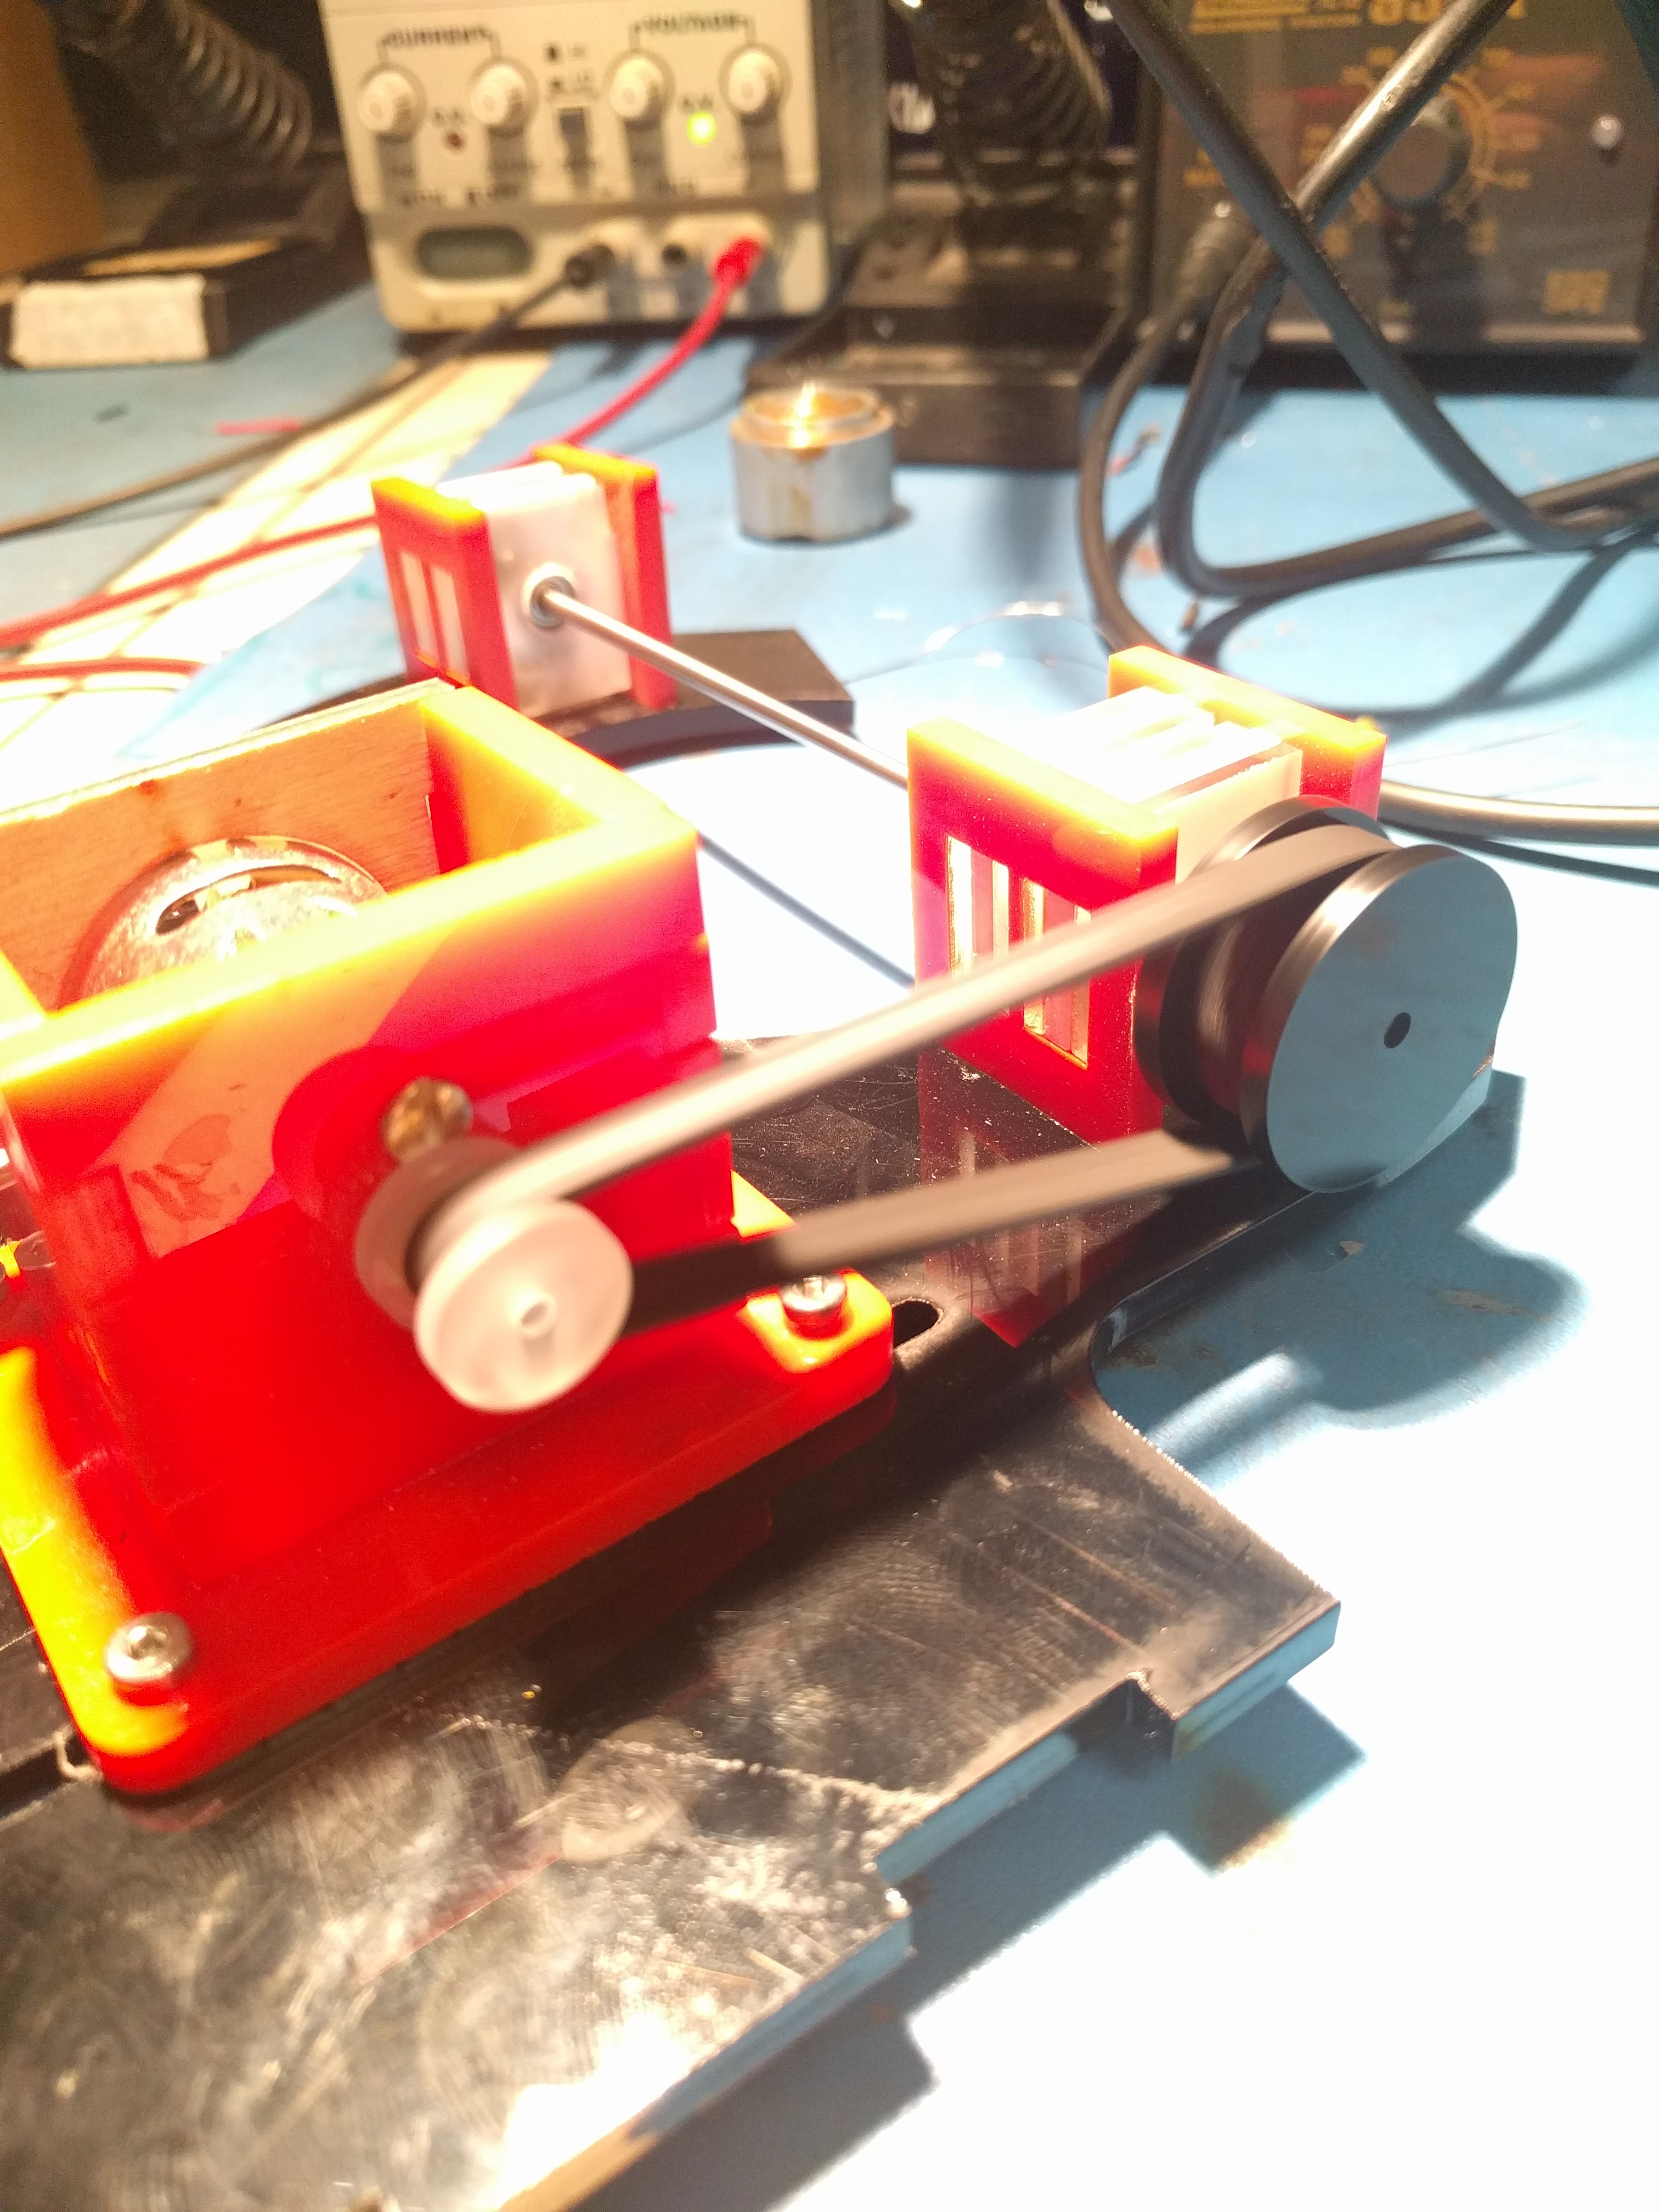
First of all, the system worked. Laser cut pulleys work great, I’ve used them before on other projects, and my tension and belt driven design seemed good.

When that main shaft got split and attached to my PCB mock up, however, the shaft was no longer properly supported.

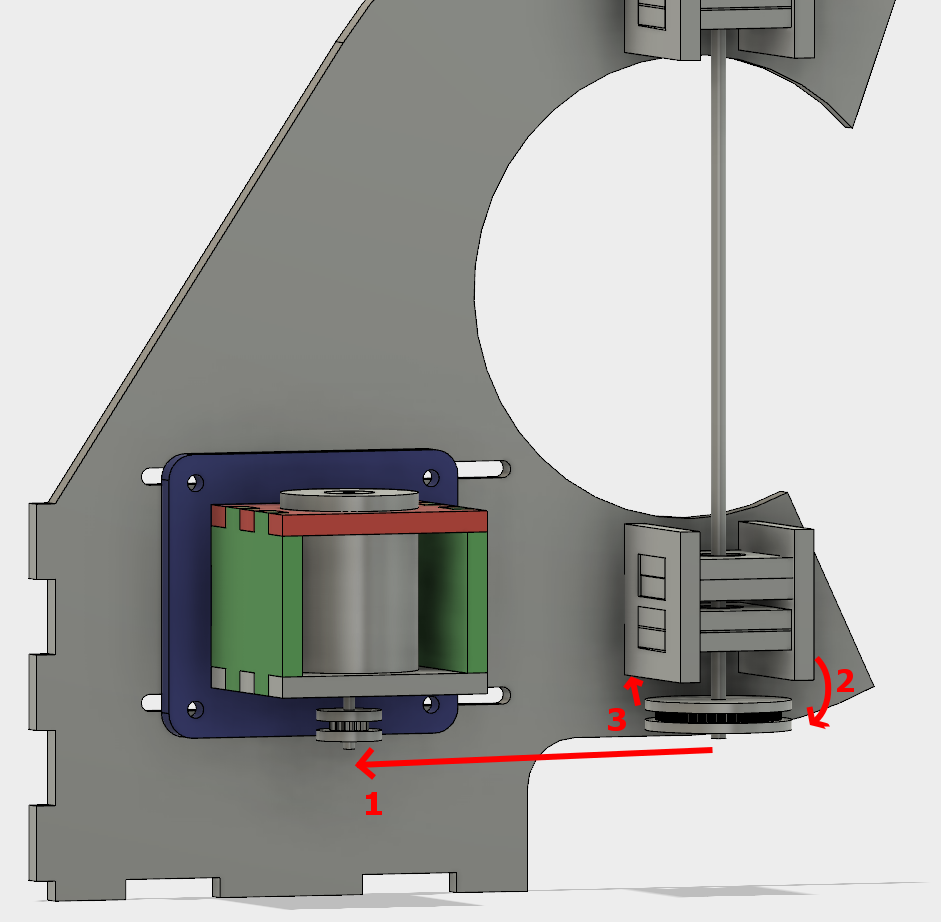
The belt put leftwards force on the shaft (1), causing it to cantilever in that direction (2), and then cause the pulley to rub against the bearing block (3).

I was hoping that the two bearings above the belt would fully constrain the system, but alas, there is too much flex in the shaft or slop in the cheap bearings, with not enough distance in between them.

So, version two. This time with a supported shaft on either side of the driven pulley. I was trying to avoid that because the design and assembly both get a little more complicated.

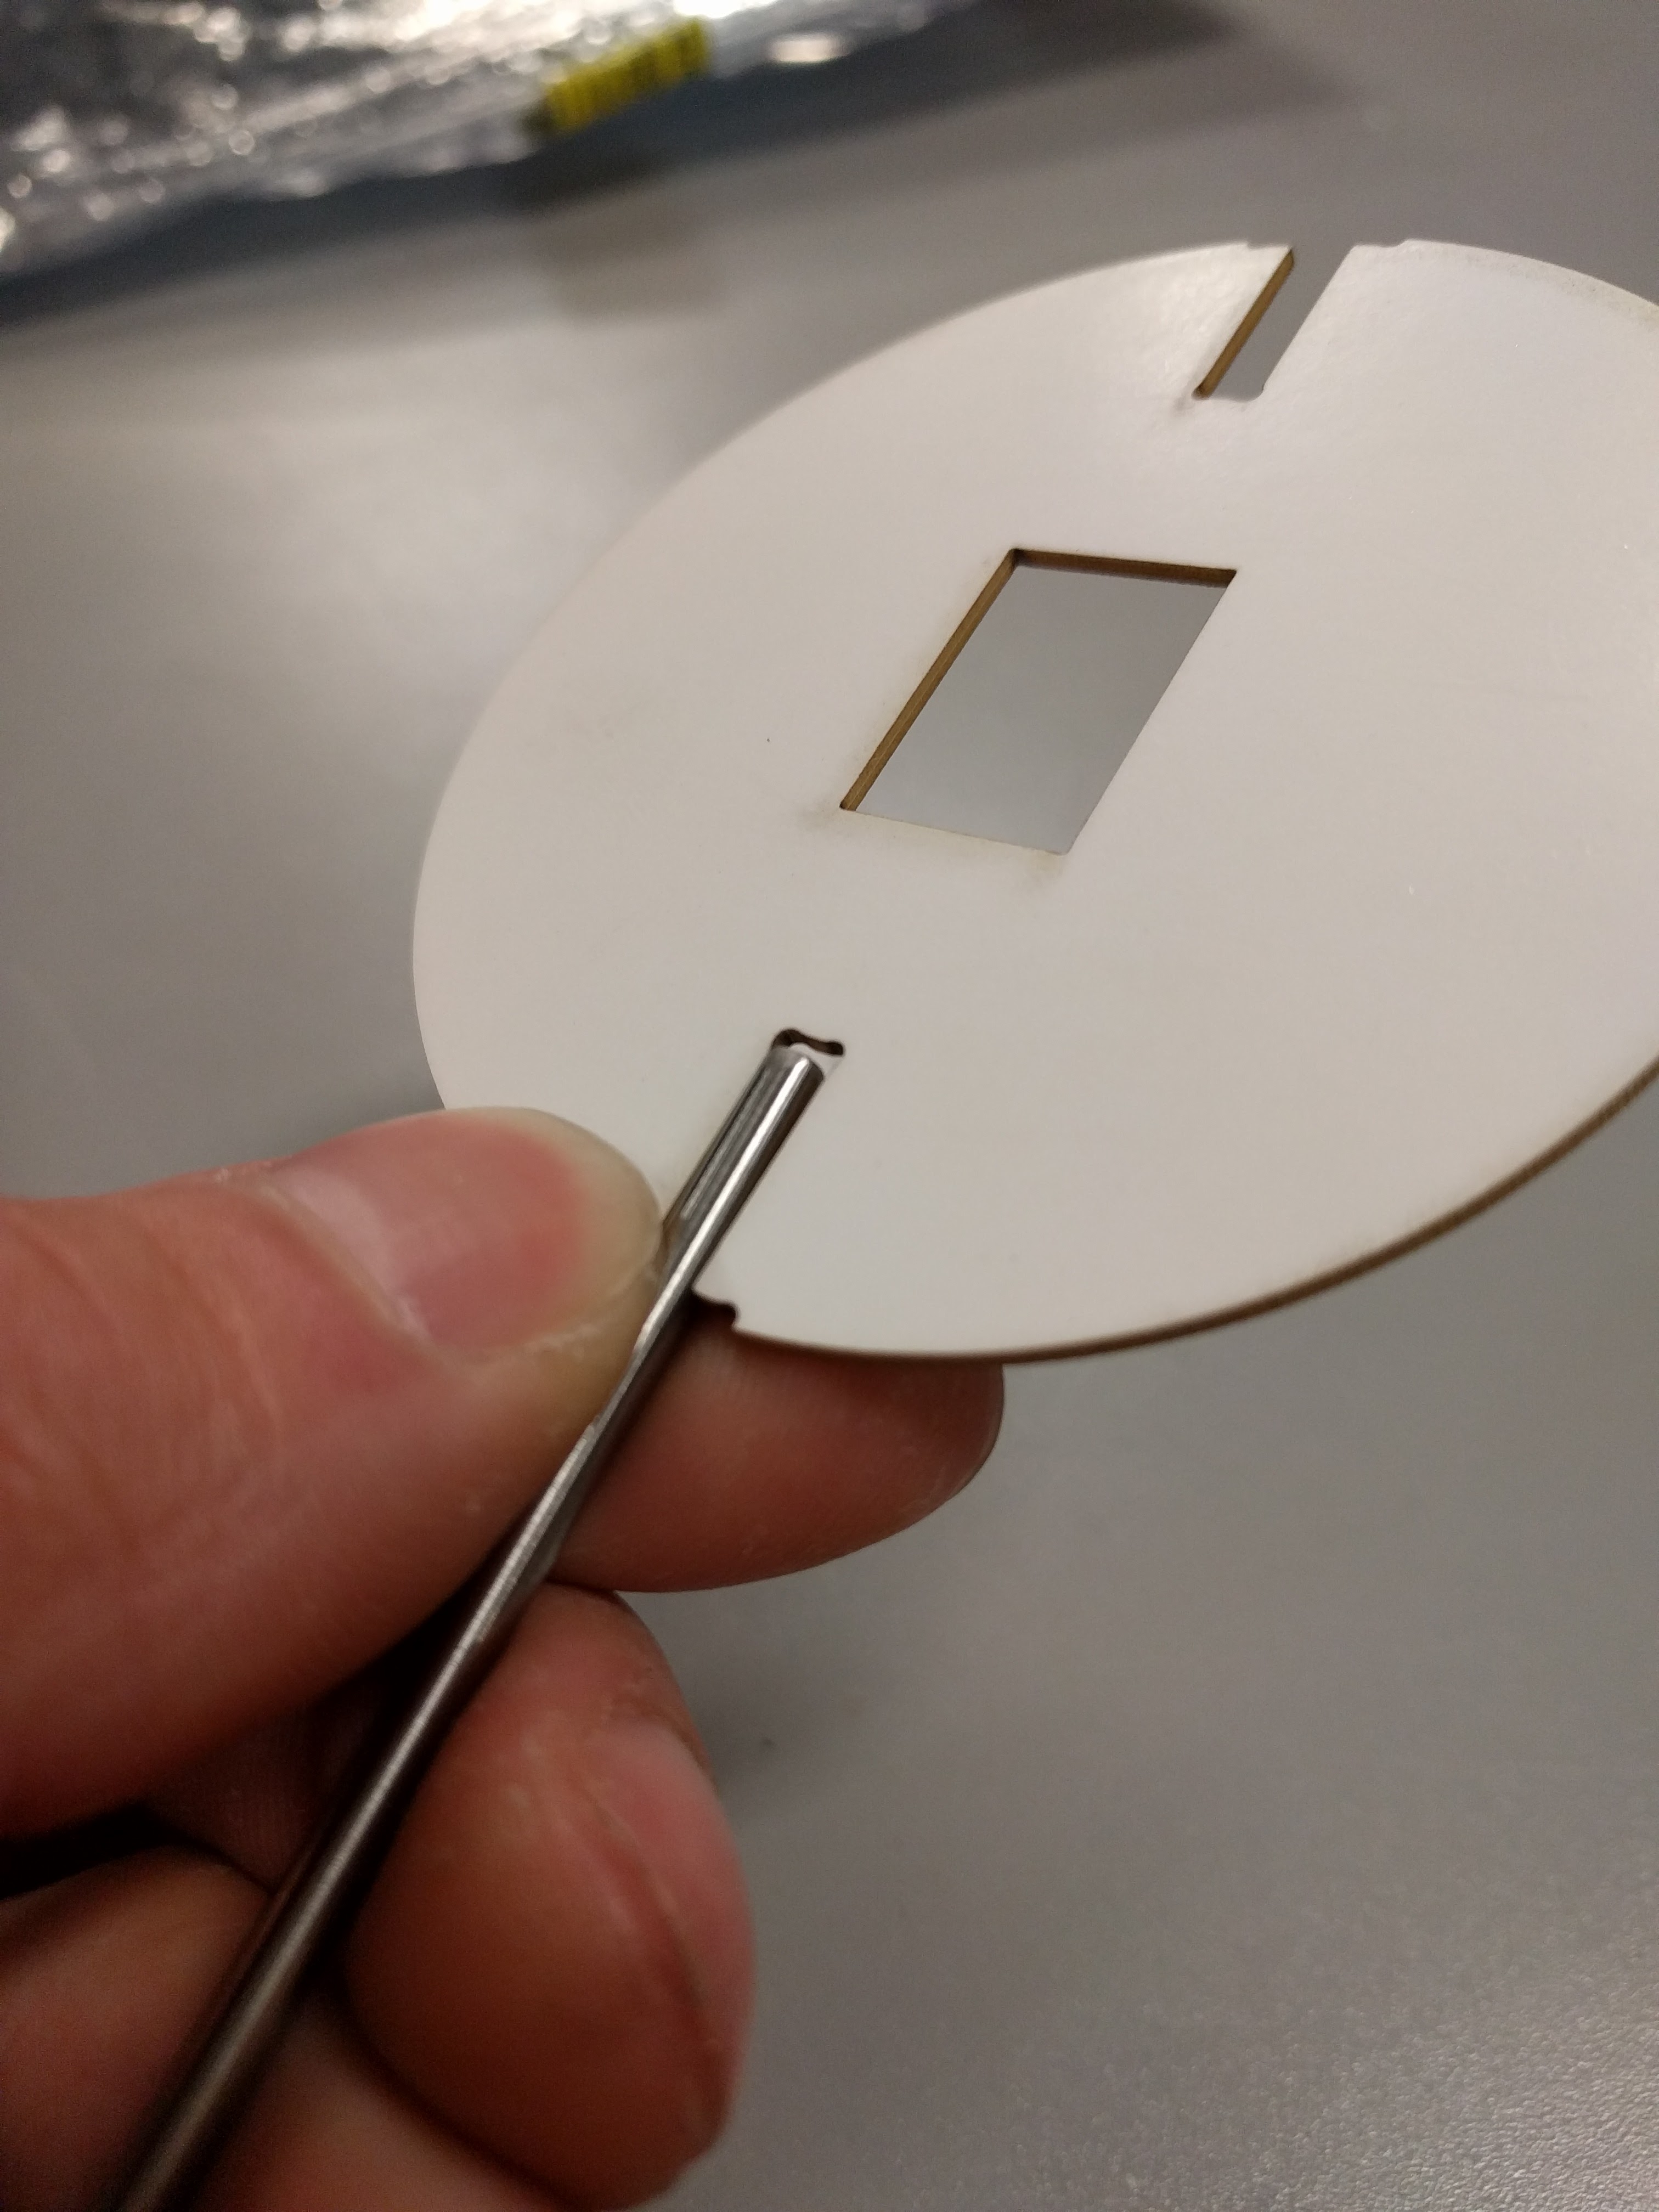
One more change was getting rid of the clevis pins. They rattled and I didn’t like them. Instead I swapped the smooth shafts out for D-profiled versions, and laser cut a notched circle to couple with the PCB.

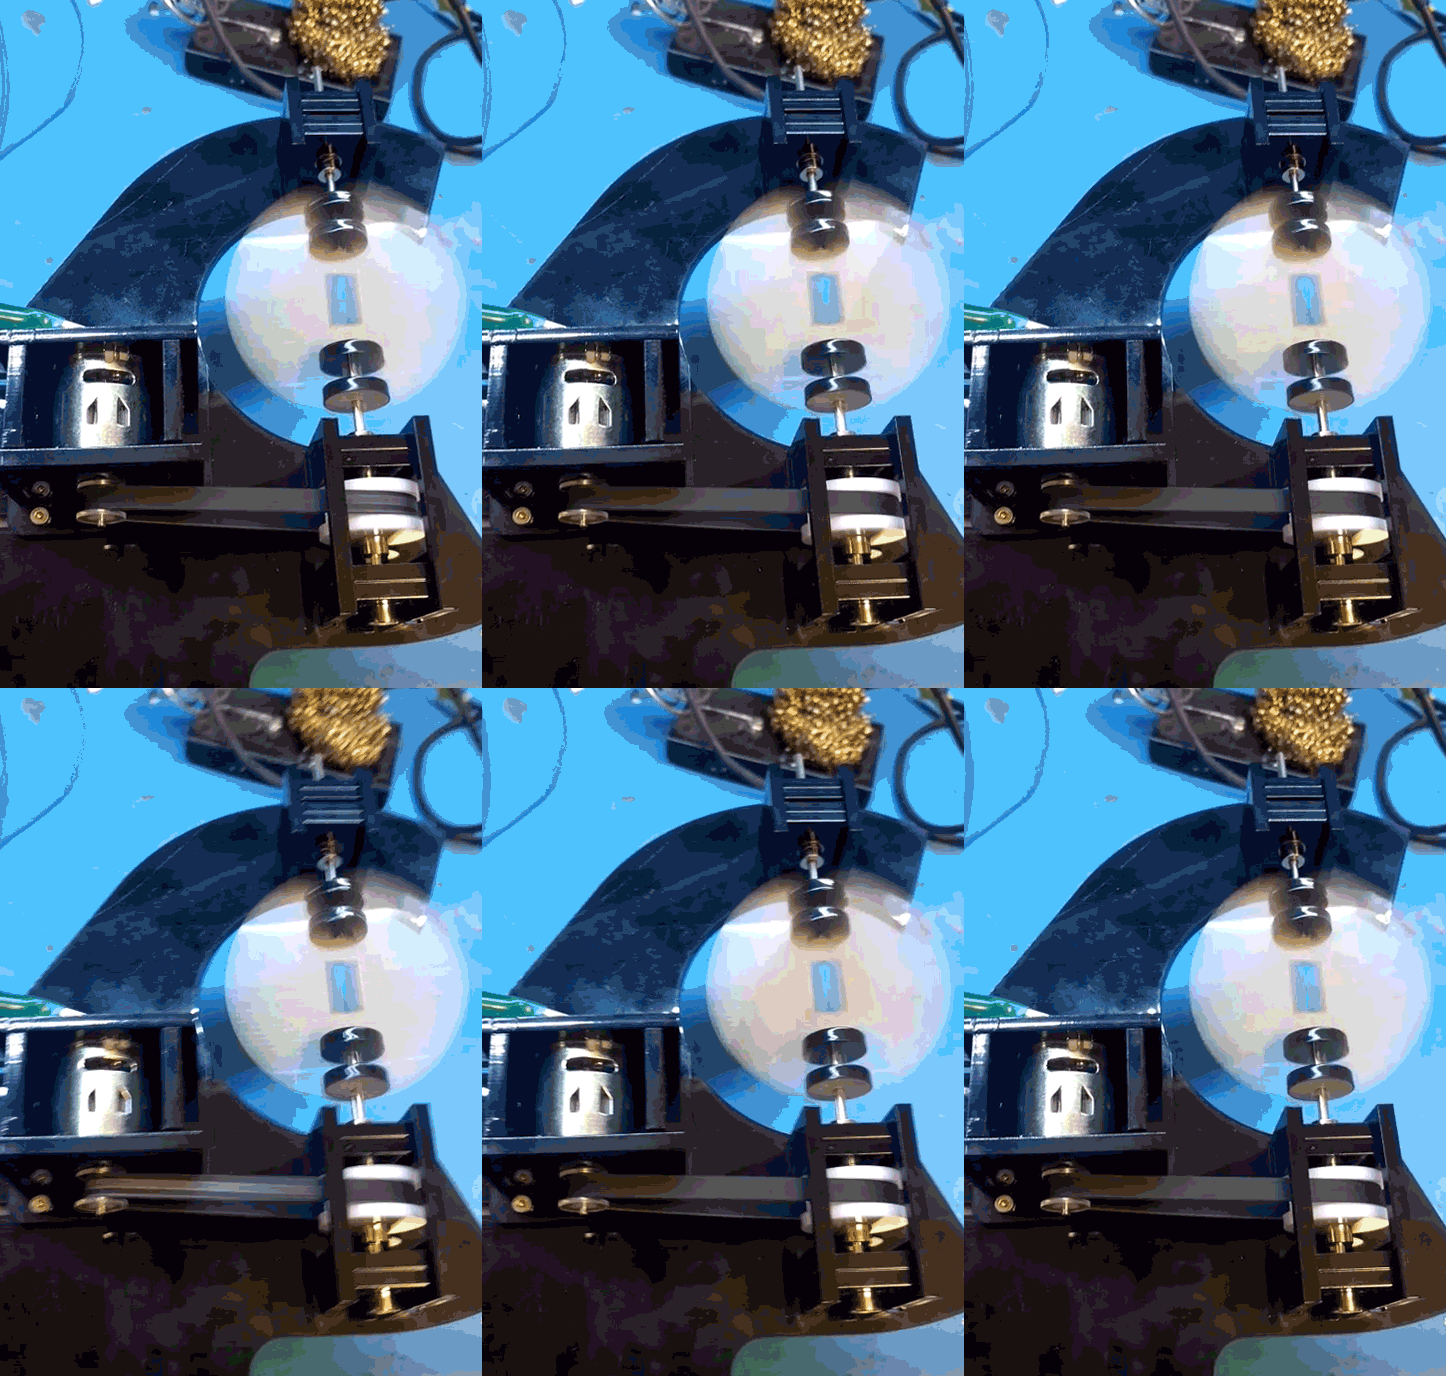
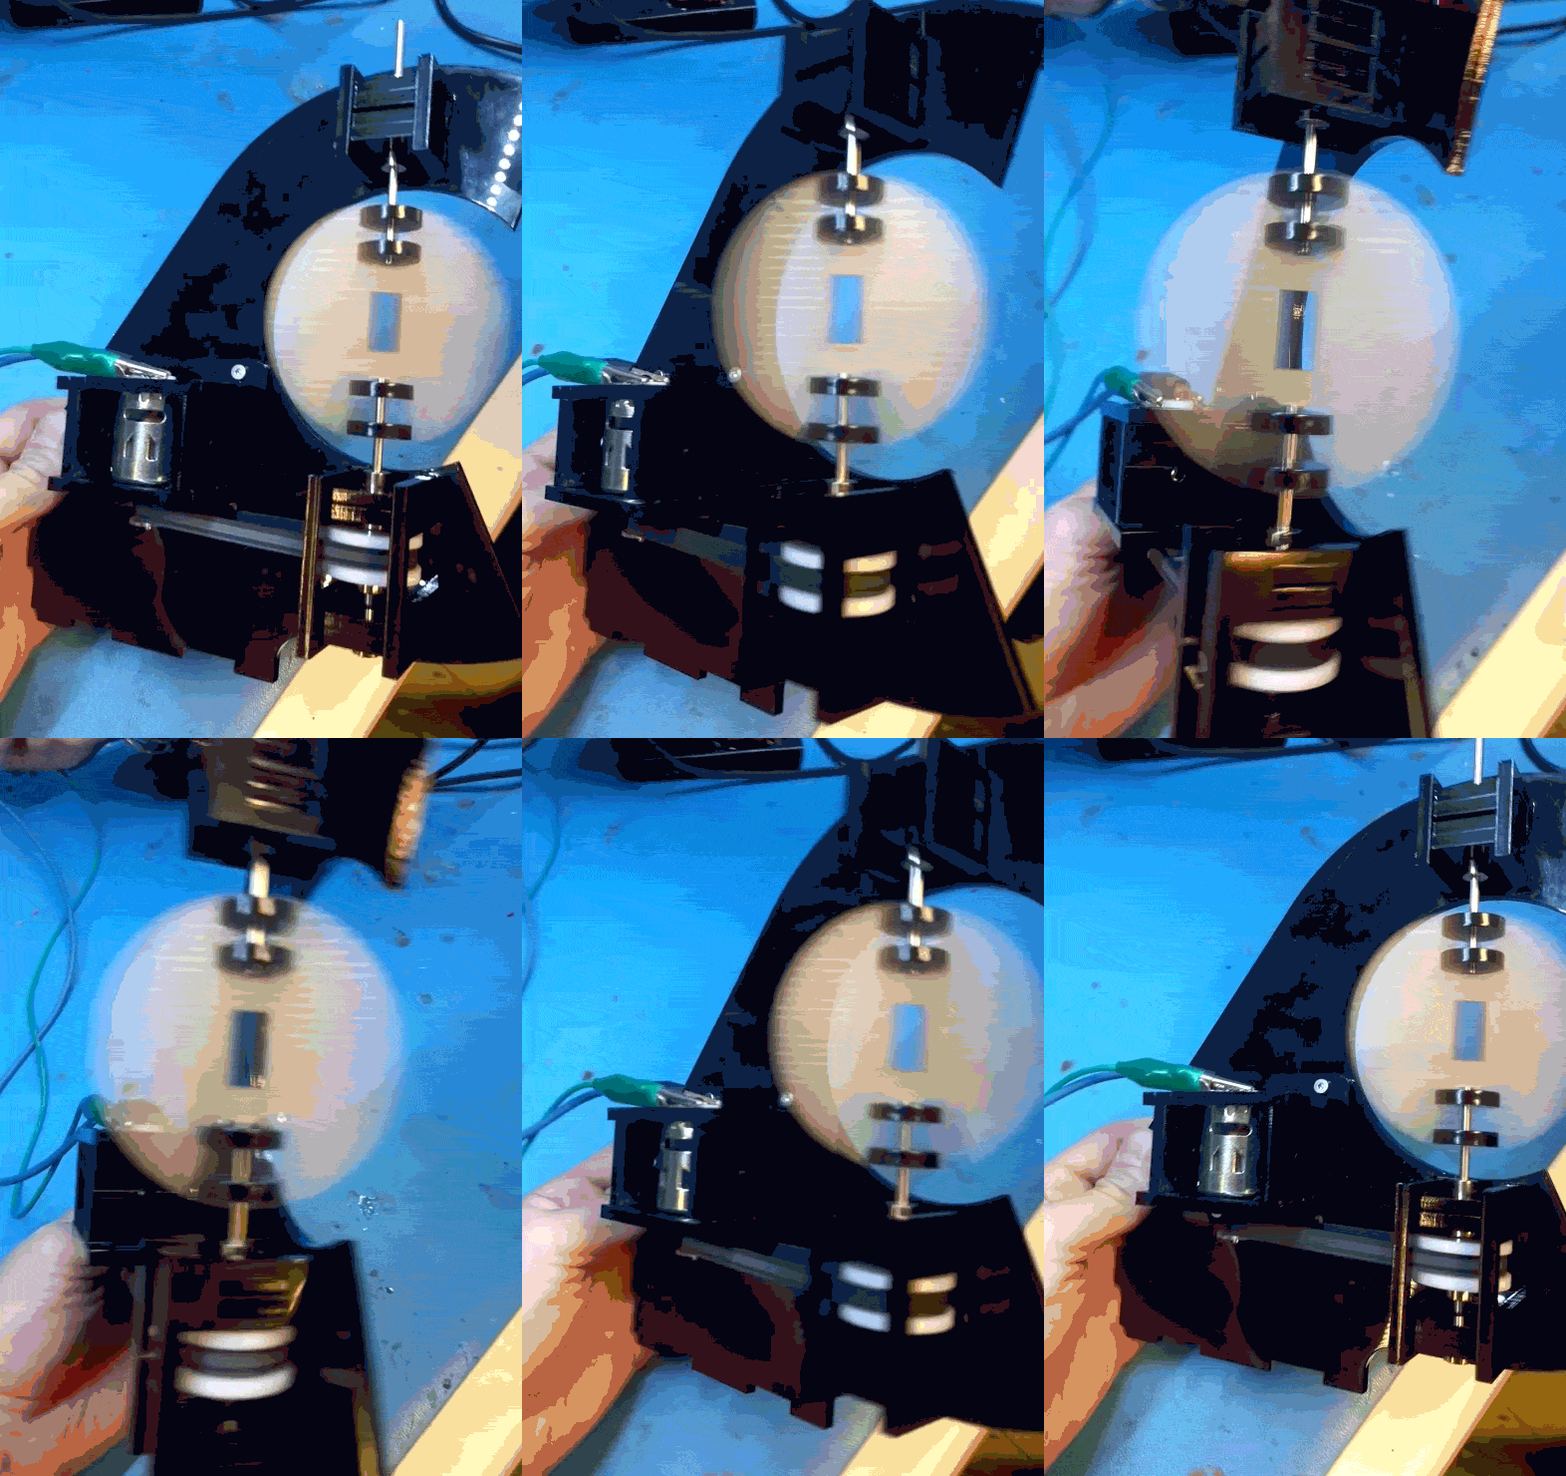
After cutting and reassembly, it works great!

No more mechanical changes need to be made for this prototype to demonstrate that it works. Next section!

LiPo Systems with USB Power

I’ve alluded to this in the past, once or twice.

Power management in battery applications is pretty tricky. There are a lot of different situations, and a lot of different strategies. In the past, for the topic of this conversation, single cell Lithium polymer batteries, I’ve used a pair of Schottky diodes to automatically “select” the highest voltage feeding the system. That will be either 5V USB power, or 3V-4.2V LiPo battery.

It was suggested to me to use the body diode of a P-Channel MOSFET, but I dismissed that as unnecessary: the body diodes have no lower voltage drop than a Schottky, around 0.2V. Here is one of the more readily available results for battery/wall-power switchover:

https://electronics.stackexchange.com/questions/105053/li-po-charging-circuit-question-switching-between-battery-and-power-supply

That thread doesn’t make a good case for the FET solution over the diode, but the initial suggestion to me indicated that, once “on”, MOSFETs will conduct current in either direction. This breaks my understanding of how they work, but it warrants more research.

That search on its own is confirmed by:

https://electronics.stackexchange.com/questions/48646/in-an-nmos-does-current-flow-from-source-to-drain-or-vice-versa

Stack Exchange posts don’t make for good engineering, though. This calls for a simulation!

Initial results check out! Those output waveforms on V(out) and V(out2) should be identical, if the current through M1 was purely through the body diode.

Simplifying this even more, we can do this:

That results in the following waveforms. You can clearly see the shoulder in V(out3) (blue), where the MOSFET transitions from conducting through the body diode, to conducting through the transistor junction itself:

That’s pretty conclusive. It’s weird to find gaps in my understanding of basic electronic building blocks at this point, but I’m always on-board with more education.

So now this is a documented solution at handling the power switching circuitry between USB and lithium batteries.

In the future, I should put together a written record of the strategies for charging the LiPo batteries in the circuit, and also low-voltage cut-offs to avoid over-discharging and permanently damaging the batteries.

POV Globe – The Software

Persistence of Vision globes are a relatively simple project that everyone has to build, it seems. The fusion between mechanical, electrical, and firmware domains lead to some interesting challenges that are deceptively difficult to overcome.

It’s a great project with a low barrier-to-entry, but it’s also easy to put your own spin on it. Heh. Spin.

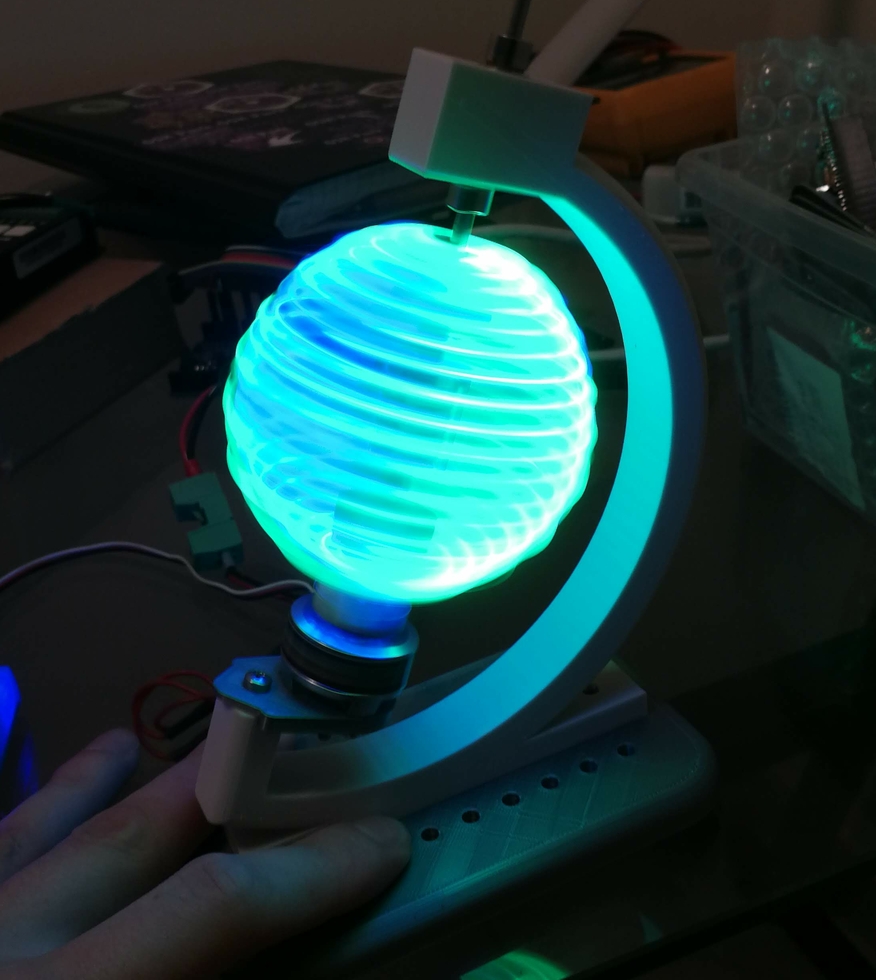
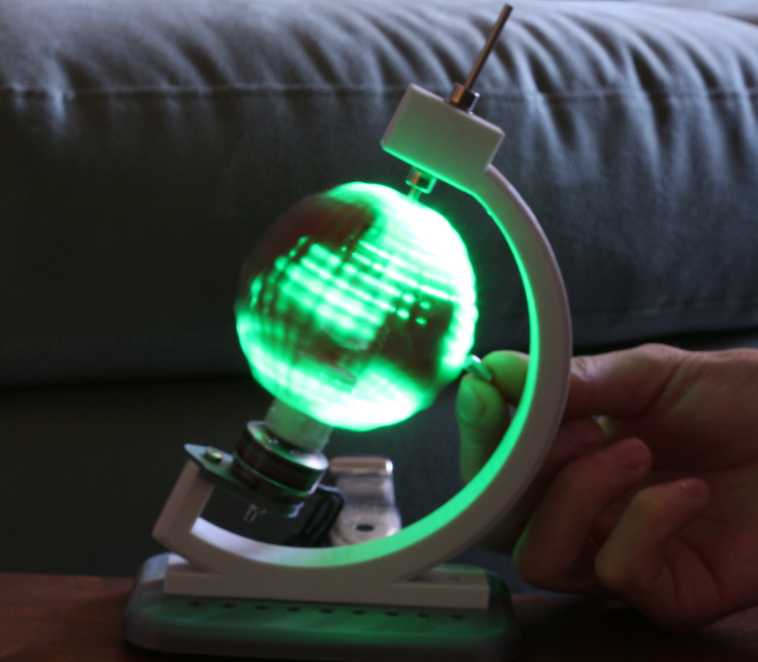
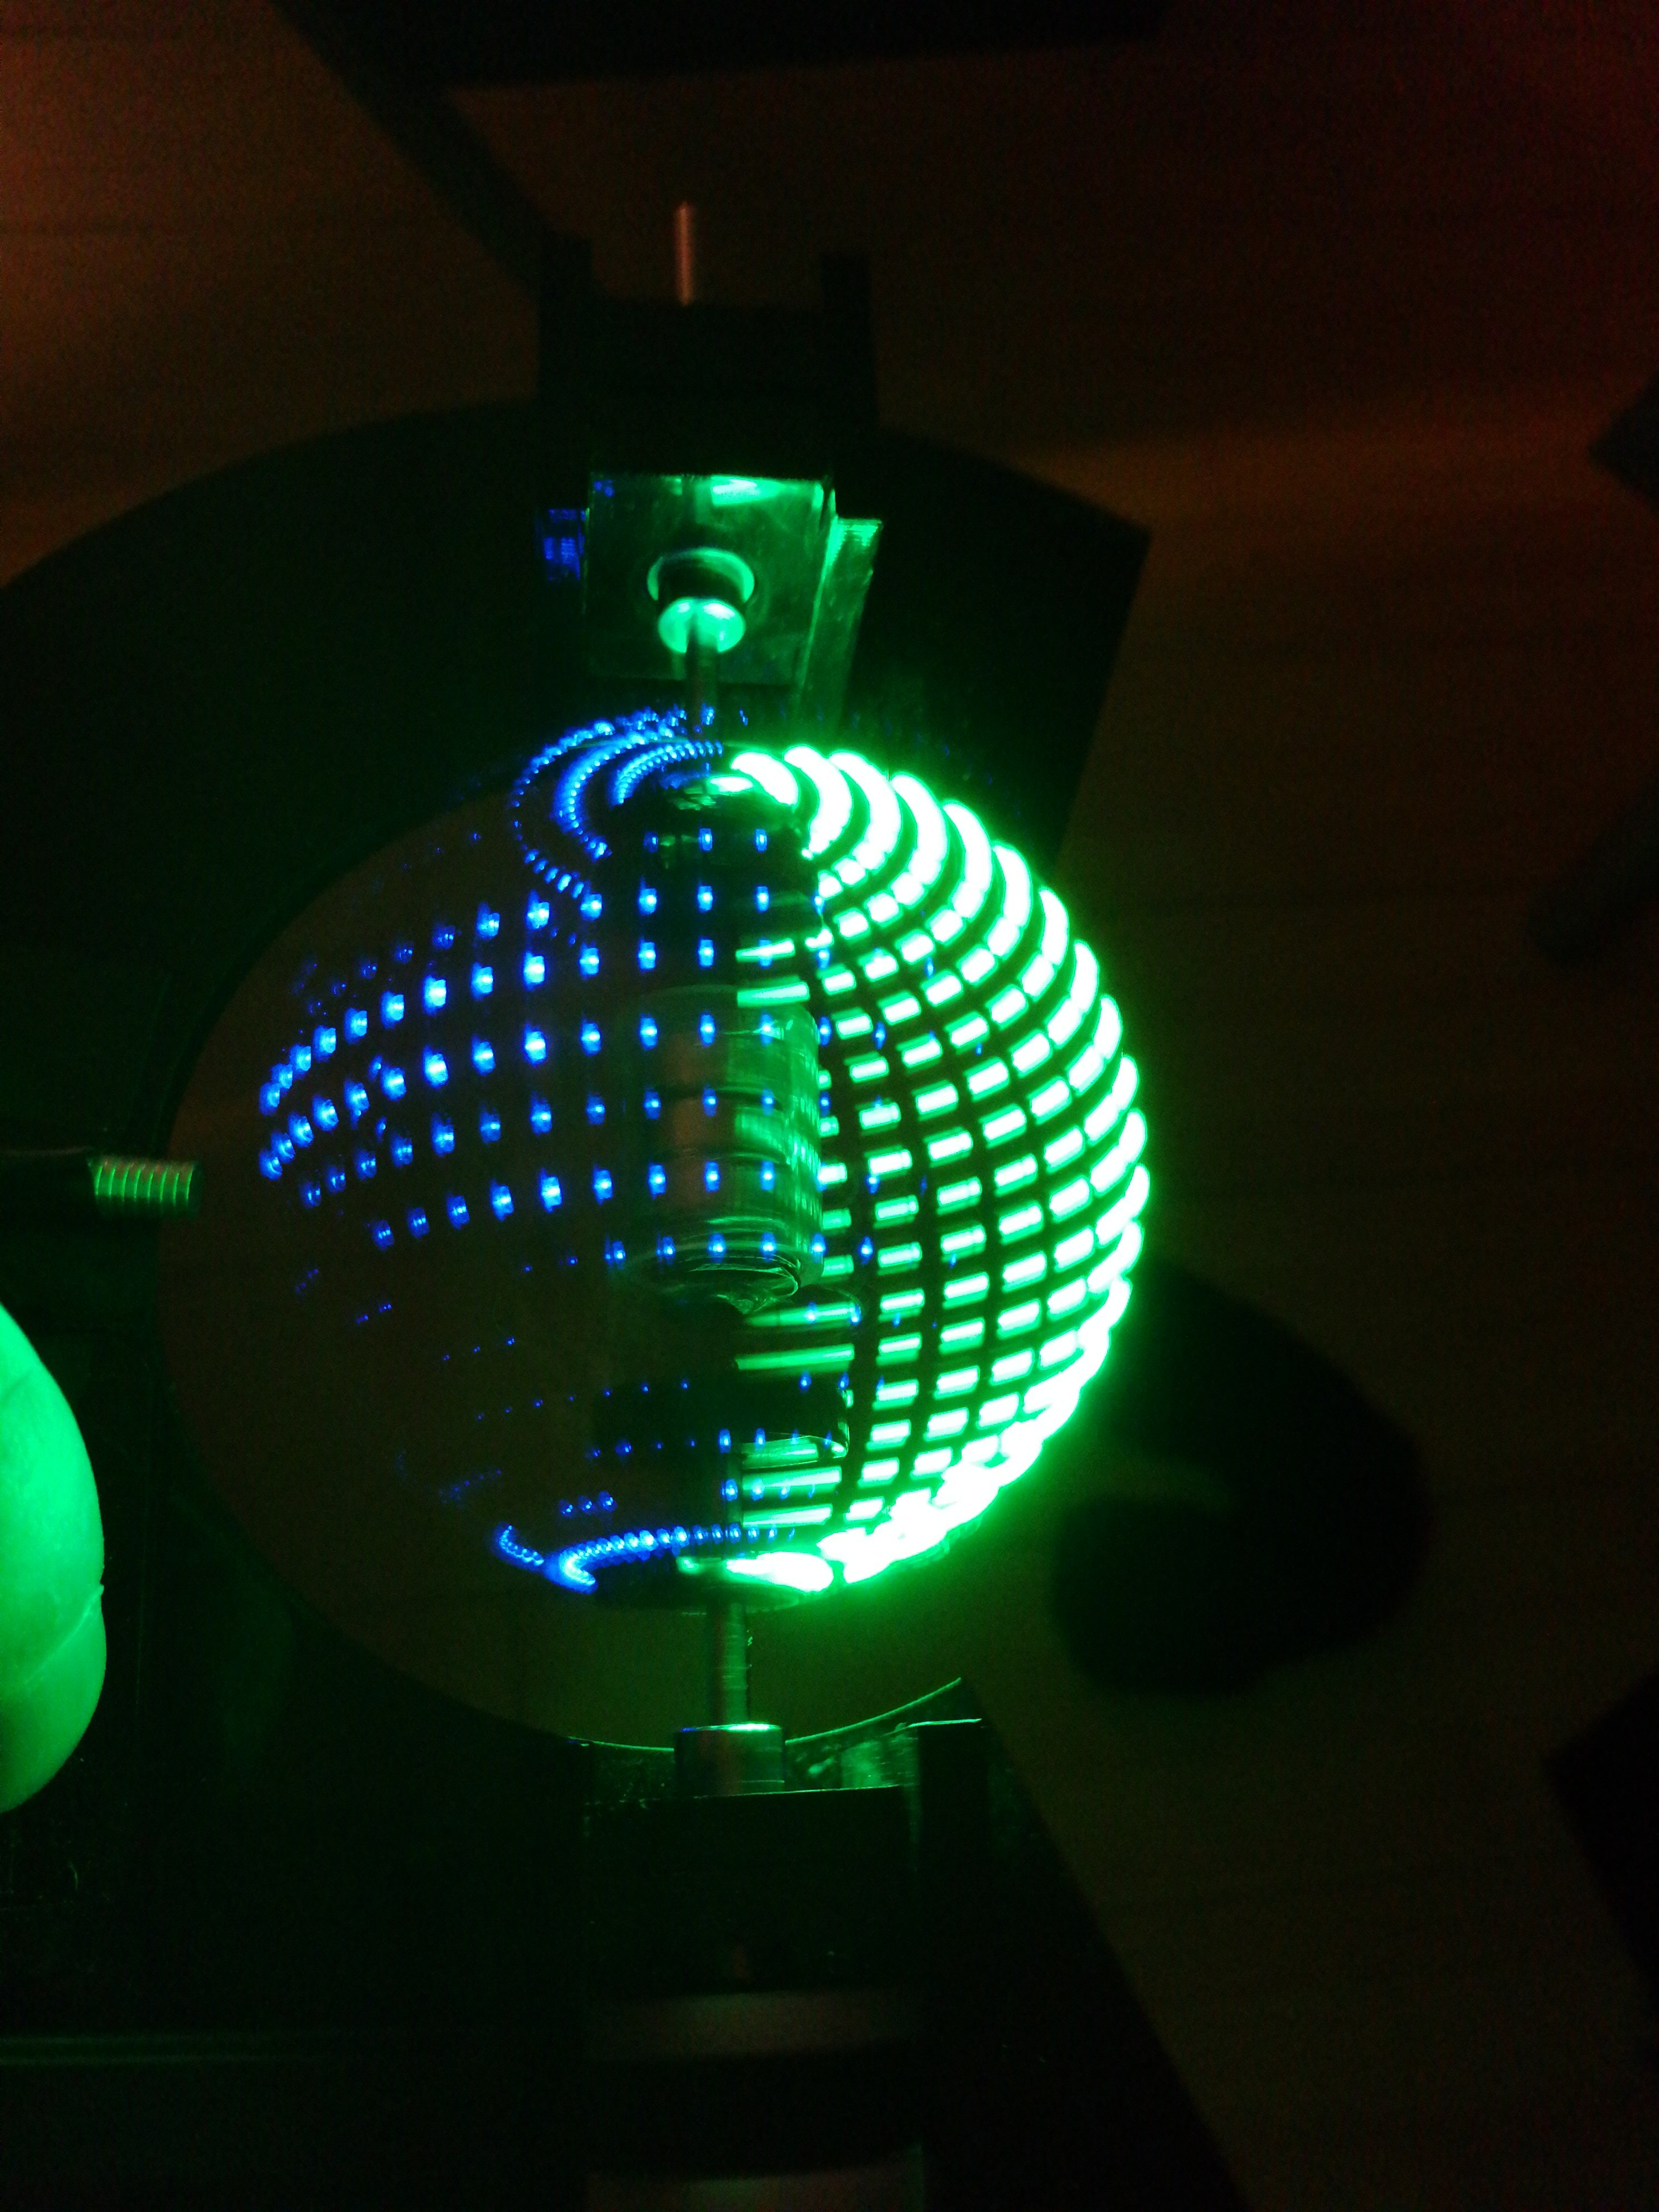
Teaser:

This post will only focus on the software (embedded and desktop), with other sections to follow.

Initially, the rough code flow for the PIC microcontroller for this was going to be:

  1. Rotate Hall Effect sensor past a magnet, sending a signal to…
  2. An input on the PIC, generating an interrupt
  3. Copy a timer’s internal value to a variable
  4. Clear the timer
  5. Divide the variable’s value by horizontal pixels to get transition times
  6. Set an interrupt at the next transition
  7. At interrupt, change the interrupt to trigger at the next transition
  8. Set data pointer to start of the vertical pixel data array
  9. Send out data at pointer via SPI to LED drivers
  10. Goto (7) until (1)

But that was before I discovered a new, amazing peripheral that some PICs have! Even the PIC16F1619 that I happened to be prototyping with.

It’s called the Angular Timer, and it’s pretty much designed for these applications.

The process is now:

  1. Set up AT with input, period, and and interval interrupt settings
  2. At period interrupt, set horizontal data pointer to zero
  3. At interval interrupt, send vertical line data at pointer via SPI to LED drivers
  4. Increment horizontal data pointer
  5. Wait

Substantially simpler, and much more responsive than polling and manually changing timers would be. The only thing that’s missing is a DMA peripheral, which only a few of the 8-bit PICs use.

This link to all of the files, code, firmware, mechanicals, and PCB are all on the Github repo.

In lieu of an elegant image update method for Revision 1, everything is hard coded into the firmware. The world map for the globe is stored as a set of arrays, and generated by a Python tool I wrote. In the tools folder of the above Github link, there is complete documentation. The gist of it is that you can pass it a PNG image, and it can process that image in a few different ways and spit out another PNG, CSV, or generated C files. Then simply include that C file in your firmware when programming the project.

PicFix

Here’s an issue that was causing me some grief:

In newer versions of MPLAB X, Microchip’s IDE, My PicKit 3 clone wasn’t able to supply power anymore.

Some investigation revealed that in MPLAB 8 and before, they didn’t used to properly check for “correct” voltage before attempting to continue programming. Which is great! But they fixed that.

Here’s the message it displays:


PICkit 3 is trying to supply 3.250000 volts from the USB port, but

 the target VDD is measured to be 2.875000 volts. This could be

 due to the USB port power capabilities or the target circuitry

 affecting the measured VDD.


The target circuit may require more power than the debug tool

 can provide. An external power supply might be necessary.


Connection Failed.


Cracking open the case reveals that it’s made by Sure Electronics, and there was possibly some nebulous licensing deal with Microchip to sell these, and then they got cloned and the deal evaporated. Or something. It’s hard to tell.

Oh look, a schematic. Relevant schematics on page 69 and 70.

I had a sneaking suspicion that there was a bad voltage divider somewhere that was causing ADC readings to come back too low.

Before having to properly poke around, this post confirmed my suspicions and made things super easy.

Near the linear voltage regulator, the AMS1117, there are two resistors named R17 and R24. They are 470 and 680 ohms, respectively.
Swapping the 680 ohm resistor with a 750 ohm is recommended. I didn’t have one, so I desoldered one leg and put a 50 ohm resistor in series, making kind of a tower on my board. Results in 730 ohms, but it seems to work. My PicKit can provide power again!

uMesh

I’ve been working on an ESP32 module.

Part of the problem I’ve been seeing with inexpensive IoT dev boards, is that the design around the power system hasn’t been very good. Here’s my attempt to fix that. This is a battery-ready module with a proper lithium battery charge circuit, lithium battery protection circuit, power supply, and antenna, all in a 1 inch by 1 inch package.

The goal is to have a tiny, inexpensive module that can immediately accept a battery and be deployed in the field, along with 30 of its mates.

The battery/power circuitry is surprisingly complex, which is why the built-to-a-price-point applications often don’t have the “proper” battery control, opting instead for “good enough”.

And when I say tiny, I really do mean tiny.


The main interface to the world (other that WiFi or Bluetooth) are castellated headers on the left and right side. Those grant access to input voltage, battery voltage, output voltage, TX/RX pins, bootmode selection, and a few GPIO. Because of them, this module can be soldered directly down to a larger host board if necessary, and can even provide regulated 3.3V output to it if given battery power.

What sets this apart in terms of battery handling are a few things:

  • There is a buck-boost power supply to provide a constant 3.3V to the ESP32 through a battery’s entire range (3.0V-4.2V)
  • There is a cut off for battery when it hits 3.0V, to prevent over discharging it
  • When the module is plugged in (through castellations or through the USB connector), it will switch over to using that as a power source. It can be hot-swapped
  • Also while plugged in, there is circuitry for constant-current/constant-voltage charging of the battery
  • The battery will still charge while the device is switched off

The battery just solders on to some pads on the back. Any size of single-cell will do, although the programmable charge speed relates to a resistor value that is soldered at manufacture time.


The USB port is for power/charging only, and has unconnected data pins. I also somewhat expect this microUSB port to shear off at some point, as they have kind of a history of doing that.

For the microcontroller, I’m using an ESP32-PICO-D4, driving a metal stamped antenna for 2.4GHz through a pi filter and 50 ohm impedance matched traces.

I haven’t really considered applications just yet, but it certainly does fill a niche for most IoT projects, given that a battery is usually necessary.

While waiting for shipping, and personal time to build it up by hand (mostly the latter though, Oshpark is awesome), I wrote an assembly and bring-up manual. It’s currently clocking in at 17 pages, but that includes a lot of reference. I’ve uploaded it as PDF here. That includes full schematics, part positioning information, net list, and BoM.

Here’s the Oshpark link to the project where it can be ordered (or gerbers downloaded too). It is a 4-layer board, and costs $10 for three.

Soon, I’ll write about programming it in an extremely sketchy way, programming it with the programming host board I designed, designing and tuning the antenna, and how to design it into a larger project.

I Made An IoT

I haven’t actually made an Internet of Things, thing, before now.

This is mostly just to throw some stuff together that I already had lying around. I’ve got a DHT11 temperature/humidity sensor, a WeMos D1 Mini ESP8266 dev board, a switch-mode power supply module, and a solar panel.

I turned it into an investigation on solar charging and ESP8266 power modes, while spending As Little Time As Humanly Possible on cleanliness, quality, or polish.

Yeah, this is super simple, and equally janky.

Threw it together in an hour with liberal amounts of hot glue.

Predictably, the solar panel was never able to supply enough juice to handle the startup current of the ESP8266, and it never sent any data points.

So phase 2 was to add a maximum power point tracker (MPPT) module feeding a Nokia battery as a reservoir.

This one worked! It lasted about 18 hours until it died.

I’m sending data to Adafruit’s free(ish) MQTT platform, also for the same spend-as-little-time-possible reasons that this projectlet follows.

That spike/drop in temp/humidity is exactly the time period where I get direct sunlight in that window in May, so that’s neat.

Uptime is recorded in tens of seconds.

Now there are three problems left with this system:

There’s no way to get an idea of battery charge until it dies.

The switch-mode power supply is a buck converter only, so as soon as the battery voltage goes below 3.3v (or maybe even above that), the output voltage cuts off, or possibly sags. I haven’t read the datasheet on this, so I don’t know or particularly care in this case.

Ideally, the solar panel can keep on top of the power usage. It doesn’t currently do this, partially because it’s sending too many datapoints (temperature does not swing wildly enough to justify once every ten seconds), and because I did not use proper deepsleep in my code. It’s just a while() loop that keeps the microcontroller chugging away at full bore.

So here’s the next update.

The ESP8266 has an ADC, but it’s limited to 1V max. With a max Lithium Ion voltage of 4.2V, I used a voltage divider of 1k in series with 4.7k and 10k in parallel. And then I realised that there was a built-in 220k/100k voltage divider designed for ~3.3v max, so I swapped mine out for a series resistor get into the 4.2v ballpark. This is all very approximate and I only had 680k resistors on hand, so 7 in parallel got me to 97k.

From my Switch Mode Tale, I happen to have a SMPS kicking around that is perfectly suited to the voltage ranges of the battery, too, so that goes in.

And, finally, the code changes were trivial. Another data point (battery) was added, and naive delay loops were changed to proper deep sleeps. This also required tying pin 16 to RST.

Still curious about battery lifetime, I commented the deep sleep mode out while running another test. This is still a while loop:

It lasted three days, and you can clearly see the spikes in temperature for a few hours in the afternoon as the sun hits the panel directly. And look at that lithium battery discharge curve!

I haven’t looked into my MPPT in detail, but that would likely be one of my next targets for investigation. I know it charges the batteries because I left it to do that for a few weeks in between tests, and the batteries were fully topped up each time. But I suspect it charges them really slowly, based on the lack of noticeable bump on the graph during sunny periods.

At this point, I took a brief hiatus from this side-project to do Important Things, and then it became autumn.

Using this power usage analysis, eventually, I will chip away at some of the possible optimisations. Some of the considerations described by Erik are obvious, but some of the others are quite clever. A mental shift to paying attention to the order in peripheral bring-up in a WiFi device is fun, and not something I’ve had to do much before. I will come back to this, for sure. Likely when I finish Rev 2 of my Sugar Glider board. As it stands, this side-project is in danger of going over my allotted five hours of actual build-time.


PCBs of Unusual Style

Shallow


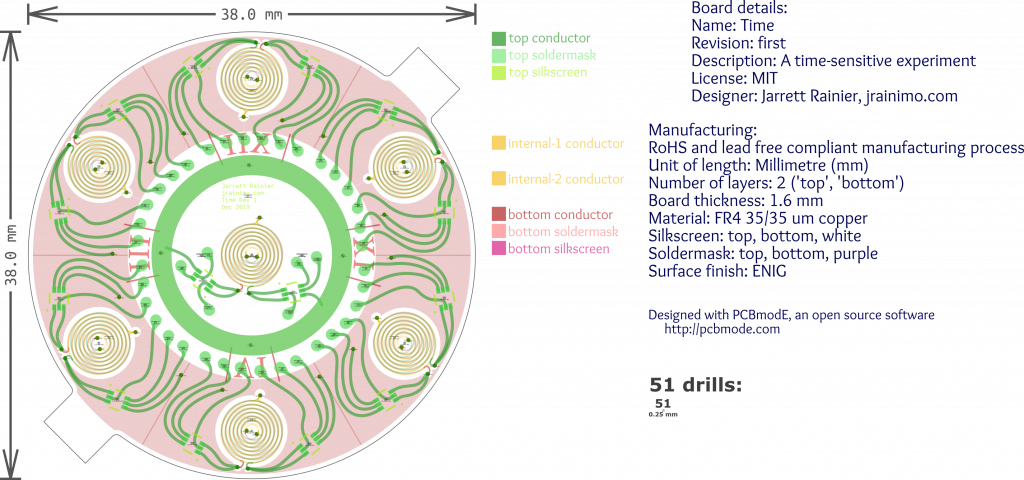
As a test, I designed a nautilus-themed PCB in PCBmodE.


PCBmodE is not your standard ECAD package. It’s a collection of JSON files that get converted into SVG or gerber files.

There are some limited tools to convert SVG files back into JSON, too. It can be thought of as forward- and back-annotation.

There’s no schematic editor. There’s no traditional PCB editor. The only interface is Inkscape itself. (Inkscape is an open-source vector software, like Adobe Illustrator)

The end takeaway is that these circuits are drawn, not engineered.


The whole repo is here. All of the JSON files are the source files, which can then be compiled into SVG (for viewing and some minor edits), or to gerber (for manufacturing).


The OSHPark gerber viewer says it’ll look like this:


And here is the final board:


It’s surprisingly difficult to photograph purple LEDs. It was suggested to me that they may have strong UV components that are overexposing that part of the image, so they usually show up as white or very light blue.


Rest assured, they are way more pleasing to the eye in person.


It’s interesting to note that the battery holder footprint was a Boldport component (it looks like a ladybug!). It’s designed for one of those cheap stamped metal CR2032 battery holders, but I don’t have any. It was easier/faster for me to grab some sheet copper and cut out a holder with tin snips.


The workflow of PCBmodE is a little bit jarring for someone expecting a standard PCB tool. It’s all laid out in the official docs, but I didn’t believe it until I tried it. Editing JSON files is almost the only way to interact with the software. You edit, compile, and view it in Inkscape. Some very small amount of things – Component position and traces, mainly – can be extracted back into JSON, but that’s it.

Even for outlines, the best method is to draw them in Inkscape, then copy the SVG paths and then paste them into the appropriate JSON:

For moving components around, there are a lot of SVG layers present for each component, but the extract command only seems to care about the origin. That little dot in the middle:


Three last things:

There’s also no “generate new board” command. Official recommended procedure is to fork one of the existing boards and modify. The docs are outdated, the sample is for an old version of PCBmodE that won’t work. I like BINCO for something really simple, or The Lady for something that uses every trick in the book.

Don’t use the official repo. This fork(as of June 2018) is the almost-official dev branch that has a lot of improvements (including Python 3!), and presumably will be merged back into mainline at some point. This command will install the proper one:

pip install git+https://github.com/threebytesfull/pcbmode.git@improve-test-coverage


And, finally, there is one issue that will prevent manufacturable gerbers. I described it here.


The next step

So, obviously this software requires some fussing, initially. It’s pretty nice once you have it set up, though. No issues, as long as you know what they are ahead of time.

What’s still a pain for daily use, however, is building usable circuits. Lacking a schematic and having to hand-draw traces as vector paths is painful.

So I quickly grabbed the first complete PCB available in Upverter, my LightBeam board. And then I wrote a conversion tool.

Here it is in Upverter:


And then in PCBmodE:

Workflow is now: Make a PCB in Upverter (or import it from something else!), Export as OpenJSON, convert it with my tool, then edit the PCBmodE JSON files as required to prettify them up, and transform them into something amazing.

The tool is here, pull requests / issues welcome. Only a small amount of available things to convert are completed, there’s lots more work that could be done.
LightBeam

In the deep, dark, depths of my project “to-do” list, I’ve always had a persistence-of-vision bicycle wheel light penciled in. I felt capable of doing it many years ago, and indeed, documenting the wiring was one of the driving forces for starting this website, but never got around to building one.
Eventually, products like the MonkeyLight came out, which did everything I wanted and more. Because “having the finished product” is rarely the goal of my projects, the very existence of a commercially available solution is sometimes enough to stop me from bothering.
For reference, the good version of MonkeyLight is $1000. Highway robbery! It is a great looking system, though.

But in August of 2017, I found a 32-LED bicycle spoke light on AliExpress. The cost at the time was $4.30.

Even now, it’s less than five dollars! That’s ridiculous! I can’t get individual components for that.
The only problem is that it displays preset patterns, and nothing more.

So I’m going to be upcycling! Get it?

And so I bought two.


Here are a few terrible pictures of what they look like in action:


There’s the top and bottom. Fairly straightforward. Light-dependent resistor and vibration sensor feeding into a microcontroller.

It’s super hard to photograph white soldermask in a way that displays the traces. A combination of that and buzzing pins out results in a schematic, like so:

U2 is probably (similar to) an AT24C02, an EEPROM chip, which isn’t populated in this PCB. Cost reduction on display! There’s an associated pull-up resistor and connector, also missing. Presumably there’s some model out there where you can plug in an I2C device and talk to the microcontroller, or add data to the flash chip.


The other one is probably an EM78P153B, based on its pinout. Or very similar. Depending on the exact model, it’s either one-time-programmable memory, or masked ROM from the factory. Either way, there’s nothing I can do to its code. So, removal it is!

It’s interesting to see microcontrollers that rarely come out of China like this.


I have a pile of PIC18F14K50, so I threw the footprint onto a small board and headers that matched the 1.27mm pitch of the original microcontroller. I was using Upverter for this PCB, and it provides a pretty neat histogram:


After that, gotta see if it fits, using the convenient laser cutter on hand.


It most certainly does not! So the microcontroller was swapped with a smaller one, the PIC16F1619.


And it totally fits, so off to OSHPark it goes. You’ll notice how neatly the traces were able to be routed on this one. The PIC16F1619 is one of the newer PICs, and they all have something called Peripheral Port Select. Basically, any peripheral can be reconfigured to any pin. It’s pretty fantastic for simplifying board layout.


Receive boards, solder, inspect, looks good!


And then at the same time, remove old microcontroller…


…add new flash chip and headers…

And then solder the whole thing down.


Feel free to fork/download/whatever the hardware files from Upverter, here. I’d be pretty stoked if someone else made some of these, too!
Another hardware update and software is coming in another post very soon. It’s a bit of a tangled web of interrupts, so I’d like to document it properly.
This PCB mostly worked, but the (optional) Hall effect sensor was bad and I changed it. And, final pictures of the result! That’s pretty important.